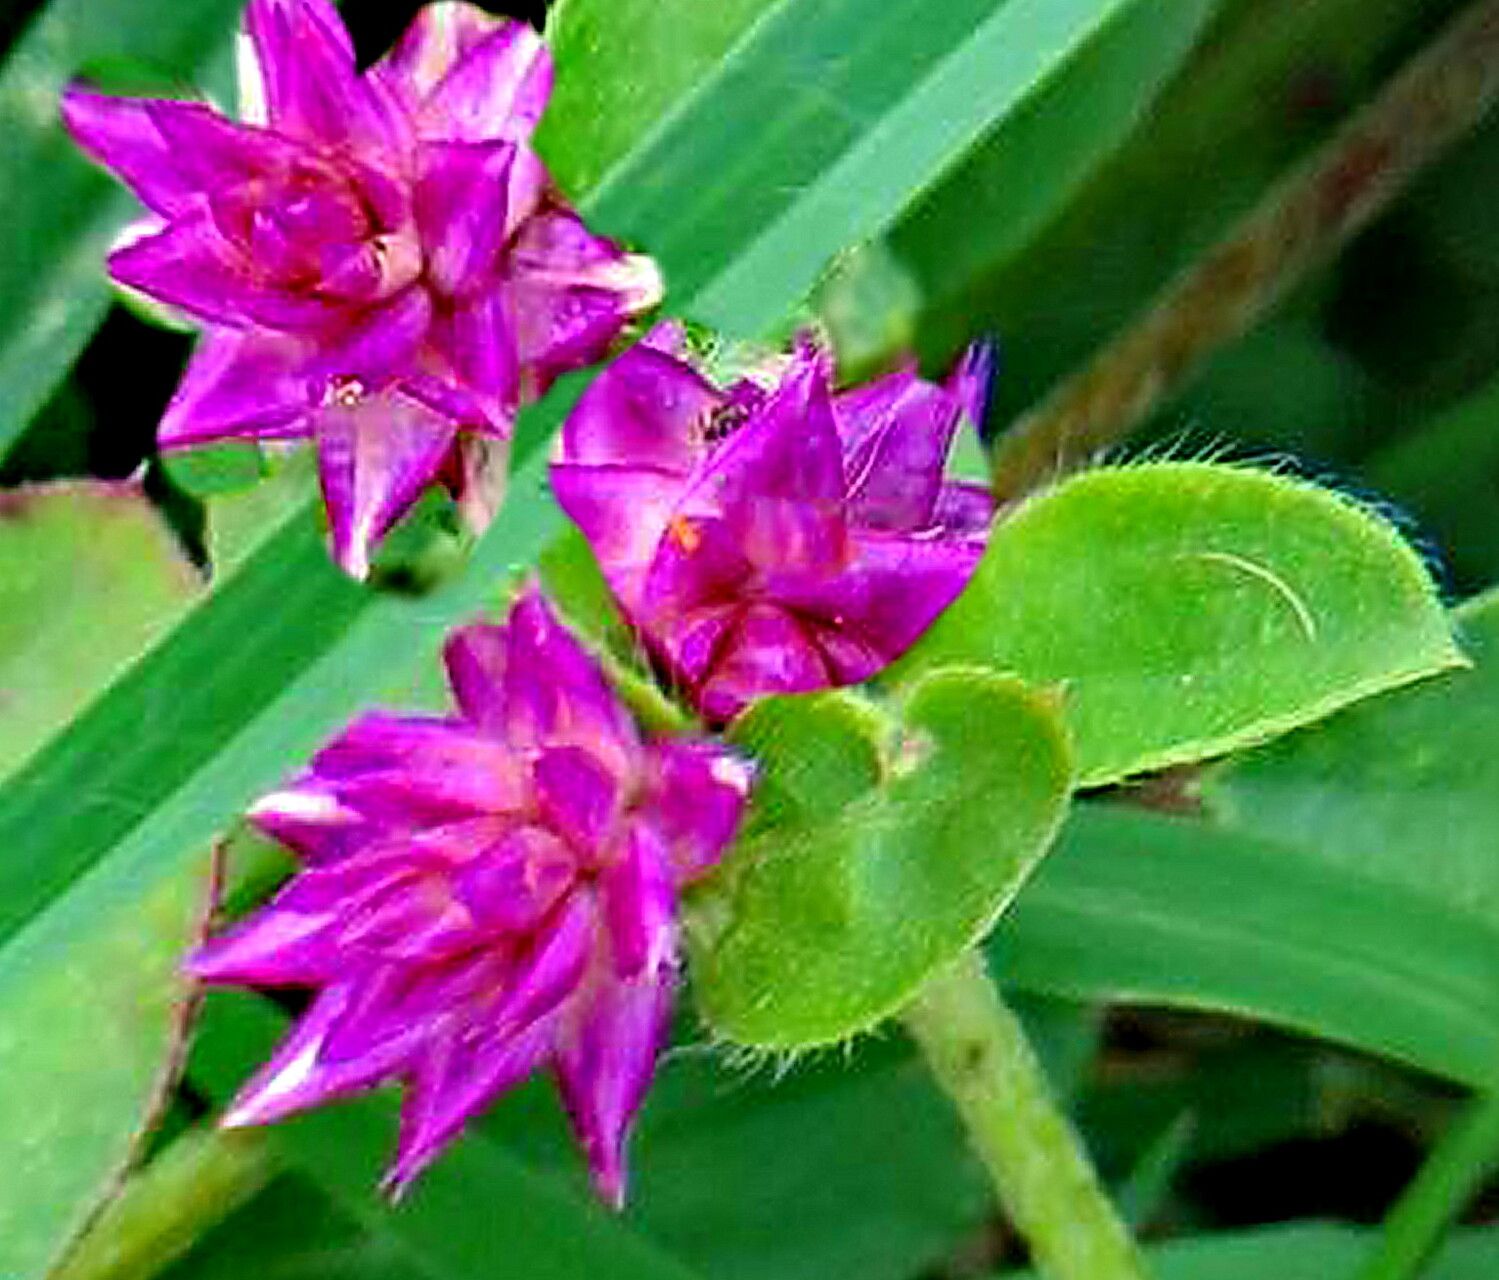
Hey there, fellow garden enthusiasts! I’m so excited to share my love for Gomphrena, specifically the beautiful Gomphrena nitida. If you haven’t met this gem yet, picture this: clusters of delicate, papery blooms in vibrant shades of magenta, orange, or white, held aloft on sturdy stems. They’re like little everlasting jewels in the garden, perfect for cutting and bringing indoors to brighten your home. The best part? Propagating them is surprisingly rewarding, and I’m here to guide you every step of the way. Honestly, for many gardeners, this plant can be a delightful introduction to propagation.
The Best Time to Start
When it comes to getting those new Gomphrena nitida babies going, late spring to early summer is your sweet spot. Think about when the plant is actively growing and has plenty of energy. You want to work with healthy, non-flowering stems – the more vigorous, the better. Starting with young, supple growth is way easier than trying to coax roots from older, woodier material.
Supplies You’ll Need
Gathering your tools beforehand makes the whole process smoother. Here’s what I always have on hand:
- Sharp pruning shears or a clean knife: For making clean cuts.
- Rooting hormone powder or gel: While not strictly necessary for Gomphrena, it can give your cuttings a little boost.
- A well-draining potting mix: I like to use a mix of equal parts seed starting mix and perlite. This gives great aeration.
- Small pots or seed trays: Clean containers are essential to prevent disease.
- A plastic bag or propagation dome: To create a humid environment.
- Watering can with a fine rose or spray bottle: For gentle watering.
- Labels: Don’t forget to label your creations!
Propagation Methods
Gomphrena nitida is pretty keen on propagating from stem cuttings. It’s straightforward and generally yields fantastic results.
-
Take Your Cuttings: Head out to your healthy Gomphrena plants on a nice, calm day. Look for stems that are about 4-6 inches long and have the “snap” test – they should break cleanly, not bend. Carefully snip or cut these stems, right below a leaf node (where a leaf attaches to the stem). Remove the lower leaves, leaving just a few at the top. This is crucial to prevent them from rotting in the soil.
-
Prepare the Cuttings: If you’re using rooting hormone, dip the cut end of the stem into the powder or gel. Give it a gentle tap to shake off any excess.
-
Planting Them Up: Fill your clean pots or seed trays with your prepared potting mix. Moisten the mix thoroughly. Now, make a small hole in the soil with a pencil or your finger. Insert the prepared cutting into the hole, ensuring the nodes where you removed the leaves are buried. Gently firm the soil around the stem.
-
Creating the Humid Environment: Water gently again. Now, the important part for success: create humidity. You can do this by placing the pots or trays inside a clear plastic bag, which you can seal loosely, or by using a propagation dome. Make sure the leaves aren’t touching the sides of the bag if you’re using one, as this can encourage rot.
-
Place Them Wisely: Position your cuttings in a spot that receives bright, indirect light. Avoid direct sun, as it can scorch the delicate leaves and dry out the cuttings too quickly.
The “Secret Sauce”
Here are a couple of things I’ve learned over the years that really make a difference:
-
Bottom Heat is Your Friend: If you have the space and the inclination, placing your pots on a heat mat can significantly speed up root development. It mimics the warmth of summer soil and gives those roots a real incentive to grow. Just a gentle warmth is all they need.
-
Don’t Drown Them! It’s so tempting to keep things super moist, but Gomphrena cuttings can be prone to rot if they sit in waterlogged soil. Water when the top inch of soil feels dry, and always ensure your pots have good drainage. A little bit of drying out between waterings can encourage the plant to send out roots in search of moisture.
Aftercare & Troubleshooting
Once you start seeing new leaf growth or feel a gentle tug when you lightly pull on a cutting, you know it’s happening – roots have formed! At this point, you can gradually acclimate them to lower humidity. Start by opening the plastic bag for a few hours each day, then remove it altogether. Continue to water when the soil is dry to the touch.
The most common issue you might encounter is rot. If a cutting turns black and mushy, it’s a sign of too much moisture and not enough air circulation. Unfortunately, once rot sets in, it’s usually game over for that particular cutting. Prevention, through good drainage and avoiding overwatering, is key. Another sign of trouble can be wilting that doesn’t recover after watering, which might indicate the cutting hasn’t rooted yet or has dried out too much.
A Encouraging Closing
Seeing those tiny new plants emerge is such a thrill, isn’t it? Propagation is a journey, and sometimes there are hiccups. Be patient with your Gomphrena nitida cuttings. Celebrate every little success, learn from any setbacks, and most importantly, enjoy the process of nurturing new life from your favorite plants. Happy propagating!
Resource:
https://identify.plantnet.org/k-world-flora/species/Gomphrena%20nitida%20Rothr./data