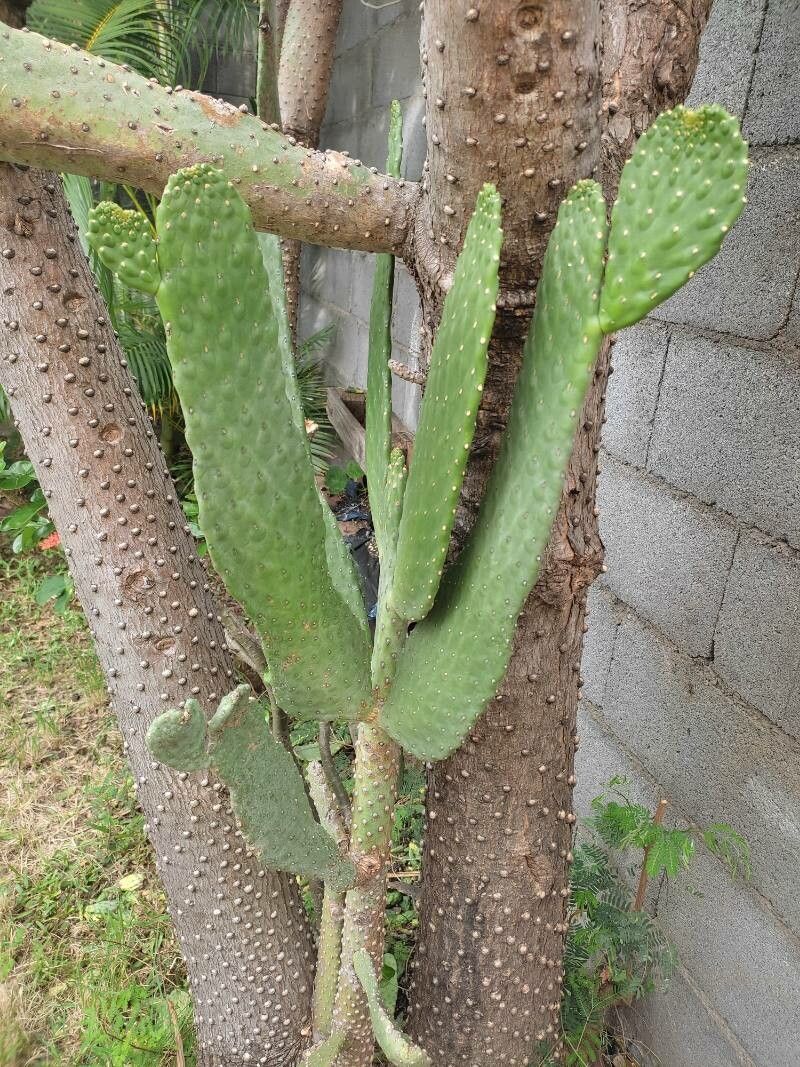
Hey there, fellow plant enthusiasts! I’m so excited to dive into the world of propagating one of my favorite cacti, the gorgeous Consolea moniliformis. Its unique, segmented stems, almost like beaded necklaces, really add a architectural flair to any space. And the best part? Growing new plants from cuttings is incredibly rewarding. It’s a fantastic way to expand your collection or share the joy with friends. Now, for beginners, I’d say Consolea moniliformis is moderately easy. It’s not quite as straightforward as a succulent cutting, but with a little care, you’ll be seeing success.
The Best Time to Start
I find the sweet spot for propagating Consolea moniliformis is late spring to early summer. This is when the plant is actively growing and has plenty of energy to put into developing new roots. Starting during its peak growing season really gives your cuttings the best chance to establish themselves quickly.
Supplies You’ll Need
To get your Consolea moniliformis propagation off to a good start, gather these essentials:
- Sharp, clean pruning shears or a knife: For making clean cuts.
- Rooting hormone (optional but recommended): Helps speed up root development. Look for a powdered or liquid formulation.
- Well-draining potting mix: A cactus or succulent mix is perfect. You can also create your own by mixing potting soil with perlite or pumice (about a 1:1 ratio).
- Terracotta pots: They breathe well and help prevent overwatering. Make sure they have drainage holes!
- Gloves: Cacti can be prickly!
- Newspaper or cardboard: To handle your cuttings safely.
- Watering can or spray bottle: For gentle watering.
Propagation Methods
My go-to method for Consolea moniliformis is stem cuttings. It’s reliable and produces robust new plants.
How to Take Stem Cuttings:
- Choose a healthy stem: Look for a mature, firm stem segment. Avoid anything that looks soft or has blemishes.
- Make a clean cut: Using your sharp shears or knife, make a clean cut where you want to detach the segment. It’s best to cut about midway along a segment or at a node.
- Let it callous: This is a crucial step for cacti. Place the cut end of the stem cutting in a dry, shaded spot for at least 3-7 days, or until the cut end has formed a dry, leathery scab. This prevents rot when you plant it.
- Apply rooting hormone (optional): Once the cut has calloused, dip the dry end into rooting hormone, tapping off any excess. This gives your cutting a little boost.
- Plant your cutting: Fill a terracotta pot with your well-draining mix. Make a small hole in the soil with your finger or a pencil. Gently insert the calloused end of the cutting into the hole. You can plant more than one cutting per pot if they have enough space.
- Be patient! Don’t water immediately. Wait another few days after planting before giving it its first light watering.
The “Secret Sauce” (Pro Tips)
Here are a few things I’ve learned over the years that can really make a difference:
- Air circulation is your friend: Once you’ve planted your cuttings, don’t crowd them. Ensure there’s good airflow around them. If you’re starting multiple cuttings in one pot, give them some breathing room. This helps prevent fungal issues.
- Bottom heat magic: If you’re propagating in a cooler environment or at the edge of the growing season, consider using a propagation mat. Placing your pots on a gentle heat mat can significantly encourage root development by keeping the soil at an optimal temperature. Just make sure it’s on a low setting!
- Don’t overwater, ever! This is the golden rule for succulents and cacti. Cuttings are especially susceptible to rot. It’s far better to underwater than overwater. Let the soil dry out completely between waterings.
Aftercare & Troubleshooting
Once you start seeing signs of new growth, like tiny new segments emerging or the cutting feeling firm and resisting a gentle tug, it’s a good sign that roots are forming! Continue to water sparingly, allowing the soil to dry out between waterings. Gradually introduce your new plant to brighter light, but avoid direct, harsh sun initially.
The most common problem you’ll encounter is rot. If your cutting looks mushy, turns black or brown and limp, or smells… well, rotten, it’s likely succumbed to rot. This usually happens from overwatering or not allowing the cutting to callous properly. If you see early signs of rot on a still-firm cutting, you can try cutting away the affected part and re-allowing it to callous before attempting to replant. Sometimes, though, it’s best to discard the rotted piece and start fresh.
A Encouraging Closing
Propagating Consolea moniliformis is a journey of patience and observation. Don’t get discouraged if your first attempt doesn’t go perfectly – I certainly had my share of learning curves! Celebrate the small victories, enjoy the process of nurturing something new, and before you know it, you’ll have an amazing collection of these unique and beautiful cacti. Happy propagating!
Resource:
https://identify.plantnet.org/k-world-flora/species/Consolea%20moniliformis%20(L.)%20A.Berger/data