Hey there, fellow garden lovers! It’s great to be back sharing some plant wisdom with you. Today, we’re diving into the charming world of Campanula fenestrellata, also known as the Balkan Bellflower.
A Little Bit About Campanula fenestrellata
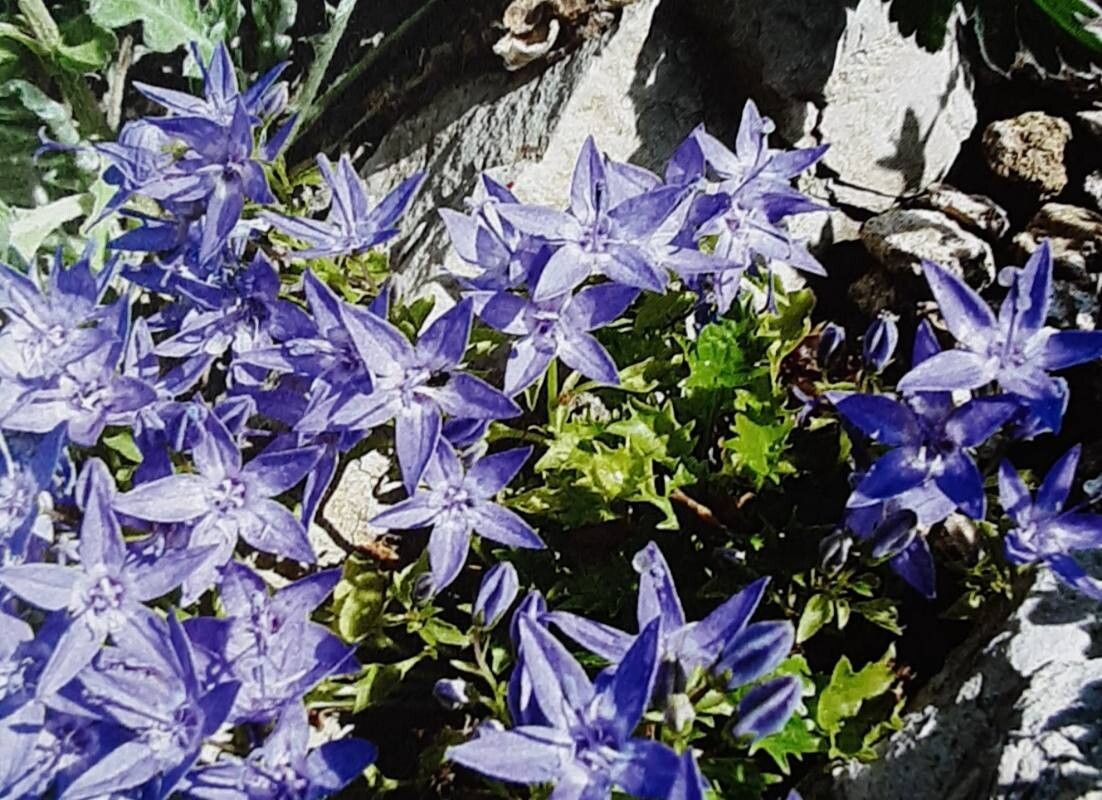
If you’re looking for a delicate beauty that brings a cascade of lovely bell-shaped flowers to your garden, you’re in for a treat. Campanula fenestrellata is a stunner, often sporting shades of blue and purple that seem to glow in the sunlight. I’ve found it to be quite forgiving and surprisingly rewarding to propagate, even for those just starting their plant journey. It’s a wonderful way to fill your garden beds or containers with more of these delightful blooms without having to buy more plants.
When to Get Your Hands Dirty
For the absolute best chance of success with Campanula fenestrellata, I’ve found that the late spring to early summer is your golden window. This is when the plant is actively growing, and you can take cuttings from healthy, non-flowering shoots. This vigorous growth phase means the plant is full of energy and ready to bounce back and root readily.
Your Propagation Toolkit
Before we get started, let’s gather our supplies. Having everything ready makes the whole process so much smoother!
- Sharp Pruning Shears or Scissors: Cleanliness is key to preventing disease, so make sure they’re sharp and sanitised.
- Small Potting Pots or Seed Trays: Anything that can hold your propagation mix and drain well.
- Propagation Potting Mix: A light, well-draining mix is crucial. I often use a blend of equal parts perlite, peat moss (or coco coir), and a bit of coarse sand. You can also buy pre-made seed-starting or propagation mixes.
- Rooting Hormone (Optional but Recommended): This can give your cuttings a significant boost. The powder or gel forms work well.
- Small Watering Can or Spray Bottle: For gentle watering.
- Plastic Bag or Clear Dome: To create a humid environment for your cuttings.
- Labels: To keep track of what you’re growing!
Let’s Get Propagating!
Campanula fenestrellata is quite obliging, and I’ve had great luck with a couple of methods.
1. Stem Cuttings: The Classic Approach
This is my go-to for reliably increasing my Campanula numbers.
- Take Your Cuttings: Find a healthy, non-flowering stem on your established plant. Using your clean shears, cut a piece about 3-4 inches long. Aim to take them from the tip of a new growth shoot.
- Prepare the Cuttings: Gently remove the lower leaves, leaving just the top two or three sets of leaves. If the leaves are very large, you can even cut them in half horizontally to reduce water loss.
- Apply Rooting Hormone (Optional): Dip the cut end of the stem into your rooting hormone, tapping off any excess.
- Plant Your Cuttings: Fill your small pots with your propagation mix. Make a small hole in the center with your finger or a pencil and insert the cutting, making sure the leaf nodes are below the surface of the soil. Gently firm the soil around the cutting.
- Water Gently: Water the soil until it’s evenly moist, but not soggy.
- Create a Humid Environment: Place your pots into a clear plastic bag, sealing it loosely, or use a clear dome. This traps humidity, which is vital for cuttings to root. You can also place them on a heat mat if you have one.
2. Division: For Bigger Plants
If your Campanula fenestrellata has been happily growing for a while and has become a bit of a clump, division is a fantastic option. It gives you larger plants right from the start!
- When to Divide: The best time for this is in early spring, just as new growth is appearing.
- Gently Unearth: Carefully dig up the entire plant. You can do this with a trowel or spade.
- Separate the Roots: Gently shake off excess soil. You should be able to see natural divisions in the root ball. Use your hands or a clean trowel to gently pull or cut the root ball into smaller sections. Each section should have healthy roots and some shoots.
- Re-Pot or Re-Plant: Immediately re-pot the divisions into fresh soil. Water them well. You can plant them directly back into your garden beds or into pots.
The “Secret Sauce” from My Garden
Over the years, I’ve picked up a few tricks that seem to make a real difference.
- Don’t Let Those Leaves Touch The Water: If you opt for water propagation (though I find soil works best for Campanula fenestrellata), make sure no leaves are submerged. They’ll just rot and invite disease. Submerged leaves are a recipe for disappointment!
- Bottom Heat is Your Friend: While not strictly essential, placing your pots on a gentle heated propagation mat can significantly speed up root development. It mimics the warmth of spring soil, encouraging those roots to wake up and grow.
- Be Patient with the Cuttings: Sometimes, it feels like nothing is happening. Resist the urge to pull them up and check! I often leave my cuttings for a good 4-6 weeks before I even think about tugging gently. If there’s resistance, they’re rooting!
Nurturing Your New Sprouts
Once you see signs of new growth on your cuttings – tiny leaves emerging or a gentle tug indicating roots – it’s time to transition them.
- Acclimatization: Gradually introduce your rooted cuttings to less humid conditions. Open the plastic bag or dome a little each day for about a week before removing it completely.
- Light: Place your young plants in a bright location with indirect sunlight. Direct sun can scorch their delicate new leaves.
- Watering: Continue to keep the soil consistently moist but not waterlogged. As they grow stronger, you can water them more thoroughly, allowing the top inch of soil to dry out between waterings.
- Troubleshooting – Rot is the Enemy: The most common problem you might encounter is rot. This usually happens due to overwatering or poor drainage. If you see your cuttings wilting, turning black or mushy at the base, it’s likely rot. Unfortunately, there’s often no coming back from this. It’s better to err on the side of slightly drier soil and ensure good airflow.
Happy Planting!
Propagating Campanula fenestrellata is such a satisfying way to engage with your garden. It connects you to the plant’s life cycle and allows you to share its beauty. Don’t get discouraged if your first attempt isn’t perfect. Gardening is a journey, and each season brings new lessons. Be patient, observe your plants, and most importantly, enjoy the process of bringing more of these lovely bells into your world! Happy propagating!
Resource:
https://identify.plantnet.org/k-world-flora/species/Campanula%20fenestrellata%20Feer/data