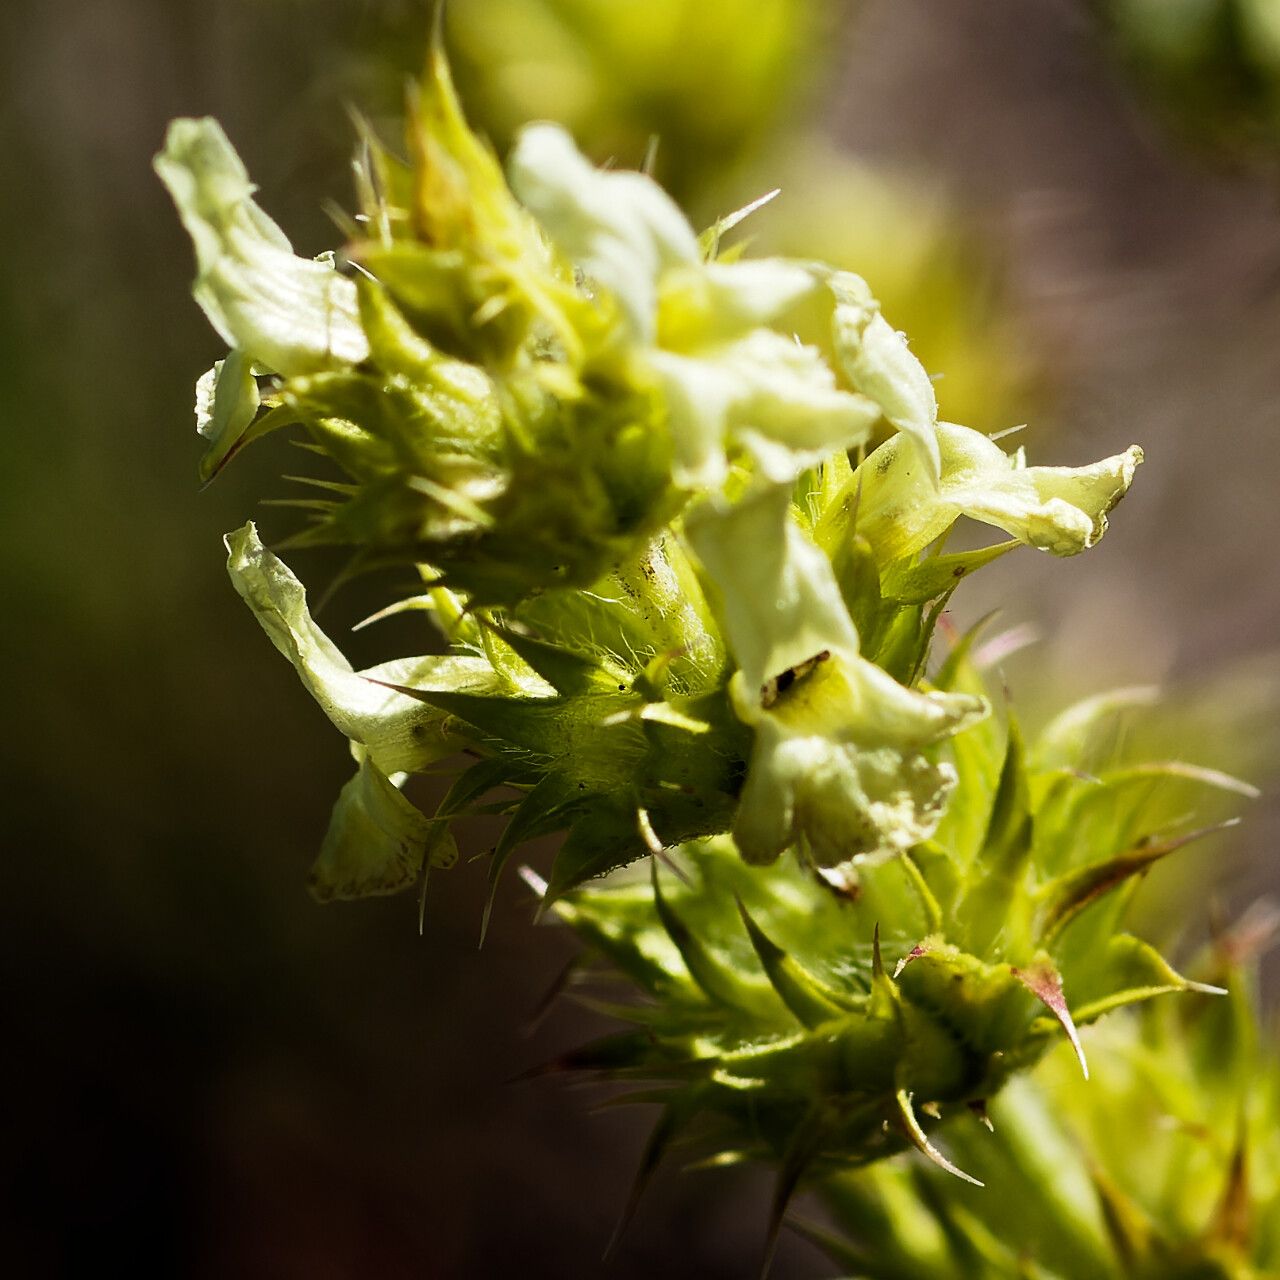
Oh, Sideritis fruticulosa! If you’ve ever admired its aromatic leaves, perhaps with their delicate, almost fuzzy texture, and the charm it brings to a border or a pot, you’re in for a treat. There’s something wonderfully satisfying about nurturing a new plant from a tiny cutting, and Sideritis fruticulosa is a lovely subject to practice on.
While not as hands-off as some succulents, propagating this Mediterranean beauty is certainly achievable, even for those just dipping their toes into the world of plant propagation. The rewards? More of that lovely fragrance and more of those gorgeous plants to share or enjoy yourself.
The Best Time to Start
My favorite time to take cuttings is when the plant is actively growing but not in the throes of blooming. Think late spring or early summer. The stems are soft enough to root easily, but they’ve had time to mature a bit. You’re looking for new growth that has started to firm up – not floppy, yet not woody either.
Supplies You’ll Need
Gathering your tools beforehand makes the whole process smoother. Here’s what I usually have on hand:
- Sharp pruning shears or a clean, sharp knife: For taking clean cuts.
- Rooting hormone (optional but helpful): A powder or gel that encourages root development.
- A well-draining potting mix: I like a blend of peat moss or coco coir with perlite or coarse sand. About a 50/50 mix works wonders.
- Small pots or seed trays: Clean ones are essential to prevent disease.
- A plastic bag or propagation dome: To keep humidity high.
- Watering can with a fine rose or a mister: For gentle watering.
Propagation Methods
Sideritis fruticulosa is a champ when it comes to stem cuttings. It’s my go-to method.
- Take Your Cuttings: Using your sharp shears or knife, select a healthy stem that’s about 4-6 inches long. Make a clean cut just below a leaf node (where the leaves attach to the stem). This is where the magic happens for rooting.
- Prepare the Cuttings: Gently remove the lower leaves from the cutting. You want to expose a few leaf nodes, as this is where roots will emerge. If the cutting has any flowers or buds, pinch them off; we want the plant’s energy to go into root development, not flowering.
- Apply Rooting Hormone (if using): Dip the cut end of the stem into rooting hormone, tapping off any excess.
- Plant the Cuttings: Fill your small pots with the well-draining potting mix. I like to make a small pilot hole with a pencil or my finger. Insert the cut end of the Sideritis cutting into the hole, ensuring at least one leaf node is buried in the soil. Gently firm the soil around the cutting.
- Provide Humidity: Lightly water the soil. Then, cover the pot with a plastic bag or place it under a propagation dome. This creates a humid environment that keeps the cuttings from drying out while they root. You’ve basically created a mini-greenhouse!
Water Propagation (for the impatient!):
If it’s your first time, or you’re just super curious, you can try water propagation. Take your prepared cuttings (remove lower leaves as above), and place them in a jar or glass of water. Make sure no leaves are submerged in the water – remove them if they are. Change the water every few days to keep it fresh. Roots should appear within a few weeks. Once you have a good network of roots, you can carefully transplant them into your potting mix.
The “Secret Sauce” (Pro Tips)
Here are a couple of things I’ve learned over the years that really make a difference:
- Bottom Heat is Your Friend: If you have a heat mat designed for propagation, using it under your pots can dramatically speed up root formation. The consistent warmth encourages the plant’s natural rooting hormones to get to work.
- Don’t Overwater, But Don’t Let Them Dry Out: This is a delicate balance. You want the soil to be consistently moist, like a wrung-out sponge, but never soggy. Soggy soil is the quickest route to rot. I often check by gently pressing the soil surface.
Aftercare & Troubleshooting
Once you see new growth emerging from your cuttings, that’s a great sign that roots are forming! Gradually acclimate your new plants to normal humidity by opening the plastic bag a little each day for a week before removing it completely. Continue to water gently when the top inch of soil feels dry.
The most common issue you’ll face is rot. If your cuttings turn black and mushy, it’s usually a sign of too much moisture or not enough air circulation. Unfortunately, once rot sets in, it’s very difficult to save them. If you see signs of wilting and yellowing without any signs of rot, it might mean the cutting has dried out too much, so ensure your humidity is adequate.
A Encouraging Closing
Propagating Sideritis fruticulosa is a journey, and like any good gardening project, it requires a little patience. Don’t be discouraged if your first few attempts aren’t perfect. Each cutting you take, each tip you try, teaches you something new. Keep at it, enjoy the process of nurturing life, and soon you’ll have a lovely garden filled with your own fragrant Sideritis! Happy propagating!
Resource:
https://identify.plantnet.org/k-world-flora/species/Sideritis%20fruticulosa%20Pourr./data