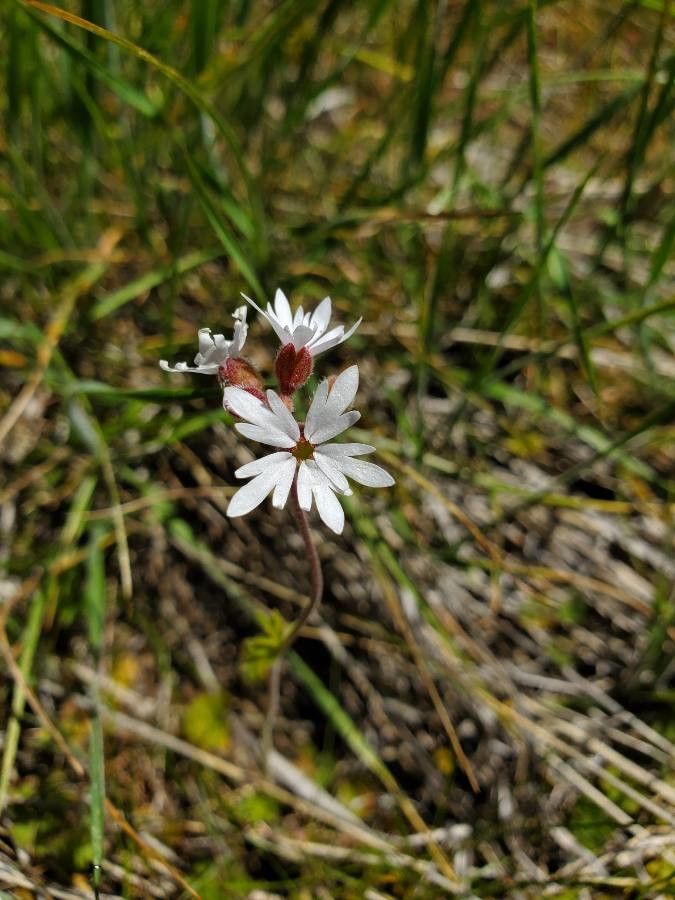
Hello fellow plant lovers! Today, we’re diving into the delightful world of Lithophragma glabrum, often called “Fringeleaf Woodland Star” or sometimes just “Woodland Star.” I’ve always been drawn to its delicate, star-shaped flowers and graceful, deeply cut leaves. It brings such a lovely, wild charm to the shady corners of my garden. If you’re looking for a rewarding project that connects you more deeply with your plants, propagating this beauty is a fantastic way to go. And for those just starting out, I’d say it’s moderately easy – with a few key pointers, you’ll be well on your way!
The Best Time to Start
For the highest success rate with Lithophragma glabrum, early spring, just as new growth is beginning, is your golden window. You’re looking for young, supple stems that aren’t yet woody. You can also have good luck with division in early fall, after the plant has finished its flowering cycle but before the real cold sets in. This gives the divided pieces ample time to establish before winter.
Supplies You’ll Need
- Sharp, clean pruning shears or a razor blade: For making clean cuts.
- A good quality potting mix: I like a blend that’s light and drains well. A mix of equal parts peat moss or coco coir, perlite, and a little compost works wonders.
- Small pots or seed trays: With drainage holes, of course!
- Rooting hormone (optional but recommended): Especially for cuttings, it gives them a helpful boost.
- A spray bottle: For keeping things consistently moist.
- Labels and a marker: To keep track of what you’ve propagated and when.
Propagation Methods
Let’s get our hands dirty with a couple of reliable ways to multiply your Lithophragma glabrum.
Division
This is, in my opinion, the easiest method for Lithophragma.
- Gently excavate: Carefully dig up the entire plant. Try to disturb the roots as little as possible.
- Inspect and separate: You’ll often see that your Lithophragma has formed clumps or offsets. Gently pull these apart with your hands, or use your clean pruning shears if they’re too tightly bound. Make sure each division has some healthy roots attached.
- Replant immediately: Pot up your new divisions into your prepared potting mix. Water them in well.
Stem Cuttings
This method requires a bit more patience but is incredibly satisfying.
- Take your cuttings: Using your sharp shears, take 4-6 inch cuttings from healthy, non-flowering stems. Make the cut just below a leaf node (the spot where leaves emerge from the stem).
- Prepare the cuttings: Remove the lower leaves from the cutting, leaving just a few at the top. This helps prevent rot.
- Apply rooting hormone (optional): Dip the cut end of the stem into rooting hormone, tapping off any excess.
- Plant the cuttings: Make small holes in your moist potting mix with a pencil or your finger. Insert the cuttings, ensuring the leaf nodes are buried in the soil. Gently firm the soil around them.
- Water and cover: Water the cuttings gently. For added humidity, you can cover the pots with a clear plastic bag or a propagation dome. Make sure the leaves don’t touch the plastic.
The “Secret Sauce” (Pro Tips)
Here are a few of my tried-and-true tricks that often make all the difference:
- Don’t let those leaves touch the water (if using water propagation): While Lithophragma can be water propagated, I find it’s better to focus on soil. If you do try water, ensure only the stem is submerged. Leaves sitting in water are a direct invitation to rot.
- Bottom heat is your friend for cuttings: If you’re struggling with cuttings rooting, consider placing your pots on a gentle heating mat. This provides consistent warmth to the soil, encouraging root development without overheating the foliage.
- Patience with the potting mix: Lithophragma really dislikes soggy feet. If your soil feels too dense, it’s worth adding a bit more perlite. I’ve found that over-watering is the most common pitfall for new propagators.
Aftercare & Troubleshooting
Once your Lithophragma cuttings have started to root (you’ll notice new growth or see roots appearing at the drainage holes), it’s time to transition them to more regular care.
- Gradual acclimatization: If you covered your cuttings, slowly introduce them to open air over a few days.
- Light: Provide bright, indirect light. Avoid harsh, direct sun, which can scorch young plants.
- Watering: Water when the top inch of soil feels dry. It’s always better to under-water than over-water at this stage.
- Signs of failure: The most common issue is rot, where the stem and leaves turn mushy and brown. This is almost always due to too much moisture and poor drainage. If you see this, sadly, the cutting is likely lost. You might also see cuttings wilting badly – this can be from lack of water or transplant shock, so check your soil moisture and humidity levels.
A Encouraging Closing
Propagating plants like Lithophragma glabrum is a journey of learning and connection. Don’t be discouraged if not every attempt is a roaring success right away. Each plant, each cutting, teaches you something new. Be patient with yourself and your little green charges, and celebrate each tiny success. Happy propagating!
Resource:
https://identify.plantnet.org/k-world-flora/species/Lithophragma%20glabrum%20Nutt./data