Grow More Beauties: Your Mabea Speciosa Propagation Guide
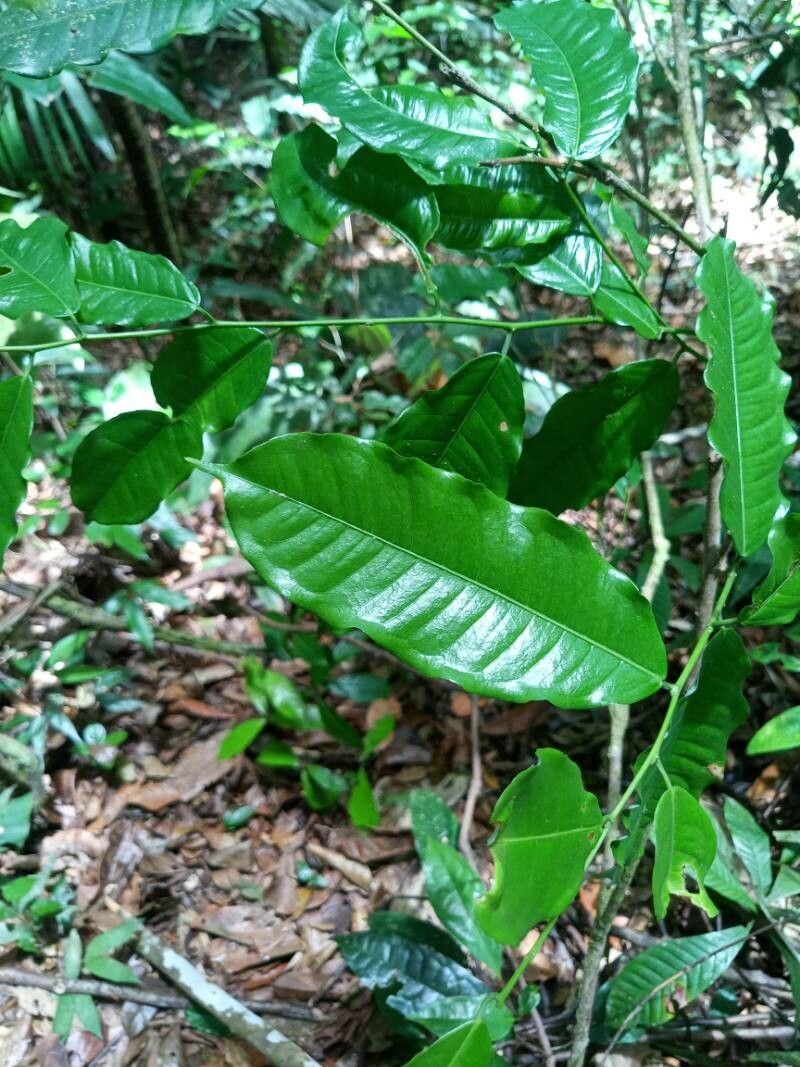
Oh, Mabea speciosa! If you’ve ever seen this tropical gem gracing a garden or a conservatory, you know why it captures our hearts. With its elegant, arching stems and clusters of delicate, often cheerful blooms, it brings a touch of the exotic and a whole lot of personality. And the best part? You can easily multiply this beauty yourself! Propagating Mabea speciosa is wonderfully rewarding, allowing you to share this plant’s charm with friends or simply fill your own space with more of its magic. Now, for the good news: while some plants can be a bit fussy, Mabea speciosa is generally quite forgiving when it comes to propagation. You’ve got this!
The Best Time to Start
My absolute favorite time to take cuttings is in late spring or early summer. This is when the plant is in active growth, so it’s full of energy and ready to sprout new roots. You’re looking for stems that are firm but not yet woody. Think of them like fresh, healthy growth – they snap cleanly when bent, rather than just bending. Avoid taking cuttings from flowering stems; we want the plant to focus its energy on rooting, not making flowers.
Supplies You’ll Need
Gathering your tools beforehand makes the whole process smoother. Here’s what you’ll want:
- Sharp, clean pruning shears or a knife: This is crucial for making clean cuts.
- Rooting hormone (optional but recommended): A powdered or gel form can give your cuttings a helpful boost.
- Well-draining potting mix: A blend of perlite, peat moss, and a bit of compost works beautifully. You can also find specialized succulent or cactus mixes that often do the trick.
- Small pots or containers: Think 3-4 inch pots; you don’t want anything too large to start. Make sure they have drainage holes!
- Clear plastic bag or a humidity dome: This helps retain moisture.
- Perlite or sand (optional): For added drainage if your mix feels a bit heavy.
- Watering can or spray bottle: For gentle watering.
Propagation Methods
Mabea speciosa is a champion when it comes to stem cuttings. It’s straightforward and usually yields great results.
Stem Cuttings:
- Select your stem: Choose a healthy stem that’s about 4-6 inches long and has at least 2-3 sets of leaves.
- Make the cut: Using your clean shears, make a clean cut just below a leaf node. This is where new roots are most likely to form.
- Prepare the cutting: Remove the lower leaves from the stem, leaving just a couple of leaves at the top. If the upper leaves are very large, you can even cut them in half to reduce water loss.
- Apply rooting hormone (optional): Dip the cut end into your rooting hormone, shaking off any excess.
- Plant your cutting: Fill your small pot with your prepared potting mix. Make a small hole in the center with your finger or a pencil. Gently insert the cut end of the stem into the hole, ensuring the leaf nodes are buried (these are the spots where leaves were removed – roots love to form there!).
- Firm the soil: Gently firm the soil around the cutting to ensure good contact.
- Water gently: Water the soil lightly, just enough to make it moist but not soggy.
- Create a humid environment: Cover the pot with a clear plastic bag, propped up with a stick or two so it doesn’t touch the leaves, or place it under a humidity dome. This is your little greenhouse!
The “Secret Sauce” (Pro Tips)
Here are a couple of things I’ve learned over the years that seem to make all the difference:
- Don’t Let the Leaves Touch the Water: If you’re doing water propagation (which you can also try with Mabea!), it’s vital that no leaves are submerged. Any leaves in the water will rot and can infect the entire cutting. Only the stem should be in the water.
- Bottom Heat is Your Friend: If you have a seedling heat mat, place your pots on it. A little warmth from below encourages root development wonderfully, especially if your house tends to be on the cooler side. It’s like giving your little cuttings a cozy, warm bed!
Aftercare & Troubleshooting
Once your cutting is planted, find a spot that gets bright, indirect light. Avoid direct sun, as it can scorch those tender new leaves. Water only when the top inch of soil feels dry to the touch.
You’ll know your cutting is rooting when you see new leaf growth! This can take anywhere from a few weeks to a couple of months. Be patient!
The most common issue you might run into is rot. This usually happens from overwatering or poor drainage. If your cutting looks mushy, yellow, or just generally sad and unhealthy, pull it gently from the soil. If the stem is mushy and dark, it’s likely rotted, and sadly, you’ll need to start again. Ensure your soil is airy and your pots drain well to prevent this.
Happy Propagating!
Watching a new life emerge from a small cutting is one of the most satisfying aspects of gardening. Be patient with your Mabea speciosa, enjoy the process, and soon you’ll have a whole new collection of these delightful plants to admire and share. Happy growing!
Resource:
https://identify.plantnet.org/k-world-flora/species/Mabea%20speciosa%20Müll.Arg./data