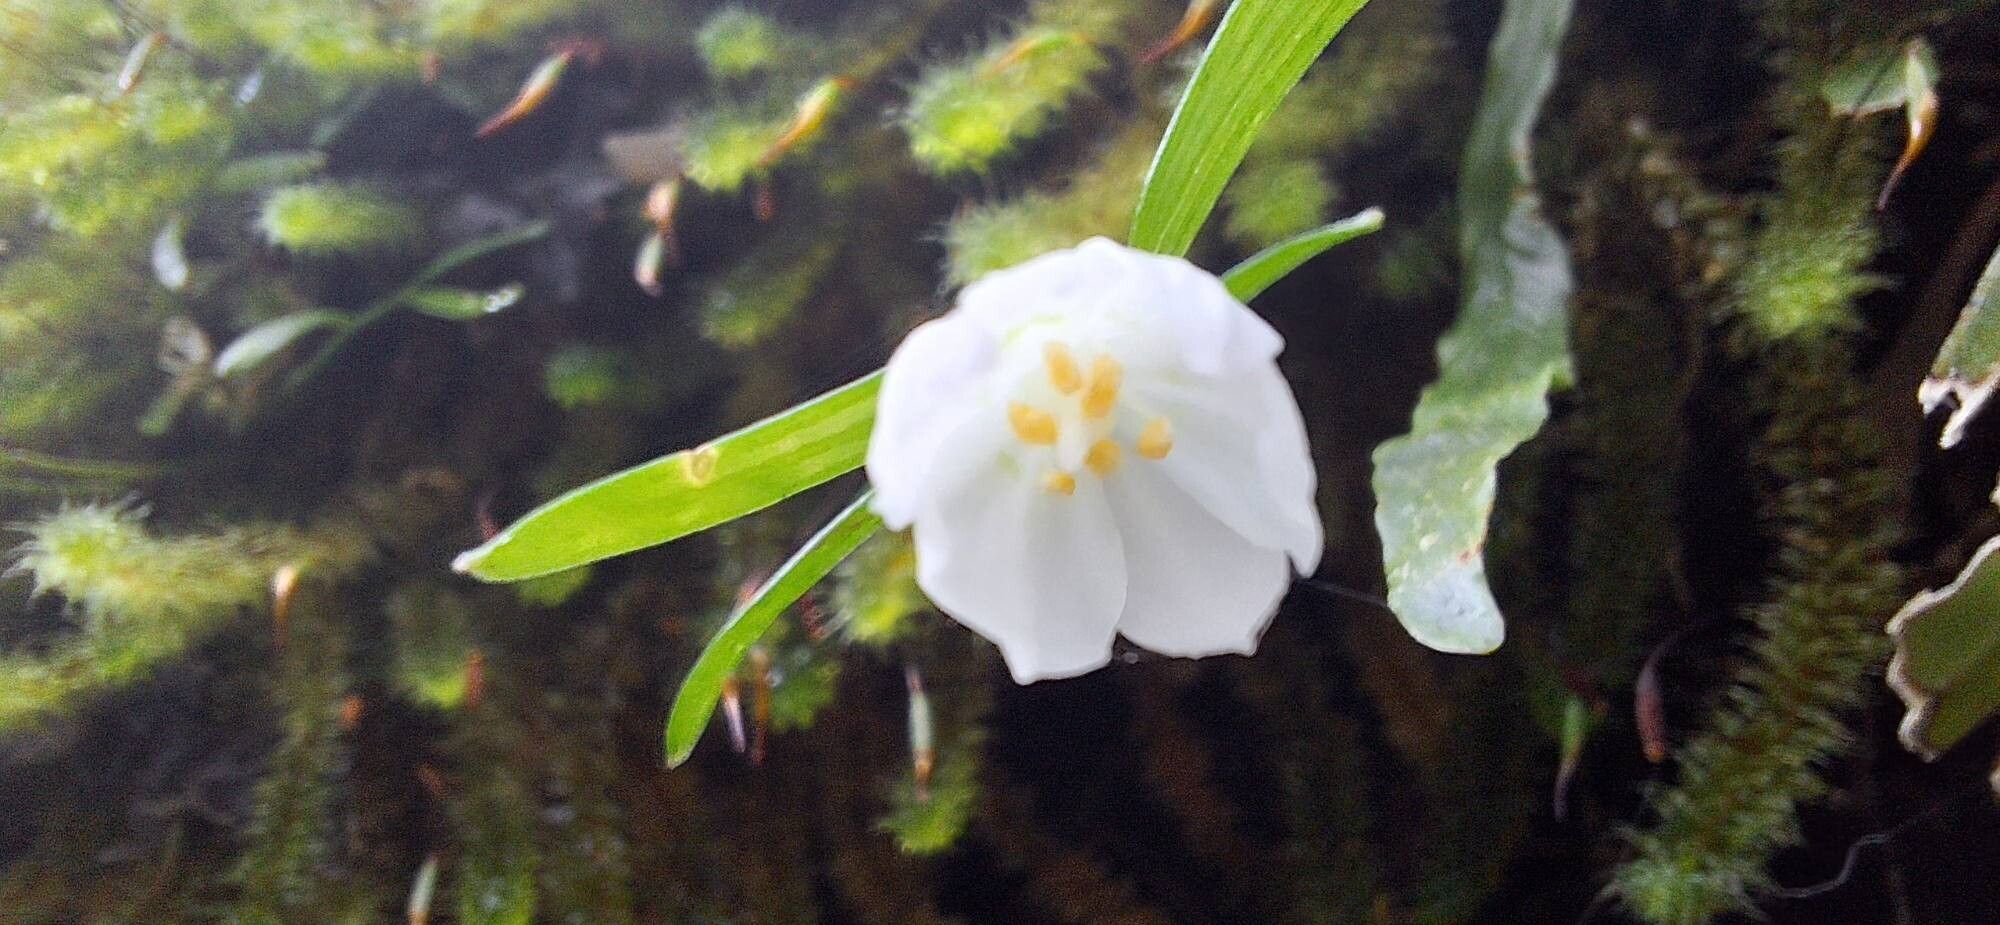
Oh, hello there! Come on in, grab a mug of something warm. Today, we’re going to chat about a truly delightful plant: Luzuriaga parviflora. If you haven’t encountered this beauty before, picture delicate, bell-shaped flowers dangling like tiny pearls, often tinged with a lovely pink or white. It’s a gem for shady corners, bringing a touch of understated elegance to the garden or your indoor jungle.
And the best part? Bringing more of these beauties into your life through propagation is incredibly rewarding. Now, I’ll be honest, Luzuriaga parviflora isn’t the absolute easiest plant to propagate for a complete beginner, but it’s certainly doable with a little patience and the right approach. Think of it as a fun challenge, a chance to really get to know your plant.
The Best Time to Start
For Luzuriaga parviflora, timing is key to achieving the best results. I find that the late spring or early summer is absolutely prime time. This is when the plant is bursting with new growth and has plenty of energy to dedicate to forming roots. Look for stems that are semi-hardwood – not brand new and spindly, but not woody and old either. They should have a slight bend to them when you try to snap them.
Supplies You’ll Need
Gathering your supplies beforehand makes the whole process so much smoother. Here’s what I always have on hand:
- Sharp Pruning Shears or a Craft Knife: For clean cuts, which are crucial.
- Rooting Hormone: A powder or gel can give your cuttings a real boost.
- Well-Draining Potting Mix: I like a blend of perlite, peat moss, and a bit of compost.
- Small Pots or Seedling Trays: Clean and with drainage holes, of course!
- Clear Plastic Bags or a Mini Greenhouse: To create a humid environment.
- A Watering Can with a Fine Rose: For gentle watering.
- Optional but Helpful: Heat Mat: Especially if your propagation area is on the cooler side.
Propagation Methods
Let’s get our hands dirty! While Luzuriaga parviflora can be a bit shy with water propagation, stem cuttings are my go-to method for success.
Stem Cuttings:
- Take Your Cuttings: In late spring or early summer, select healthy, semi-hardwood stems. Using your sharp pruning shears or craft knife, make a clean cut just below a leaf node (the point where a leaf attaches to the stem). Aim for cuttings that are about 4-6 inches long.
- Prepare the Cuttings: Gently remove the lower leaves from your cuttings, leaving just a couple of leaves at the tip. This prevents them from rotting in the soil. If the remaining leaves are very large, you can even cut them in half horizontally to reduce water loss.
- Apply Rooting Hormone: Dip the cut end of each stem into your rooting hormone. Tap off any excess. This step isn’t always strictly necessary, but I find it really ups the success rate, especially with plants that can be a bit fussier.
- Plant the Cuttings: Fill your clean pots with the well-draining potting mix. Make a small hole in the center with a pencil or your finger. Insert the treated end of your cutting into the hole, ensuring at least one leaf node is buried. Gently firm the soil around the stem.
- Create a Humid Environment: Water the soil gently. Then, cover the pots with a clear plastic bag or place them inside a mini greenhouse. Make sure the plastic doesn’t touch the leaves if possible. This traps moisture and creates a humid microclimate, which is essential for cuttings to root.
The “Secret Sauce” (Pro Tips)
Here are a couple of tricks I’ve picked up over the years that really make a difference:
- Bottom Heat is Your Friend: If you have a heat mat, place your pots on it. This gentle warmth stimulates root growth from below, which is a game-changer for many plants, including Luzuriaga parviflora. It replicates the warmth of the soil surface in its natural growing environment.
- Don’t Disturb the Nest: Once your cuttings are planted, resist the urge to keep pulling them up to check for roots! You’ll only damage delicate new growth. Wait at least 4-6 weeks before giving a gentle tug to see if there’s resistance.
Aftercare & Troubleshooting
Once you start seeing new leaf growth or feel that resistance when you gently tug a cutting, you know you’re on your way!
- Gradual Acclimation: Slowly acclimate your rooted cuttings to their new environment. If they’ve been in a plastic bag, gradually open it for longer periods over a week or so.
- Watering: Keep the soil consistently moist but not soggy. Overwatering is the fastest way to invite trouble.
- Light: Place your new plants in bright, indirect light. Avoid direct sun, which can scorch their tender leaves.
The most common sign of failure is rot. If your cutting turns mushy and black, it’s usually a sign of too much moisture and not enough air circulation. If you see this, unfortunately, that particular cutting is likely lost. Don’t get disheartened if you have a few failures; it’s all part of the learning process.
A Encouraging Closing
And there you have it! Propagating Luzuriaga parviflora is a journey, and like all good gardening endeavors, it requires a bit of faith and a lot of patience. Enjoy the process, celebrate every tiny new leaf, and before you know it, you’ll have a whole collection of these charming bloomers. Happy gardening!
Resource:
https://identify.plantnet.org/k-world-flora/species/Luzuriaga%20parviflora%20(Hook.f.)%20Kunth/data