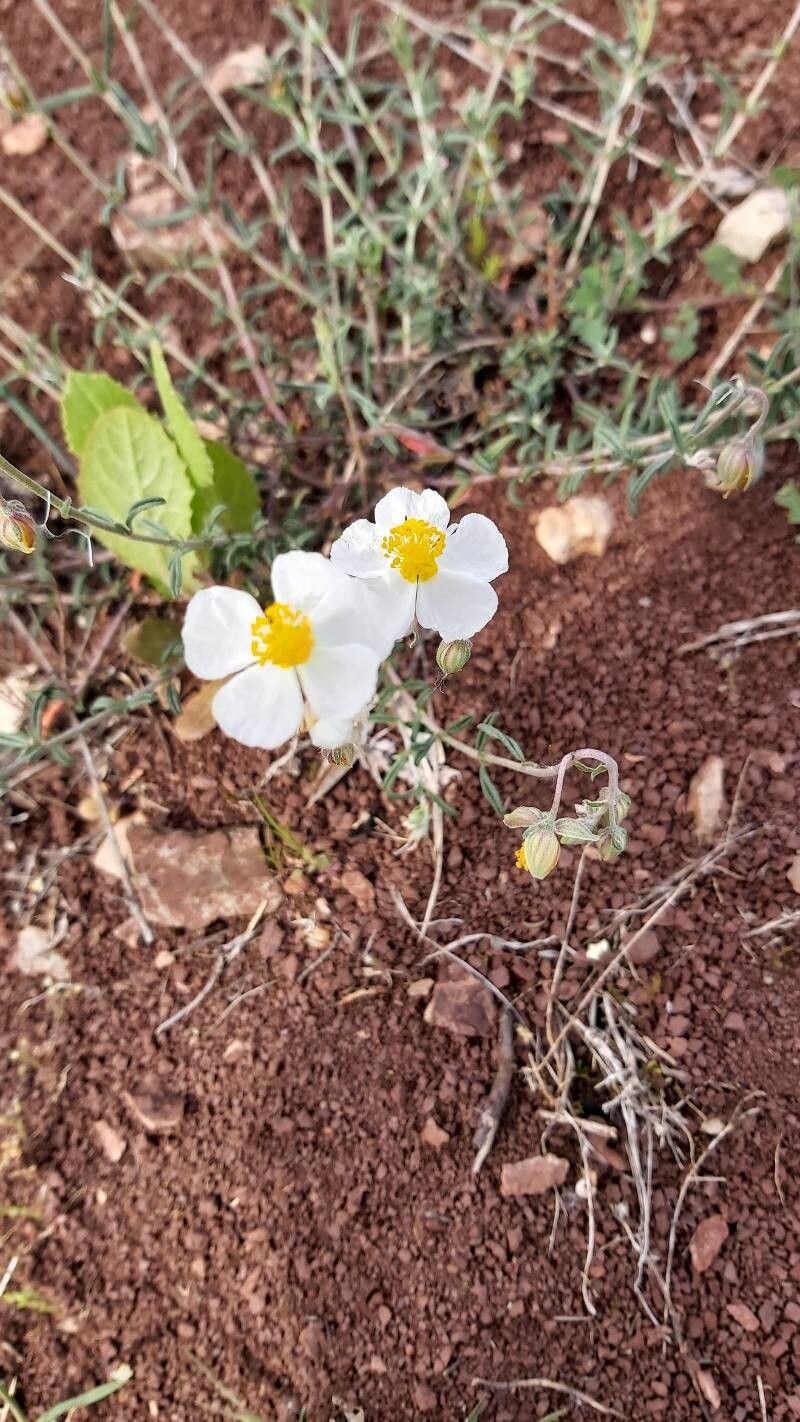
Oh, hello there! Pull up a chair, let’s talk about a little gem in the garden: Helianthemum violaceum, or as many of us lovingly call them, Rock Roses. Aren’t they just delightful? Those delicate, vibrant flowers, often in shades of purple and pink, blooming so generously through the warmer months. They bring such a pop of color to rock gardens, borders, or even spilling over the edges of containers. And the best part? Learning to propagate them yourself! It’s a deeply satisfying feeling to take a piece of a plant you love and help it grow into a whole new one. For those starting out, I’d say Helianthemum violaceum is wonderfully companionable for learning about propagation. It’s generally quite forgiving.
The Best Time to Start
For the highest success rates, I’ve found that late spring to early summer is your golden window. This is when the plant is actively growing, and the stems have matured a bit but aren’t quite woody. Think of it as the perfect “just right” stage – not too soft and not too hard. Timing is everything with propagation, and you’ll see your efforts pay off beautifully if you choose this period.
Supplies You’ll Need
Gathering your tools beforehand makes the whole process so much smoother. Here’s what I always have on hand:
- Sharp Pruning Shears or a Craft Knife: You need a clean cut to prevent damage.
- Rooting Hormone (Optional but Recommended): A little dip in this magic powder can give your cuttings a head start.
- Fine, Gritty Potting Mix: A good blend of perlite, vermiculite, and a bit of peat or coir works wonders. Think fast-draining! I often use a 50/50 mix of perlite and seed-starting mix.
- Small Pots or Seed Trays: Clean pots are key to preventing disease.
- Plastic Bags or a Propagator Lid: These create a humid mini-greenhouse for your cuttings.
- Watering Can with a Fine Rose Head: Gentle watering is essential.
Propagation Methods
My go-to method for Helianthemum violaceum is stem cuttings. It’s straightforward and yields great results.
- Take Your Cuttings: On a bright, non-rainy morning, select healthy, non-flowering stems from your mature plant. Pinch or cut pieces that are about 4-6 inches long. Make your cut just below a leaf node (where a leaf meets the stem).
- Prepare the Cuttings: Gently remove the lower leaves from your cuttings, leaving just the top few leaves at the very tip. This prevents them from rotting in the soil. If you’re using rooting hormone, dip the cut end into the powder now, tapping off any excess.
- Plant Your Cuttings: Fill your clean pots or trays with your gritty potting mix. Make a small hole with your finger or a pencil.
- Insert the Cuttings: Gently push the cut end of each cutting into the hole, ensuring the node where you removed the leaves is covered by soil. Firm the soil gently around the base.
- Water Gently: Moisten the soil with your watering can, but don’t drench it. The soil should be consistently moist, not waterlogged.
- Create Humidity: Cover the pots with a plastic bag or place them in a propagator. This traps moisture, which is vital for cuttings to root. Make sure the leaves don’t touch the plastic – you can use little stakes to prop it up.
The “Secret Sauce” (Pro Tips)
Now, for a couple of little tricks I’ve picked up over the years:
- Don’t use soft, floppy new growth. You want stems that have a bit of substance to them, something you can snap rather than bend. This resilience is key to successful rooting.
- Bottom heat can be a game-changer, especially if your propagation area is a bit cooler. Placing your pots on a heat mat designed for plants will encourage root development much faster and more consistently. You’ll often see root formation begin earlier.
Aftercare & Troubleshooting
Once your cuttings are planted, keep them in a bright spot, but out of direct, scorching sunlight. Mist them lightly every few days to maintain that crucial humidity, especially if they’re not in a propagator.
You’ll know your cuttings have rooted when you see new growth appearing at the tip, or when you give them a very gentle tug and feel some resistance. This can take anywhere from 3 to 6 weeks, so be patient!
The most common problem you’ll encounter is rot. If your cuttings look mushy and dark at the base, or the leaves turn yellow and fall off with no sign of rooting, rot has likely set in. This is usually due to too much moisture or not enough air circulation. If you see it, it’s best to discard those cuttings and start again, ensuring your soil is well-draining and you’re not overwatering. A bit of airflow can prevent this too, so occasionally take the plastic off for a few minutes.
A Encouraging Closing
Growing new plants from cuttings is such a rewarding journey. It connects you deeply with the cycle of nature. Don’t be discouraged if a few don’t make it – that’s part of the learning process for all of us, no matter how long we’ve been gardening. Just keep trying, enjoy the feel of the soil in your hands, and before you know it, you’ll have a whole collection of beautiful Helianthemum to share! Happy propagating!
Resource:
https://identify.plantnet.org/k-world-flora/species/Helianthemum%20violaceum%20(Cav.)%20Pers./data