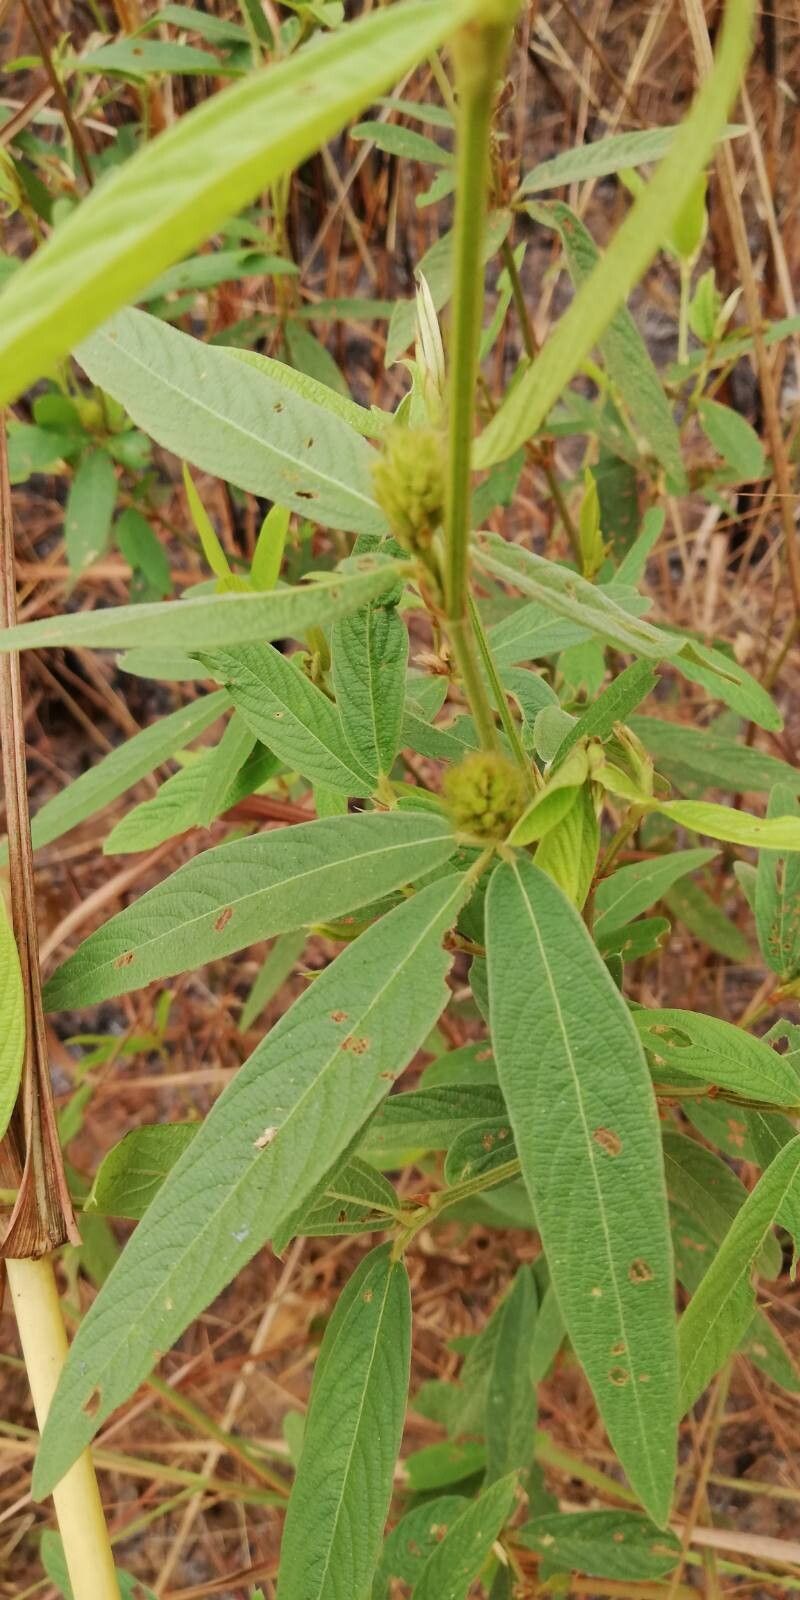
Oh, hello there! Come on in, grab a mug – I’ve got some freshly brewed coffee here. Today, we’re diving into something truly special: Eriosema laurentii. You know, those lovely plants with their charming, pea-like flowers and that wonderful, understated elegance? They really do bring a bit of sunshine to any corner of the garden or windowsill. And the best part? Propagating them is a wonderfully rewarding experience. It’s like creating little bits of magic you can share. Now, I’ll be honest, Eriosema laurentii isn’t the absolute easiest plant for a complete beginner to propagate, but with a little guidance and the right approach, I promise you can absolutely succeed!
The Best Time to Start
For the highest success rate with Eriosema laurentii, aim to propagate during its active growing season. I find that late spring to early summer is usually your sweet spot, after the risk of frost has passed and the plant is really putting on new growth. You want cuttings that are healthy, vigorous, and have plenty of energy to develop roots. Avoid taking cuttings from plants that are stressed, flowering heavily, or have just finished a growth spurt.
Supplies You’ll Need
Here’s what I always have on hand when I’m getting ready to propagate:
- Sterile pruning shears or a sharp knife: Cleanliness is key to prevent disease.
- Rooting hormone (optional, but recommended): This significantly boosts your chances. I like a powder form for cuttings.
- Well-draining potting mix: A mix of perlite, sand, and peat moss (or coco coir) works wonders. You can also buy commercially available seed-starting or succulent mixes.
- Small pots or trays: Clean, with drainage holes.
- Clear plastic bags or a propagator lid: To create a humid environment.
- Watering can or spray bottle: For gentle watering.
Propagation Methods
Eriosema laurentii is most commonly propagated from stem cuttings. It’s a straightforward process if you follow a few simple steps.
-
Take Your Cuttings: Choose a healthy, non-flowering stem. Using your sterilized shears, make a clean cut just below a leaf node (where a leaf grows from the stem). Aim for cuttings that are about 4-6 inches long. Remove the lower leaves, leaving just a few at the top. This helps prevent rot and allows the plant to focus its energy on rooting.
-
Prepare the Cuttings: If you’re using rooting hormone, now’s the time. Dip the cut end of the stem into the rooting hormone powder, tapping off any excess.
-
Plant Your Cuttings: Fill your small pots or trays with your prepared well-draining potting mix. Make a small hole in the center of the soil with your finger or a pencil. Gently insert the cut end of your stem cutting into the hole, about an inch deep, and firm the soil around it.
-
Create a Humid Environment: Water the soil gently, ensuring it’s moist but not waterlogged. Then, cover the pot with a clear plastic bag, holding it up with a skewer or stake so it doesn’t touch the leaves, or place it under a propagator lid. This traps moisture and creates a mini-greenhouse effect, which is crucial for cuttings to root.
-
Placement is Key: Place your pots in a bright location with indirect sunlight. Avoid direct sun, as it can scorch the young cuttings.
The “Secret Sauce” (Pro Tips)
Okay, so here are a couple of my tried-and-true tips that I’ve learned over the years. They might seem small, but they make a real difference!
-
Don’t let the leaves touch the water: When you water after planting, make sure not to splash water onto the leaves of the cuttings inside the plastic bag. Any collected water sitting on the leaves can encourage fungal diseases and rot.
-
Consider bottom heat (if possible): If you have one, placing your propagator on a gentle seedling heat mat can significantly speed up root development. Eriosema laurentii, like many tropical plants, loves a little warmth from below to encourage those roots to get going. It’s not essential, but it’s a game-changer!
Aftercare & Troubleshooting
Once your cuttings have happily developed roots – you’ll know when you see new growth or gently tug on the stem and feel resistance – it’s time to transition them. Gradually acclimate them to normal humidity by opening the plastic bag a little more each day over a week. Water them as you would a mature plant, allowing the soil to dry out slightly between waterings.
The most common issue you might encounter is rot. If you see your cutting turning black and mushy, or if it wilts dramatically and doesn’t perk up, it’s likely rot. This often happens from overwatering or from being in too high humidity for too long. If you spot it early, you might be able to salvage a healthy section and try again. Just make sure your soil is super well-draining next time and don’t be afraid to let it dry out a bit between waterings.
A Moment of Encouragement
Propagating plants is a journey, not a race. Some cuttings will take off immediately, while others might take their sweet time. My best advice? Be patient. Enjoy the process of nurturing these new little lives. Watching those first tiny roots emerge is a truly magical moment, and soon you’ll have more beautiful Eriosema laurentii to enjoy, share, or plant out. Happy propagating!
Resource:
https://identify.plantnet.org/k-world-flora/species/Eriosema%20laurentii%20De%20Wild./data