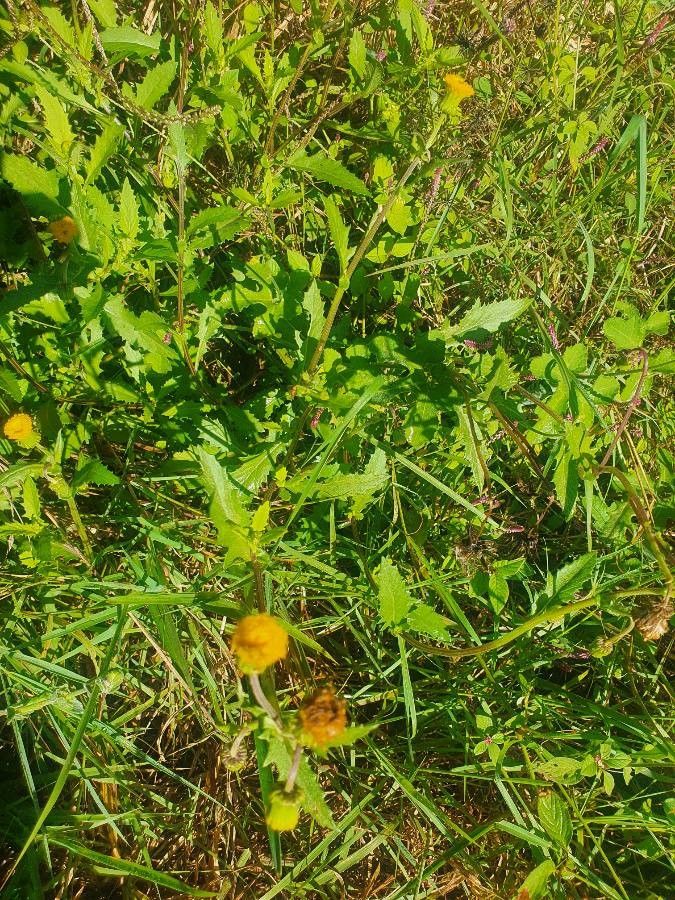
Hello there, fellow plant lovers! Today, we’re diving into the delightful world of Crassocephalum picridifolium, a plant that brings such a vibrant splash of color and interesting texture to any garden. I’ve spent countless hours with this beauty in my own garden, and I’m always delighted by how easy it is to share its joy with others. If you’re looking to expand your collection or share these cheerful blooms with friends, propagating this plant is a truly rewarding endeavor. And the best part? It’s an absolute breeze, even for those just starting out in the green-thumb journey.
The Best Time to Start
When you’re ready to get your hands dirty with Crassocephalum picridifolium, aim for the late spring or early summer. This is when the plant is in its most vigorous growth phase, meaning it’s full of energy and ready to spring back after taking cuttings. You’ll find the stems are firm and less prone to wilting during this time. Waiting until the plant has established itself after its initial spring growth spurt is key for the highest success rate.
Supplies You’ll Need
Gathering your supplies before you begin makes the whole process much smoother. Think of it as prepping your ingredients before a delicious meal! Here’s what you’ll want on hand:
- Sharp pruning shears or a clean, sharp knife: For making neat cuts.
- Potting mix: A well-draining mix is crucial. I like to use a blend of about 70% potting soil and 30% perlite or coarse sand.
- Small pots or seed trays: Around 3-4 inches in diameter are perfect for starters. Make sure they have drainage holes!
- Rooting hormone (optional but helpful): This powder or gel can give your cuttings a little boost.
- Watering can with a fine rose or spray bottle: For gentle watering.
- Plastic bags or a propagator lid: To create a humid environment.
Propagation Methods
Crassocephalum picridifolium is wonderfully forgiving, and it’s quite happy to be propagated by stem cuttings. This is my go-to method, and it’s incredibly reliable.
Here’s how we’ll do it:
- Take Your Cuttings: Head out to your plant with your sharp shears or knife. Look for healthy, non-flowering stems that are about 4-6 inches long. Make a clean cut just below a leaf node (that little bump where a leaf emerges from the stem). This is where new roots will form. You can take several cuttings at once, but don’t go overboard and stress your parent plant.
- Prepare the Cuttings: Gently remove the lower leaves from each cutting, leaving just a few at the top. This prevents them from rotting once they’re in the soil. If you’re using rooting hormone, dip the cut end of each stem into the powder or gel now, tapping off any excess.
- Potting Up: Fill your small pots or seed trays with your prepared, well-draining potting mix. Moisten the soil until it’s damp but not soggy.
- Planting the Cuttings: Make a small hole in the center of the soil with your finger or a pencil. Insert the cut end of the stem cutting into the hole, ensuring the leaf nodes you cleared are below the soil surface. Gently firm the soil around the stem to secure it.
- Create a Humid Environment: This is where the magic happens. Water the soil lightly once more. Then, cover the pots with a clear plastic bag, making sure the leaves don’t touch the sides too much, or place them under a propagator lid. This traps moisture and creates a mini-greenhouse effect, which is vital for root development.
- Placement: Find a bright spot out of direct sunlight. A gently lit windowsill or a shaded area in your greenhouse is perfect.
The “Secret Sauce” (Pro Tips)
Over the years, I’ve picked up a few little tricks that can really boost your propagation success.
- Bottom Heat Works Wonders: If you have a small propagator with a heating element, or even just a warm spot on a windowsill, providing gentle bottom heat can significantly speed up the rooting process. It mimics the warmth of spring soil and encourages root formation.
- Be Patient with Water: While I primarily use soil for this plant, if you’re tempted to try water propagation, make sure no leaves are submerged. Any foliage in the water will quickly turn mushy and rot, which can halt root development or even kill the cutting.
- Don’t Overwater: This is probably the biggest pitfall for beginners. The soil should remain consistently moist but never waterlogged. Soggy soil is a recipe for rot, especially with tender cuttings. Check the moisture by gently pressing your finger into the soil. If it feels dry, it’s time to water.
Aftercare & Troubleshooting
Once your cuttings have been planted, the waiting game begins! Keep an eye on their progress. You’ll know they’re ready to go when you see new growth emerging from the top. You might also feel a gentle tug when you very lightly pull on a cutting – that’s a good sign of root development. This usually takes anywhere from 2 to 4 weeks, sometimes a little longer.
If things aren’t going as planned, don’t fret! The most common issue is rot, which usually presents as a mushy, brown stem at the soil line. This is almost always a sign of overwatering or poor drainage. If you see this, unfortunately, that cutting is likely lost. Remove it and check the moisture levels of your other cuttings.
When your new plants have developed a good root system and show signs of healthy new growth, you can gradually acclimate them to life outside their humid nursery by occasionally opening the plastic bag for short periods. Then, it’s time to transplant them into slightly larger pots. Continue to water them gently and provide bright, indirect light.
A Encouraging Closing
Propagating Crassocephalum picridifolium is such a joy, and I truly hope this guide gives you the confidence to give it a try. Remember, gardening is all about learning and enjoying the process. Be patient with your little plant babies, shower them with a little love and consistent care, and soon you’ll have a whole new generation of these cheerful beauties to enjoy. Happy propagating!
Resource: