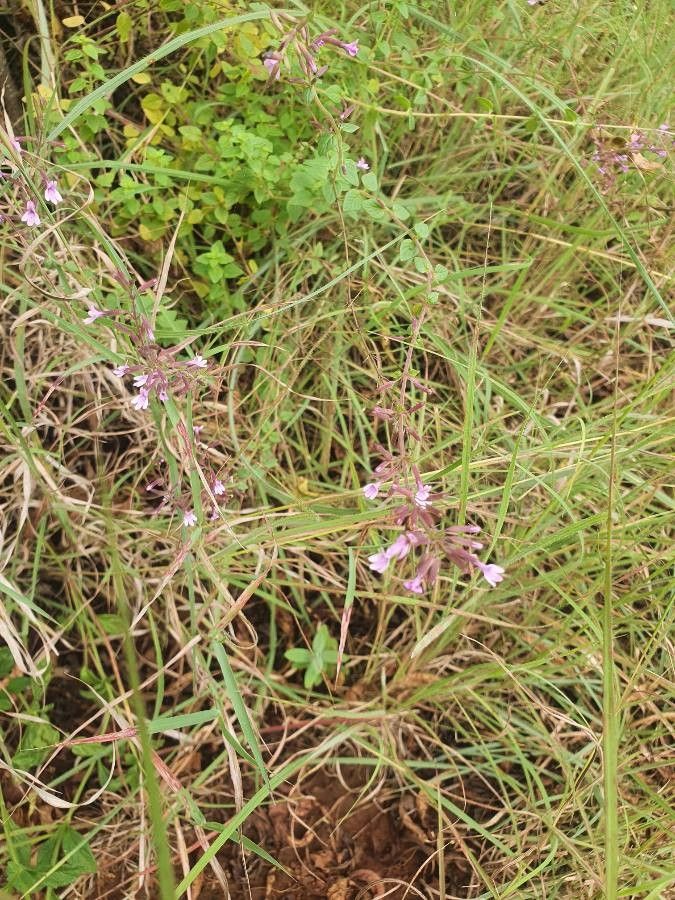
Hello, fellow plant lovers! Today, we’re diving into the wonderful world of Clinopodium abyssinicum. If you haven’t met this gem yet, imagine a fragrant, bushy perennial with lovely whorls of small, aromatic leaves and delicate blossoms that hummingbirds adore. It’s a real charmer, and the satisfaction of growing more of these beauties yourself is truly special. Good news – propagating Clinopodium abyssinicum is generally quite forgiving, even for those just starting their propagation journey!
When to Get Your Hands Dirty
The absolute sweet spot for propagating Clinopodium abyssinicum is late spring to early summer. This is when the plant is in its active growth phase and has plenty of fresh, healthy stems to work with. You want to choose stems that are not too woody but also not brand new, floppy growth. Think of that perfect stage – firm but still flexible.
Your Propagation Toolkit
Here’s what you’ll want to have on hand to make sure your propagation efforts are a success:
- Sharp Pruning Shears or a Craft Knife: Clean cuts are key, so make sure your tools are sterilized.
- Potting Mix: A well-draining mix is crucial. I like to use a blend of seed starting mix and perlite (about a 50/50 ratio). This helps prevent waterlogging, a common enemy of cuttings.
- Small Pots or Propagation Trays: Clean, empty pots are perfect.
- Rooting Hormone (Optional but Recommended): A rooting hormone powder or gel can give your cuttings a helpful boost.
- Plastic Bags or a Propagation Dome: This creates a humid environment, which is vital for successful rooting.
- Spray Bottle: For misting.
- Labels: Don’t forget to label your cuttings!
Bringing New Clumps to Life: Propagation Methods
Let’s get down to business! My go-to method for Clinopodium abyssinicum is stem cuttings. It’s straightforward and yields great results.
Stem Cuttings:
- Select Your Stems: Look for healthy, non-flowering stems. Gently pinch or snip off pieces that are about 4-6 inches long.
- Prepare the Cuttings: Remove the lower leaves from the bottom half of each cutting. This part will be going into the soil, and we don’t want those leaves rotting. You can leave the top few leaves intact. If the remaining leaves are very large, you can cut them in half to reduce water loss.
- Apply Rooting Hormone (Optional): Dip the cut end of each stem into your rooting hormone. Tap off any excess.
- Plant Your Cuttings: Fill your small pots with the prepared potting mix. Make a small hole with your finger or a pencil. Gently insert the cut end of the Clinopodium abyssinicum cutting into the hole, ensuring the base is well-covered.
- Water Gently: Water the soil lightly, just enough to moisten it. Avoid drowning them!
- Create Humidity: Cover the pots with a plastic bag (propping it up with stakes so it doesn’t touch the leaves) or place them under a propagation dome. Place them in a bright spot, but out of direct sunlight.
Water Propagation (A Quick Alternative):
While cuttings are my preference for the best establishment, you can also try rooting small stem pieces in water.
- Take 3-4 inch cuttings, remove lower leaves, and place them in a jar of water.
- Crucially, make sure no leaves are submerged in the water. Leaves in the water will rot and can kill your cutting.
- Change the water every few days. Once you see tiny white roots emerging, you can transplant them into your well-draining potting mix.
The “Secret Sauce”: My Expert Tips
Here are a couple of things I’ve learned over the years that make a real difference:
- Bottom Heat is Your Friend: While not strictly necessary, placing your pots on a gentle heating mat can significantly speed up root formation. It mimics the warmth of spring soil and really encourages those roots to get moving. Just ensure it’s not too hot – a gentle warmth is all you need.
- Don’t Be Afraid to Prune: If your cuttings get a bit leggy before they’ve rooted, a light pinch at the tip can encourage them to branch out, making for a bushier plant down the line. It sounds counterintuitive, but it works wonders!
Aftercare and What to Watch For
Once your Clinopodium abyssinicum cuttings have developed a good root system – you’ll see new growth appearing at the top, and if you gently tug, there will be resistance – it’s time to transition them.
- Gradually Acclimate: If you used a plastic bag, start by opening it for a few hours a day, then a full day, before removing it completely. This helps them adjust to the drier air.
- Potting Up: Once they have a robust root ball, pot them up into slightly larger containers with your regular potting mix.
- Watering: Water them well after potting up, then allow the top inch of soil to dry out between waterings.
- Troubleshooting: The most common issue is rot, usually caused by overwatering or poor drainage. If you see stems turning black and mushy, or leaves yellowing and dropping, it’s often a sign of too much moisture. Pull out any affected cuttings and allow others to dry out more. Sometimes, a lack of rooting is simply impatience – don’t give up too soon!
Go Forth and Propagate!
See? It’s really not as daunting as it might seem. Be patient with your little cuttings, give them the right conditions, and before you know it, you’ll have a whole new collection of fragrant Clinopodium abyssinicum to enjoy. Happy gardening!
Resource: