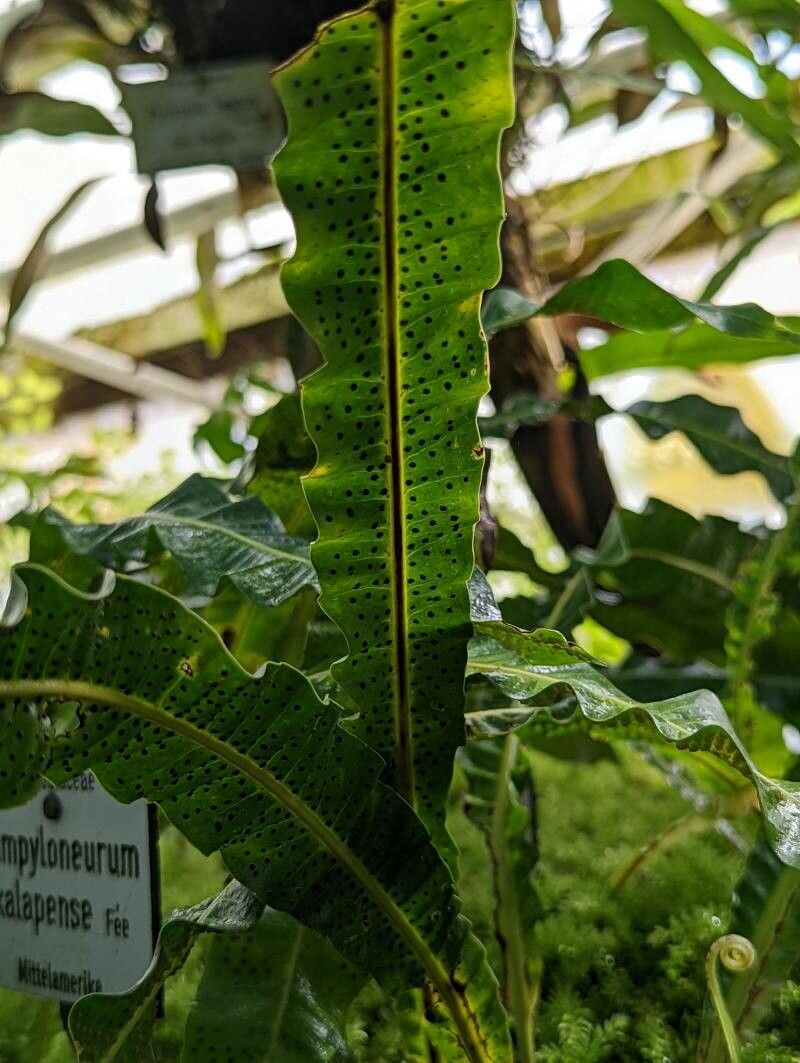
Hello, fellow plant lovers! I’m so excited to talk to you today about a truly special fern: Campyloneuron xalapense. If you’ve ever seen this beauty gracing a shady corner or cascading from a pot, you know exactly why it captures our hearts. Its long, elegant fronds bring such a lush, tropical feel to any space. And the best part? You can easily bring that magic into your own home by propagating it!
Now, I know for some of you, the idea of propagating might sound a bit daunting. But don’t you worry. Campyloneuron xalapense is a surprisingly forgiving plant, and I think even those of you just dipping your toes into the propagation pool will find success. There’s a unique joy in nurturing a tiny new plant from a piece of its parent, and this fern is a wonderful way to experience that!
The Best Time to Start
When it comes to getting your new Campyloneuron xalapense babies going, spring is your golden ticket. Think of it as the plant’s “getting started” season. After a period of rest, the sap is flowing, and the plant is bursting with energy. This robust growth makes it much more responsive to propagation efforts, giving your cuttings the best possible chance to root and thrive. You can also have success in early summer, as long as you keep the conditions consistent.
Supplies You’ll Need
Let’s get our toolkit ready. Having the right supplies makes the whole process smoother, trust me.
- Sharp, clean pruning shears or scissors: For making clean cuts.
- Rooting hormone (optional, but helpful): A little boost can speed things up, especially when you’re starting out.
- A well-draining potting mix: I like a blend of peat moss, perlite, and a bit of orchid bark. This provides aeration and moisture retention without getting waterlogged.
- Small pots or a propagation tray: For your cuttings to establish roots in.
- A clear plastic bag or humidity dome: To maintain a humid environment.
- Watering can with a fine rose: For gentle watering.
Propagation Methods
Campyloneuron xalapense is best propagated through division and wandering cuttings. Let’s break these down.
Division
This is, hands down, the easiest and most successful method for these ferns. You’re essentially separating the bigger plant into smaller ones!
- Gently remove the parent plant from its pot. Try to do this when the soil is slightly moist, not bone dry. This makes it easier to work with.
- Inspect the root ball. You’ll likely see clumps or sections that are naturally separated.
- Use your hands or a clean knife to carefully split the plant into sections. Each section should have at least one good-sized frond and a healthy portion of roots. Don’t be afraid to be a little firm, but be gentle with the delicate roots.
- Immediately pot up your new divisions. Use your well-draining potting mix in the new pots.
- Water gently until you see water drain from the bottom. Then, place the pots in a humid spot, perhaps under a plastic bag or in a larger terrarium.
Wandering Cuttings
This method is a bit more “hands-on” and involves taking pieces of the fronds. It’s a bit slower but very satisfying.
- Select a healthy, mature frond from your plant. Look for one that’s not too old and yellow, but also not a brand-new, unfurling fiddlehead.
- With your clean shears, cut a section of the frond that includes a healthy piece of the rhizome (that’s the thick, creeping stem that can be visible on top of the soil). Aim for a cutting that’s about 3-4 inches long, with at least one or two smaller leaflets attached.
- Optional, but recommended: Dip the cut end into your rooting hormone. Tap off any excess.
- Plant the cutting. Gently push the cut end into your prepared potting mix. Make sure the rhizome piece is mostly buried, but the leaflets are still exposed.
- Cover the pot with a clear plastic bag or place it in a humidity dome. This is crucial for keeping the humidity high, which these ferns absolutely love.
- Place in bright, indirect light. Avoid direct sun, as it can scorch the delicate leaves.
The “Secret Sauce” (Pro Tips)
Alright, here are a few things I’ve learned over the years that can make a real difference.
- Don’t let the leaves touch the water (in propagation trays). If you’re using a method where the cuttings are in water, make sure only the cut end is submerged. Any leaf material in the water can rot, taking your cutting with it. For ferns, soil or a soilless medium is generally better than plain water anyway!
- Bottom heat is your friend. Ferns love a bit of warmth to encourage root development. Placing your pots on a gentle heating mat (set to around 70-75°F / 21-24°C) can significantly speed up the process. Just imagine giving those tiny roots a cozy, warm place to grow!
- Patience is key, especially with wandering cuttings. These ferns can be a little slow to show signs of new growth. Don’t be discouraged if you don’t see anything happening for a few weeks. Keep the conditions consistent, and trust the process. If you tug gently on a cutting and feel resistance, that’s a good sign it’s developing roots!
Aftercare & Troubleshooting
Once your new Campyloneuron xalapense has established roots (you’ll know when you see new fronds unfurling!), it’s time to treat it like the star it is.
- Gradually acclimate it to lower humidity. If you’ve been using a plastic bag, start by opening it for a few hours a day, then remove it entirely over a week or two.
- Continue to water when the top inch of soil feels dry. Always water thoroughly and allow excess to drain.
- Avoid direct sunlight. Keep your new fern in a bright spot with indirect light.
- Watch out for rot. The most common sign of failure is mushy, black stems or leaves, often accompanied by a foul smell. This is usually a sign of overwatering or poor drainage. If you see this, act quickly. Remove the affected parts and repot in fresh, dry mix if there’s still healthy tissue.
A Little Note of Encouragement
Propagating Campyloneuron xalapense is a wonderful journey. It’s a chance to connect with your plant on a deeper level and to share its beauty. Don’t get discouraged if your first attempt isn’t perfect. Every gardener learns through trial and error. Just enjoy the process, celebrate your successes, and keep on growing! Happy propagating!
Resource:
https://identify.plantnet.org/k-world-flora/species/Campyloneurum%20xalapense%20Fée/data