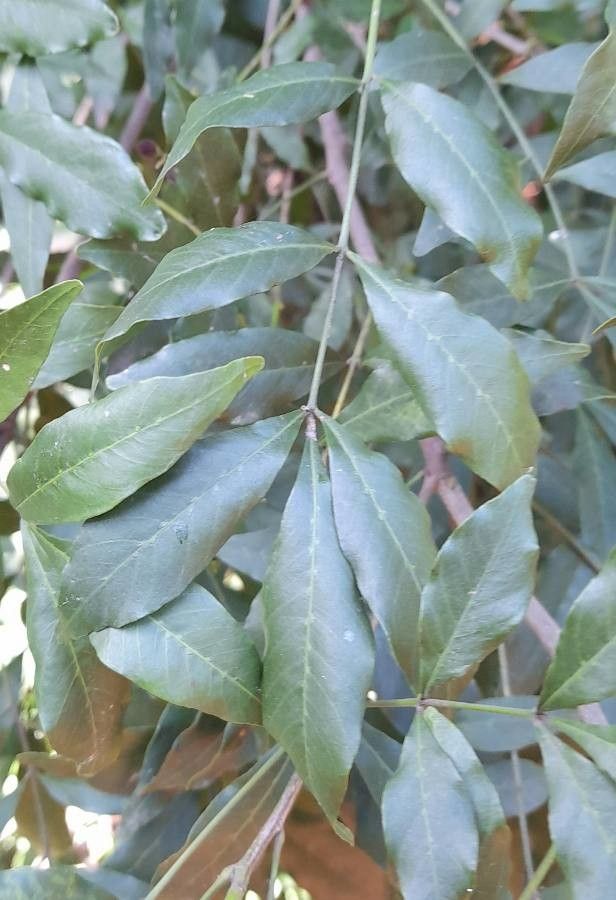
Oh, hello there! Come on in, grab a mug. Today, we’re diving into the wonderful world of propagating Trichilia elegans. If you’ve ever admired those gorgeous, glossy green leaves and the subtle charm of this tropical beauty, you’re in for a treat. Creating more of them yourself is incredibly satisfying, like a little secret handshake with nature. For those new to plant propagation, Trichilia elegans is a moderately forgiving plant, meaning a bit of patience and these tips will set you up for success.
The Best Time to Start
My personal favorite time to propagate Trichilia elegans is in late spring or early summer. The plant is in its active growth phase then, buzzing with energy. This means the cuttings are more likely to be robust and eager to send out roots. Picking stems that are new growth, but not too soft and floppy, is key. They should have a bit of resilience when you gently bend them.
Supplies You’ll Need
Here’s what I like to have on hand:
- Sharp Pruning Shears or a Clean Knife: For making clean cuts.
- Rooting Hormone (optional but recommended): A powdered or liquid form helps speed things up.
- Well-Draining Potting Mix: I usually blend about 50% perlite with 50% high-quality potting soil. Or, a mix specifically for African violets or tropicals works wonders.
- Small Pots or Seedling Trays: Clean ones, of course!
- Plastic Bag or Clear Cling Film: To create a mini-greenhouse effect.
- Stick or Skewer: To help make planting holes.
- Water: For drinking, and for a bit of propagation magic later!
- Optional Bottom Heat: A seedling heat mat can significantly boost success.
Propagation Methods
I find stem cuttings to be the most reliable way to go for Trichilia elegans.
- Select Your Stem: Look for a healthy stem that’s about 4-6 inches long. Make sure it has at least two sets of leaves.
- Make the Cut: Using your clean shears or knife, make a clean cut just below a leaf node (the point where a leaf attaches to the stem). Angle the cut slightly.
- Prepare the Cutting: Gently remove the lower leaves, leaving only the top 2-3 sets of leaves. This prevents them from rotting in the soil. If any of the remaining leaves are very large, I sometimes nick them with a clean cut or fold them in half and secure with a tiny bit of tape. This reduces water loss from the leaves while the cutting establishes roots.
- Apply Rooting Hormone (If Using): Dip the cut end of the stem into your rooting hormone, tapping off any excess.
- Plant Your Cutting: Fill your pot with your prepared potting mix. Use your stick or skewer to create a hole deep enough to bury at least one leaf node. Gently insert the cutting and firm the soil around it.
- Water Gently: Water the soil thoroughly but gently. You don’t want to dislodge the cutting.
- Create Humidity: Cover the pot with a clear plastic bag or cling film, securing it around the pot rim. This traps moisture and creates that humid environment cuttings love. You can use a few stakes to keep the plastic from touching the leaves.
- Place in Bright, Indirect Light: Find a spot that’s warm and bright, but out of direct, harsh sunlight.
If you’re feeling adventurous, water propagation can also work, though I find it a bit trickier for this specific plant.
- Follow steps 1-3 above.
- Instead of planting in soil, place the cutting in a clean jar or glass of water, ensuring the leaf nodes are submerged. Crucially, make sure no leaves are touching the water.
- Place the jar in bright, indirect light and change the water every few days to keep it fresh.
- Once roots are about an inch long, you can carefully transplant them into your potting mix.
The “Secret Sauce” (Pro Tips)
Here are a few things I’ve learned over the years:
- Bottom Heat is Your Friend: If you have a seedling heat mat, place your pots on it. This warmth circulating through the soil encourages root development like magic. It’s a game-changer, especially in cooler environments.
- Don’t Over-Water that Rooting Hormone! When using powder, make sure the end of the cutting is slightly moist before dipping. Too much moisture can make the hormone clump and not adhere well.
- Air Flow is Important Too: While we want humidity, completely sealing that plastic bag can sometimes lead to fungal issues. I like to peek inside daily and gently waft some fresh air in there, or even poke a few tiny holes in the bag if it feels too stagnant.
Aftercare & Troubleshooting
Once you start seeing new growth – tiny leaves unfurling or resistance when you gently tug the cutting – that’s a good sign of root formation!
- Gradually Acclimate: Once roots are well-established (you can often see them through the drainage holes, or the plant feels firm), gradually remove the plastic cover over a week. This helps the new plant adjust to lower humidity.
- Watering: Water when the top inch of soil feels dry. Better to underwater slightly than overwater.
- Troubleshooting: The most common foe is rot. If your cutting turns mushy, black, or smells off, it’s likely succumbed to rot. This usually happens from overwatering or poor drainage. If you see signs of this, sadly, it’s best to discard it and start again. Sometimes, if the rot is very early, you might be able to cut away the affected part and try to reroot the healthy top, but it’s a long shot. Wilting, without rot, could mean it hasn’t rooted yet and is struggling to get water. Keep the humidity up and be patient.
A Encouraging Closing
Propagating plants is a journey, and sometimes the most beautiful rewards come from the patients and persistence we cultivate. Don’t get discouraged if your first few attempts don’t yield perfect results. Each try is a learning opportunity! Enjoy the process of nurturing these little green hopefuls. Happy propagating!
Resource:
https://identify.plantnet.org/k-world-flora/species/Trichilia%20elegans%20A.Juss./data