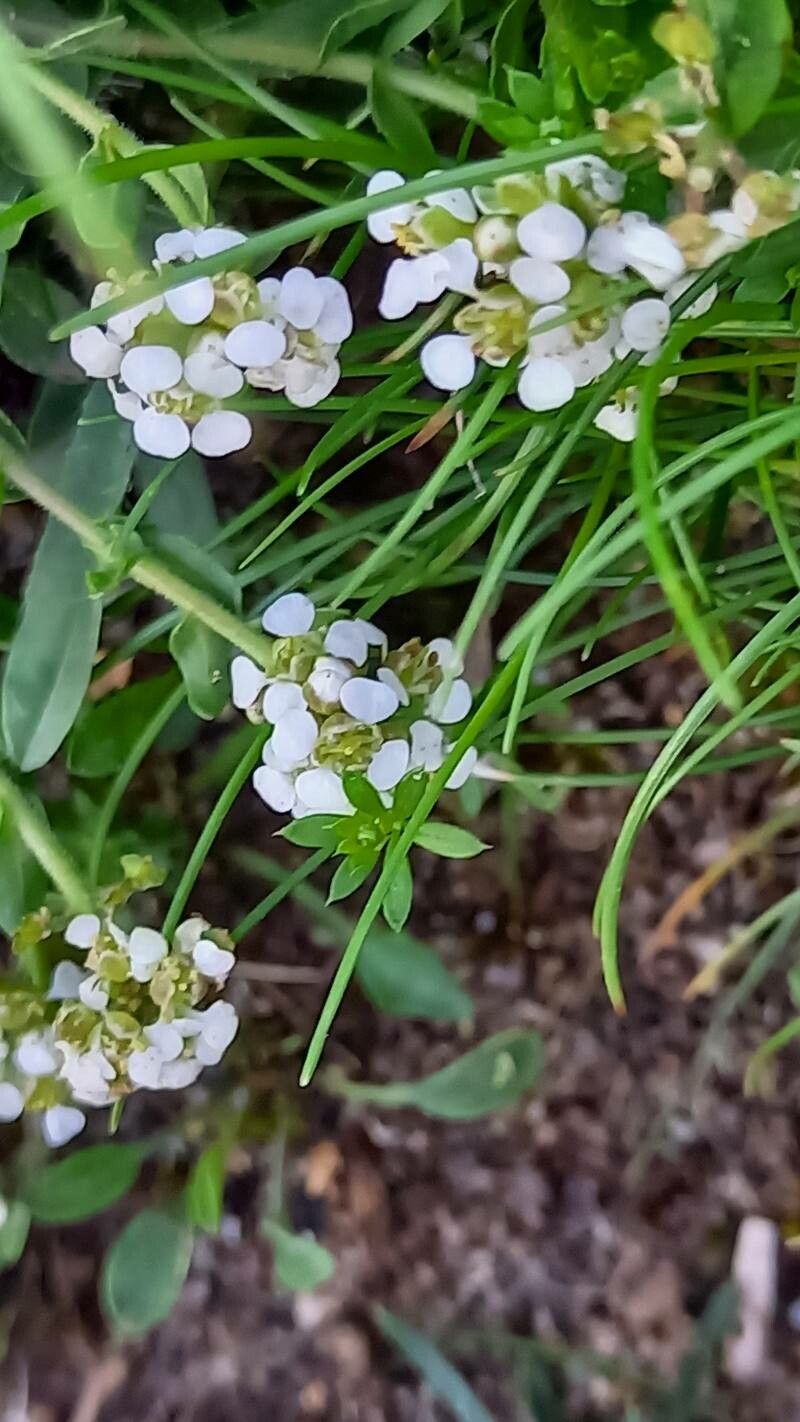
Oh, Lepidium hirtum! What a delightful little plant to bring into your garden. Its delicate, frothy foliage and subtle charm are truly a joy. If you’re looking for a way to expand your collection of this sweet Mediterranean native, or just love the satisfaction of growing from scratch, propagating Lepidium hirtum is a wonderfully rewarding endeavor.
Now, let’s talk about its beginner-friendliness. I’d say Lepidium hirtum is a forgiving plant, making it a good choice for those new to propagation. With a bit of care and attention, you’ll likely find success.
The Best Time to Start
For the absolute best chance of success, aim to propagate your Lepidium hirtum in late spring or early summer. This is when the plant is in full swing of its growing season, meaning it has plenty of energy to put into developing new roots. You’re looking for new, healthy growth – nothing too woody, and definitely not anything that looks stressed or tired.
Supplies You’ll Need
Gathering your tools beforehand makes the whole process much smoother. Here’s what I usually have on hand:
- Sharp pruning shears or a clean knife: For taking clean cuttings.
- Seed-starting mix or a well-draining potting mix: I usually opt for a mix that includes perlite or coarse sand for good aeration.
- Small pots or seed trays: Clean and with drainage holes, of course!
- Optional: Rooting hormone: While not strictly necessary for Lepidium hirtum, it can give cuttings a little boost.
- Watering can with a fine rose attachment: To avoid disturbing young roots.
- Clear plastic bags or a mini-greenhouse: To create a humid environment.
Propagation Methods
Lepidium hirtum is quite adaptable, and I find it does well with a couple of common methods.
Stem Cuttings
This is my go-to method for Lepidium hirtum.
- Take your cuttings: Using your clean pruning shears, snip off sections of new, non-flowering stems that are about 4-6 inches long. Make the cut just below a leaf node (where a leaf attaches to the stem).
- Prepare the cuttings: Gently remove the lower leaves from the cutting, leaving just a few at the top.
- Dip in rooting hormone (optional): If you’re using it, dip the cut end into the rooting hormone powder, tapping off any excess.
- Plant the cuttings: Moisten your seed-starting mix. Make small holes in the soil with a pencil or your finger and gently insert the cuttings, ensuring at least one leaf node is buried beneath the surface. Firm the soil gently around the base of each cutting.
- Water gently: Give them a light watering.
- Create humidity: Cover the pots or trays with a clear plastic bag, or place them in a mini-greenhouse. This is crucial for preventing the cuttings from drying out.
Water Propagation
This can be a fun way to watch the roots develop!
- Take your cuttings: Follow the same steps as above for taking and preparing stem cuttings.
- Place in water: Fill a clean jar or glass with fresh water and place your cuttings in it. Ensure the leaf nodes where you removed the leaves are submerged.
- Change water regularly: Change the water every few days to keep it fresh and prevent bacteria buildup.
The “Secret Sauce” (Pro Tips)
Here are a couple of things I’ve learned over the years that can really help:
- Don’t let the leaves touch the water in water propagation: If any leaves are submerged, they tend to rot. Nip them off before you place the cutting in the water. This is a small detail, but it makes a big difference!
- Provide gentle warmth: While not always essential, placing your pots or trays on a heating mat can significantly speed up root development. It mimics the warmth of spring and gives those little root initials a nudge.
Aftercare & Troubleshooting
Once you start to see signs of new growth – tiny leaves peeking out or resistance when you gently tug on a cutting – you know roots are forming!
- Gradual acclimatization: If your cuttings are under plastic, start by peeking under the bag for a few minutes each day, gradually increasing the time. This helps them adjust to drier air before you remove the cover entirely.
- Continue to water: Keep the soil consistently moist but not waterlogged. For water-propagated plants, once they have a good network of roots (about an inch long), you can transplant them into soil.
- Watch for rot: The most common issue is rot, which usually happens from too much moisture and poor air circulation. If a cutting turns mushy and black, sadly, it’s usually a lost cause. Remove it immediately to prevent it from affecting others. Yellowing leaves can also indicate overwatering or, conversely, a need for a bit more moisture.
A little patience goes a long way.
Growing new plants from cuttings is such a fulfilling part of gardening. Watching those tiny roots appear and eventually seeing a brand-new, healthy plant emerge is a thrill every time. So, get your hands dirty, enjoy the process, and soon you’ll have plenty of Lepidium hirtum to share!
Resource:
https://identify.plantnet.org/k-world-flora/species/Lepidium%20hirtum%20(L.)%20Sm./data