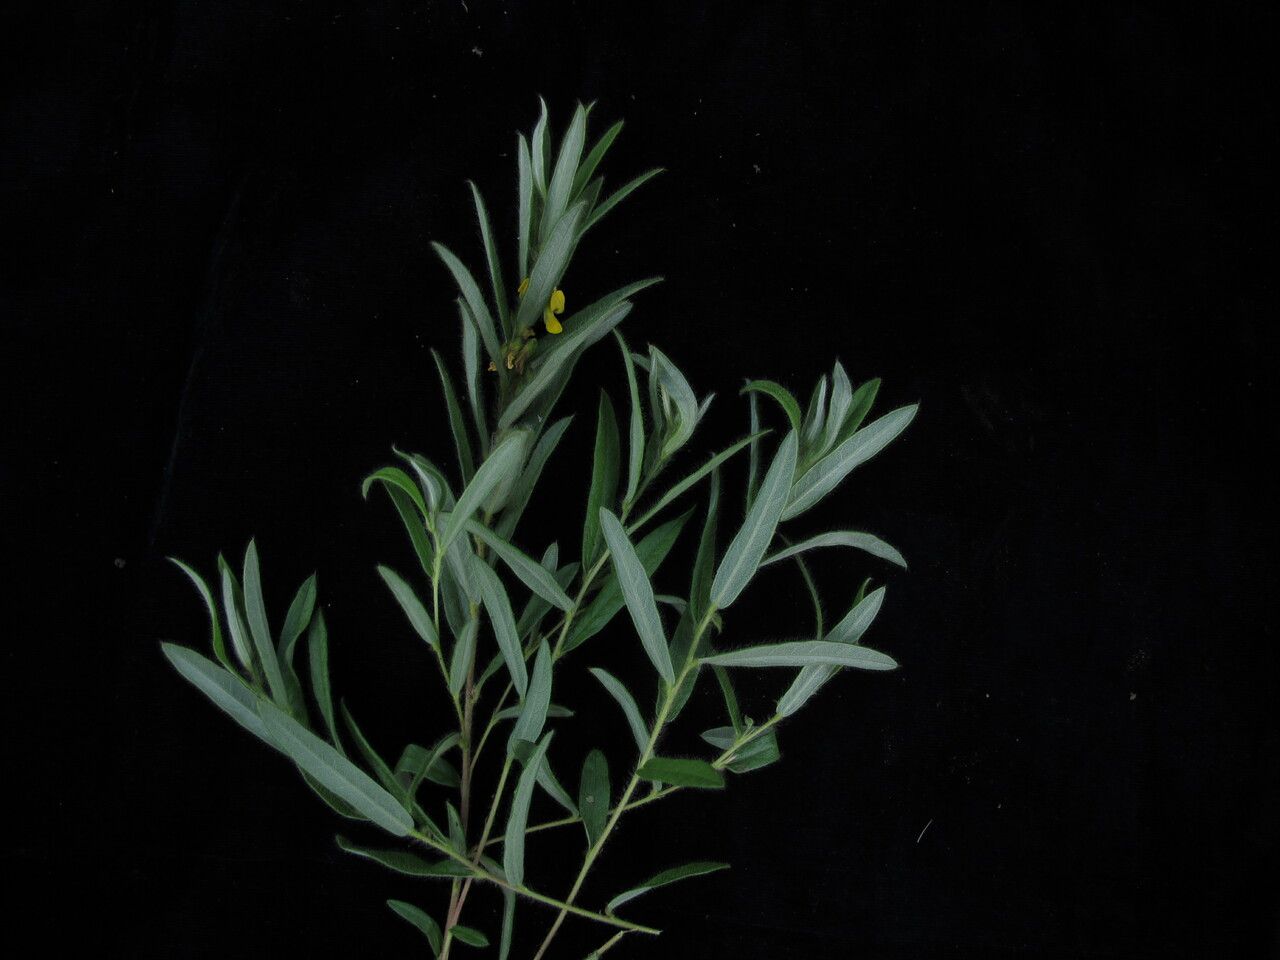
Hello fellow garden enthusiasts! Today, we’re diving into the wonderful world of propagating Eriosema chinense. If you’ve ever admired this plant for its lovely blooms and tidy habit, you’re in for a treat. I’ve been growing and tinkering with plants for two decades now, and I find propagating my favorites incredibly satisfying. It’s like getting a little piece of your garden to share, or even just to fill in a bare spot. For Eriosema chinense, I’d say propagation is moderately easy, which is great news for those who are just starting to get their hands dirty with propagation.
The Best Time to Start
For the highest success rate with Eriosema chinense, I find that late spring to early summer is absolutely your sweet spot. This is when the plant is actively growing and has plenty of energy to put into developing new roots. You’ll want to take cuttings from healthy, vigorous stems that haven’t flowered yet, or those that have just finished blooming.
Supplies You’ll Need
Before we get our hands dirty, let’s gather our toolkit:
- Sharp pruning shears or a clean sharp knife: You want a cut that’s clean, not crushed.
- Rooting hormone (optional, but recommended): This really gives your cuttings a boost.
- Small pots or seed trays: About 4-inch pots are usually perfect.
- Well-draining potting mix: A good blend is equal parts peat moss or coco coir, perlite, and a little bit of coarse sand. Regular potting soil can be too heavy.
- Watering can or mister: Gently watering is key.
- Clear plastic bags or propagation domes: These help maintain humidity.
- Labels and a marker: So you remember what you’ve planted!
Propagation Methods
My preferred method for Eriosema chinense is stem cuttings. It’s straightforward and usually yields great results.
- Select Your Cuttings: Look for healthy, non-flowering stems. You want stems that are about 4-6 inches long.
- Make the Cut: Using your clean shears, make a clean cut just below a leaf node. A leaf node is a point where a leaf or bud grows from the stem.
- Prepare the Cuttings: Gently remove the lower leaves, leaving just two or three at the very top. This prevents them from rotting in the soil. If the leaves are very large, you can even cut them in half to reduce water loss.
- Apply Rooting Hormone (Optional): Dip the cut end of the stem into your rooting hormone, tapping off any excess.
- Plant Your Cuttings: Fill your pots with your prepared potting mix. Make a small hole with your finger or a pencil, and insert the cutting. Gently firm the soil around the base. You can plant a few cuttings in each pot.
- Water Gently: Water the soil thoroughly but gently. You don’t want to dislodge your cuttings.
- Create a Humid Environment: Cover the pots with a clear plastic bag or a propagation dome. This creates a mini-greenhouse effect, keeping the humidity high, which is crucial for cuttings to root.
The “Secret Sauce” (Pro Tips)
Here are a few of my personal tricks that have helped me over the years:
- Bottom Heat is Your Friend: If you have a heating mat designed for seed starting, pop your pots on it. This gentle warmth from the bottom encourages root development wonderfully, especially if your room temperature is a bit cooler.
- Don’t Drench, Just Dampen: Overwatering is the quickest way to rot your precious cuttings. The soil should feel like a wrung-out sponge – moist but not soggy. Your plastic bag will help trap that moisture, so monitor closely.
- Air Circulation Matters: While humidity is vital, stagnant air can lead to fungal issues. Every few days, lift the plastic bag or dome for a few minutes to allow for some air exchange.
Aftercare & Troubleshooting
Once your cuttings are in their humid environment, place them in a bright, indirect light location. Avoid direct sunlight, as it can scorch the delicate leaves.
You’ll know your cuttings have rooted when you see new growth appearing, or if you gently tug on a stem and feel resistance. This usually takes 3-6 weeks, though it can vary. Once roots have formed, you can gradually remove the plastic bag or dome over a week or so to acclimate them to normal humidity. Continue to water them gently and provide bright, indirect light.
The main issue you might encounter is rot. If you see stems turning black and mushy, or developing fungal growth, it’s usually a sign of too much moisture and not enough air circulation. Sadly, rotted cuttings are usually a lost cause, so remove them immediately to prevent it from spreading.
A Encouraging Closing
Growing new plants from cuttings is a truly rewarding experience. It takes a little patience and observation, but the joy of seeing those first tiny roots emerge is unmatched. Don’t be discouraged if every cutting doesn’t make it; it’s all part of the learning process. So jump in, get your hands in the soil, and enjoy the journey of multiplying your beautiful Eriosema chinense! Happy growing!
Resource:
https://identify.plantnet.org/k-world-flora/species/Eriosema%20chinense%20Vogel/data