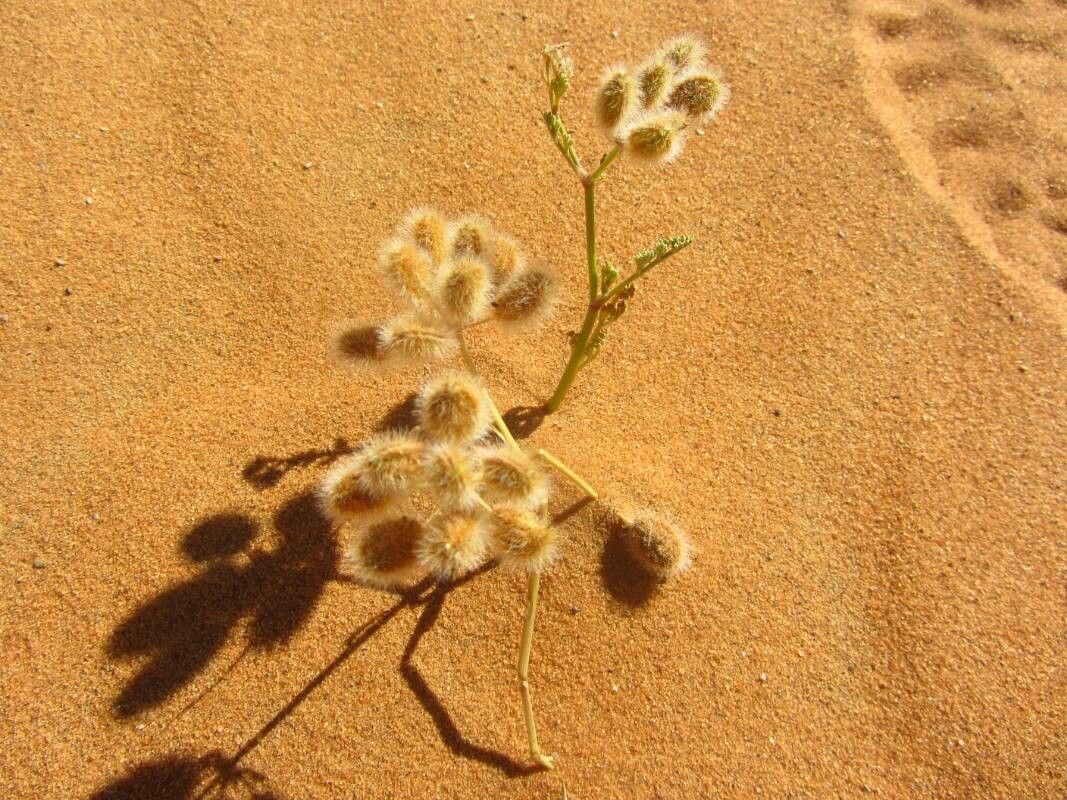
Oh, hello there, fellow garden enthusiast! Grab a warm mug, and let’s chat about a plant that’s really captured my heart over the years: Ammodaucus leucotrichus. You might know it by its common name, Queen Anne’s Lace, although that name can sometimes be a bit confusing as there are many plants with similar lacy blooms!
This little beauty is just gorgeous. Its delicate, white, umbrella-shaped flower clusters are a magnet for pollinators, and they bring such a charming, airy feel to any garden space. Plus, there’s a special kind of satisfaction that comes from taking a single plant and coaxing new life from it. You’re basically creating your own little plant babies! For those of you just dipping your toes into gardening, I’d say Ammodaucus leucotrichus is wonderfully rewarding but might present a slight learning curve compared to a weed-whacker of a petunia. But don’t let that deter you! With a little patience and these tips, you’ll be a pro in no time.
The Best Time to Start
When it comes to getting your Ammodaucus leucotrichus to really take off, late spring to early summer is your sweet spot. Think after the last frost has safely passed and the days are getting longer and warmer. That’s when the plant is actively growing and has the most energy to put into developing those lovely new roots. Trying too early in the spring when things are still a bit chilly can lead to disappointment.
Supplies You’ll Need
Gathering your toolkit is half the fun, isn’t it? Here’s what I usually have on hand:
- Sharp Pruning Shears or a Clean Knife: For making neat, precise cuts. Dull tools can bruise stems, making them more susceptible to disease.
- Well-Draining Potting Mix: I like a mix of equal parts peat moss (or coco coir), perlite, and coarse sand. This ensures good aeration and prevents soggy roots.
- Small Pots or Seed Starting Trays: Clean ones are key to preventing disease.
- Rooting Hormone (Optional but Recommended): This willow-bark-based powder or gel gives cuttings a real boost.
- Watering Can with a Fine Rose: For gentle watering.
- Plastic Bags or Humidity Domes: To create a mini-greenhouse effect.
- Labels and a Marker: Trust me, you’ll forget which plant is which!
Propagation Methods
For Ammodaucus leucotrichus, I find stem cuttings to be the most reliable method. It’s straightforward and usually yields great results.
- Take Your Cuttings: On a warm, overcast morning (or at least not in harsh sunlight), select a healthy, non-flowering stem from your mature plant. Using your sharp shears or knife, make a clean cut just below a leaf node. Aim for cuttings that are about 4-6 inches long. Remove any lower leaves that might sit below the soil line once planted.
- Prepare the Cutting: You can lightly dip the cut end into some rooting hormone. Just tap off any excess.
- Planting Time: Fill your clean pots or trays with your well-draining potting mix. Make a small hole with your finger or a pencil. Gently insert the cutting into the hole, making sure at least one leaf node is buried. Firm the soil gently around the stem.
- Water Carefully: Give the soil a gentle watering using your fine-rose watering can. You want the soil to be moist but not waterlogged.
- Create a Humid Environment: This is crucial! Cover the pots with a plastic bag or a humidity dome. This traps the moisture and prevents the cuttings from drying out before they can grow roots. Make sure the leaves aren’t touching the plastic if possible.
The “Secret Sauce” (Pro Tips)
Now, for a couple of little tricks I’ve picked up over the years that often make all the difference.
- Bottom Heat is Your Friend: If you can, place your pots on a gentle heat mat. This warm soil encourages root development much faster than without it. I’ve found it speeds things up considerably, especially if the ambient temperature isn’t as warm as we’d like.
- Don’t Be Afraid to Pinch: Once your cuttings have started to take off and are showing new growth, I like to pinch off the very tip of the stem. This encourages the plant to branch out, leading to a bushier, fuller plant rather than a leggy one. It sounds counterintuitive, but it works wonders!
- Observe, Don’t Disturb Excessively: It’s tempting to constantly poke and prod to see if roots have formed. Resist the urge! The less you disturb the cutting, the better. You’ll know roots are developing when you see new leaf growth or feel slight resistance when you gently tug on the stem.
Aftercare & Troubleshooting
Once you see those lovely new leaves appearing, you’re well on your way! You can gradually remove the plastic cover over a few days to acclimate your new plant to normal humidity. Continue to keep the soil consistently moist but not soggy. As the plant grows, you can move it into a slightly larger pot if needed.
The most common issue you might encounter is rot. This usually happens when the soil stays too wet for too long, and the cutting just can’t establish roots before succumbing to fungal issues. If you see the stem turning mushy and brown, it’s a sign of rot, and sadly, that cutting is likely lost. To avoid this, ensure your potting mix is airy and that you’re watering only when the top inch of soil feels dry.
A Encouraging Closing
Propagating plants is a journey, my friends. There will be times when a cutting doesn’t make it, and that’s perfectly okay. It’s all part of the learning process, and each attempt teaches you something new. Be patient with your Ammodaucus leucotrichus, give it a little love and care, and before you know it, you’ll have a whole bouquet of these beauties to share and enjoy. Happy growing!
Resource:
https://identify.plantnet.org/k-world-flora/species/Ammodaucus%20leucotrichus%20Coss./data