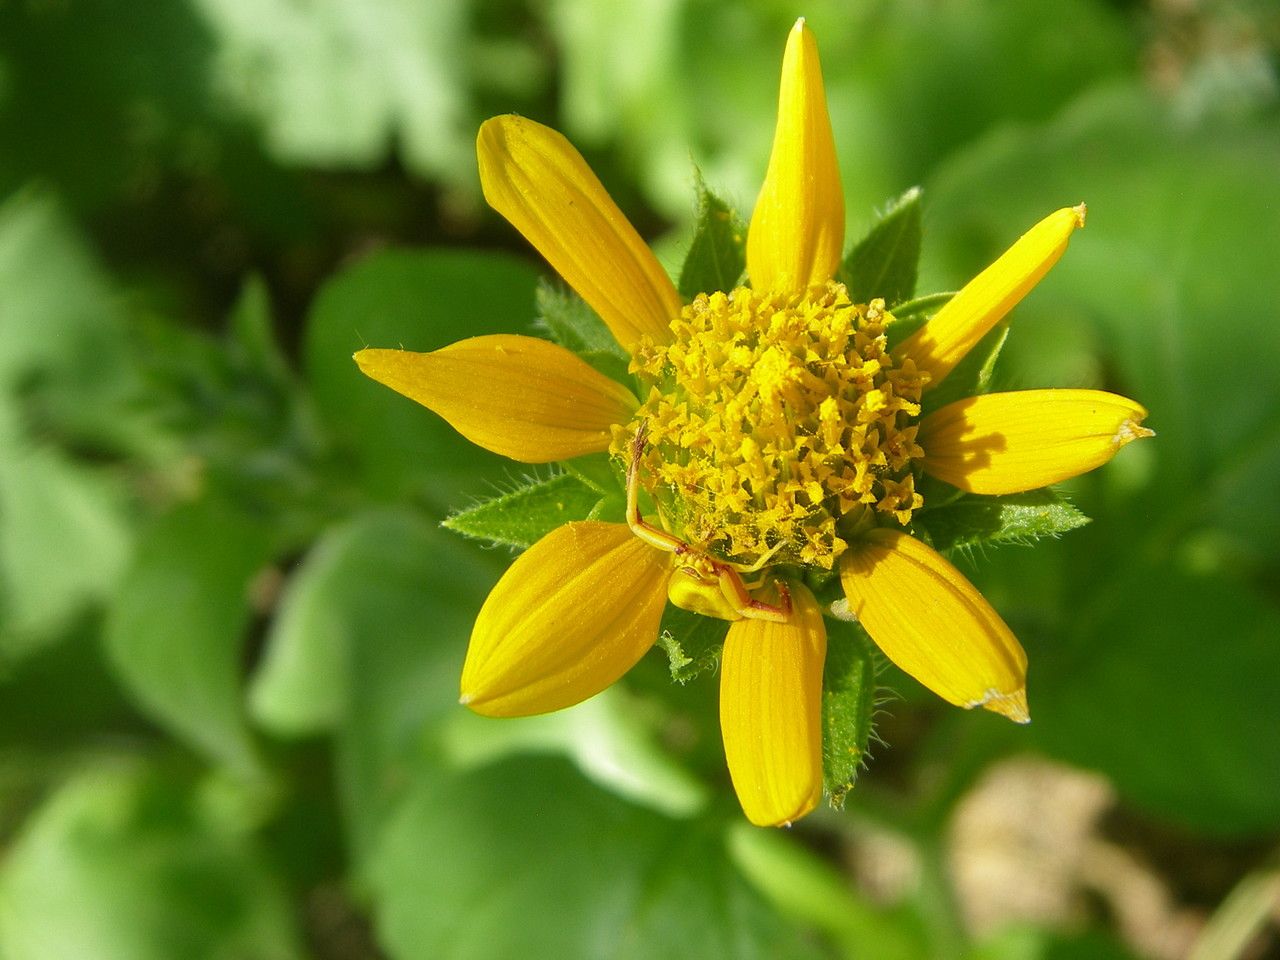
Hello garden friends! You know, sometimes I find myself gazing out at my garden, and there’s always one plant that catches my eye with its vibrant, fiery blooms. If you’ve ever seen a Tithonia thurberi, or Mexican sunflower, you know exactly what I mean. Their sunny disposition is infectious, and honestly, they bring a burst of cheerful color that makes any garden feel a little more alive.
Wanting to share that joy is what propagating is all about. And the best part? Tithonia thurberi is a wonderfully generous plant. I think even if you’re just starting out on your gardening journey, you’ll find this one to be quite forgiving and deeply rewarding to multiply. It’s like getting little gifts from your own garden, ready to spread around.
The Best Time to Start
For the absolute longest, strongest roots, I always find myself reaching for my pruners in late spring to early summer. That’s when the plant is actively growing, full of that vigorous energy that translates perfectly into new life. You want to take cuttings from stems that are showing new growth, but aren’t too woody yet. Think of it as striking gold – the perfect stage for new beginnings.
Supplies You’ll Need
Gathering your tools beforehand makes the whole process smooth sailing. Here’s what I usually have on hand:
- Sharp pruning shears or a clean knife: For making nice, clean cuts.
- Potting mix: A well-draining mix is key. I like to use a blend of perlite and peat moss, or even a seed-starting mix.
- Small pots or trays: Clean ones, of course! Small plastic pots (4-inch) are perfect.
- Rooting hormone (optional but helpful): This little helper can really boost your success rate.
- Watering can or spray bottle: For gentle hydration.
- Plastic bags or a propagation dome: To create a humid microclimate.
- Labels: Don’t forget to label your precious cuttings!
Propagation Methods
Two methods work exceptionally well for Tithonia thurberi, and I often use both to see what works best in my conditions.
Stem Cuttings
This is my go-to method because it’s so reliable.
- Take your cuttings: Select a healthy stem that is at least 6 inches long. Use your sharp pruners to make a clean cut just below a leaf node (where the leaf meets the stem). These nodes are where the magic rooting happens! Remove the lower leaves, leaving just the top couple of leaves. This will prevent them from rotting once planted.
- Apply rooting hormone (if using): Dip the cut end of the stem into your rooting hormone powder or gel. Tap off any excess.
- Plant your cuttings: Fill your small pots with your well-draining potting mix. Make a small hole with your finger or a pencil and gently insert the cut end of the stem. Firm the soil gently around it.
- Water and cover: Water thoroughly but gently. Then, cover the pot with a plastic bag or place it in a propagation dome to keep humidity high. Make sure the leaves aren’t touching the inside of the bag.
Water Propagation
This method can be incredibly satisfying to watch.
- Prepare your cuttings: Same as above – take 6-inch cuttings from healthy stems, just below a leaf node, and remove the lower leaves.
- Place in water: Find a clean jar or glass and fill it with fresh water. Place the cuttings in the water, ensuring the leaf nodes are submerged but no leaves are in the water.
- Find a good spot: Place the jar in a bright spot, but out of direct, harsh sunlight.
The “Secret Sauce” (Pro Tips)
Over the years, I’ve learned a few little tricks that really make a difference.
- Bottom Heat is Your Friend: If you can, placing your pots on a heated propagation mat can dramatically speed up root formation. The warmth from below encourages those roots to stretch out and find purchase.
- Don’t Drown Them: While humidity is important, overwatering is the enemy. Ensure your pots have good drainage, and only water when the top inch of soil feels dry to the touch. For water propagation, change the water every few days to keep it fresh and prevent bacterial growth.
- Patience, Young Grasshopper: Sometimes, you just have to trust the process. I’ve had cuttings take longer than expected to show signs of life, only to surprise me with a whole new flush of growth. Don’t get discouraged if you don’t see roots immediately.
Aftercare & Troubleshooting
Once you start seeing little white roots peeking out from the bottom of the pot (or growing well in water), it’s time for some gentle pampering. For cuttings in pots, gradually introduce them to more normal air circulation by opening the plastic bag a little more each day. For those in water, once the roots are a couple of inches long, you can carefully transplant them into pots with your potting mix.
The most common issue I see is root rot. This happens when the soil stays too wet for too long. If your cutting looks limp, mushy, or discolored, it’s likely a sign of rot. Sadly, these are often beyond saving. To prevent it, always prioritize good drainage and avoid overwatering. If you see any signs of mold on the soil, scrape it off gently.
A Encouraging Closing
Propagating plants is such a wonderful way to connect with nature and expand your garden without spending a fortune. Tithonia thurberi is a fantastic plant to practice with because it’s so willing to share itself. So, grab your pruners, get your hands dirty, and enjoy the process. You’re nurturing new life, and that’s one of the most rewarding feelings a gardener can have. Happy planting!
Resource:
https://identify.plantnet.org/k-world-flora/species/Tithonia%20thurberi%20A.Gray/data