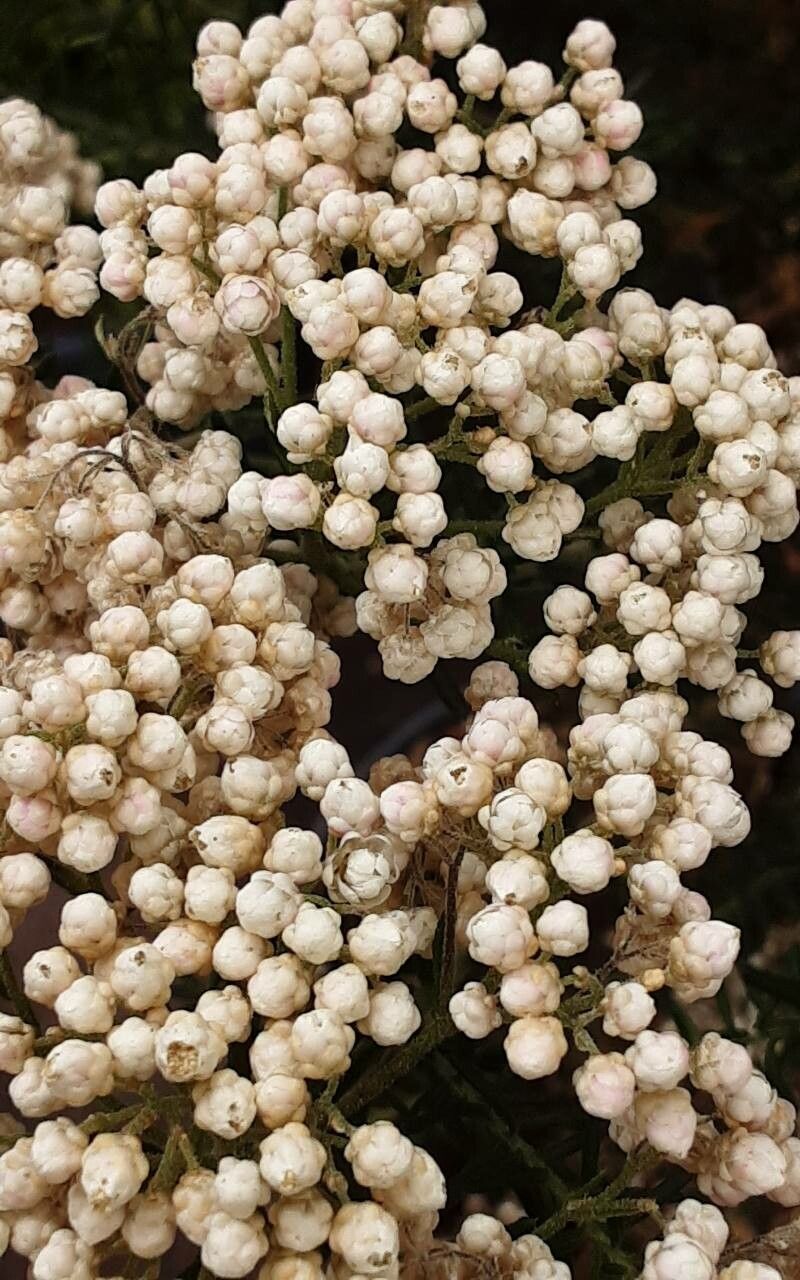
Oh, hello there! Pull up a chair, let’s chat about a plant that has truly stolen a piece of my gardening heart: Ozothamnus rosmarinifolius, or as it’s often fondly called, Prostrate Rosemary or Dwarf Rosemary (even though it’s not a true rosemary!). With its delicate, fragrant, silver-green foliage and clusters of charming white flowers that appear in spring and summer, it’s just a delight. Propagating it is honestly one of those incredibly rewarding little gardening joys. You get to take a piece of something you love and watch it grow into its own living legacy. Now, for beginners, it’s moderately easy. It’s not as foolproof as, say, a succulent, but with a little patient attention, you’ll be sharing little Ozothamnus beauties with friends in no time.
The Best Time to Start
Here’s my golden rule for getting the best results: take your cuttings in late spring or early summer. This is when the plant is actively growing, and the stems are semi-hardwood. They have a bit of firmness to them but haven’t become so woody that they’re difficult to root. You want to look for stems that are flexible but hold their shape. Avoid really soft, brand-new growth or old, stiff, woody stems.
Supplies You’ll Need
Gathering your tools before you start makes the whole process so much smoother. You don’t need anything too fancy!
- Sharp Pruning Shears or a Craft Knife: For clean cuts.
- Rooting Hormone (Optional but Recommended): A powder or gel helps encourage root development.
- Small Pots (3-4 inch): Cleaned thoroughly!
- Well-Draining Potting Mix: I like a mix of equal parts peat moss (or coir), perlite, and coarse sand. Some people swear by a specific seed-starting mix, and that works too. The key is excellent drainage.
- Clear Plastic Bag or Dome: To create a mini-greenhouse effect.
- Watering Can with a Fine Rose: For gentle watering.
- Labels: To keep track of your babies!
Propagation Methods: Bringing New Life
I’ve found the most reliable method for Ozothamnus rosmarinifolius is through stem cuttings. It’s straightforward, and you can get quite a few new plants from a single parent.
- Take Your Cuttings: Go to your healthy, mature plant and select a stem. Using your sharp shears, cut a piece about 4-6 inches long. Make your cut just below a leaf node (where a leaf attaches to the stem).
- Prepare the Cuttings: Gently remove the lower leaves from your cutting, leaving just a few at the top. This prevents them from rotting once planted in the soil. If you’re using rooting hormone, dip the cut end into it now, tapping off any excess.
- Potting Up: Fill your clean pots with your well-draining potting mix. Make a small hole in the center of the soil with your finger or a pencil.
- Plant the Cuttings: Insert the cut end of your prepared cutting into the hole. Gently firm the soil around the stem to ensure good contact.
- Water Gently: Water the soil well, making sure it’s evenly moist but not waterlogged.
- Create a Humid Environment: This is crucial! You can cover the pot with a clear plastic bag, securing it around the rim with a rubber band, or place it under a plastic dome. Make sure the leaves aren’t touching the sides of the bag if possible. This traps humidity, which helps the cuttings stay hydrated while they develop roots.
- Place in Bright, Indirect Light: Find a spot that gets plenty of bright light but no direct, harsh sun. A windowsill that doesn’t get baking afternoon sun is usually perfect.
The “Secret Sauce” (Pro Tips)
Here are a couple of things I’ve learned along the way that seem to make a real difference:
- Don’t Rush the Roots: Be patient! It can take anywhere from 4 to 8 weeks for Ozothamnus cuttings to develop a good root system. You can gently tug on a cutting after a month or so – if there’s resistance, you’ve got roots!
- Bottom Heat is Your Friend: If you have a seedling heat mat, placing your pots on it can significantly speed up root formation. It mimics the warmer soil temperatures of spring and encourages those roots to get going. Just keep an eye on moisture levels, as bottom heat can dry out the soil a bit faster.
- Cleanliness is King (or Queen!): Always use clean pots and clean tools. This seriously reduces the risk of fungal diseases and rot, which are the nemeses of young cuttings.
Aftercare & Troubleshooting
Once you see signs of new growth at the tips of your cuttings, that’s a fantastic sign! It means roots are forming underground. At this point, you can begin to gradually acclimate them to lower humidity.
- Ventilation: Start by opening the plastic bag or dome for a few hours each day. Slowly increase the amount of time they are exposed to open air over a week or two.
- Watering: Continue to keep the soil consistently moist, but let the very top surface dry slightly between waterings.
- Potting On: Once the cuttings have established a robust root system (you might see roots peeking out the drainage holes), you can transplant them into slightly larger pots.
- Signs of Trouble: The most common issue is rot, which usually shows up as the cutting turning soft, black, and mushy, often at the base. This is usually due to overwatering or poor drainage. If you see this, unfortunately, that cutting is probably lost. The other sign to watch for is wilting that doesn’t perk up after watering, which can also indicate a lack of roots or a fungal issue.
A Little Encouraging Closing
So there you have it! Propagating Ozothamnus rosmarinifolius is a truly satisfying venture. Don’t be discouraged if your first few attempts aren’t perfect. Every gardener has had their share of cuttings that didn’t quite make it – that’s just part of the learning curve. Each time you try, you’ll learn a little more. Just keep experimenting, keep nurturing, and most importantly, enjoy the incredibly rewarding process of growing something beautiful with your own two hands. Happy gardening!
Resource: