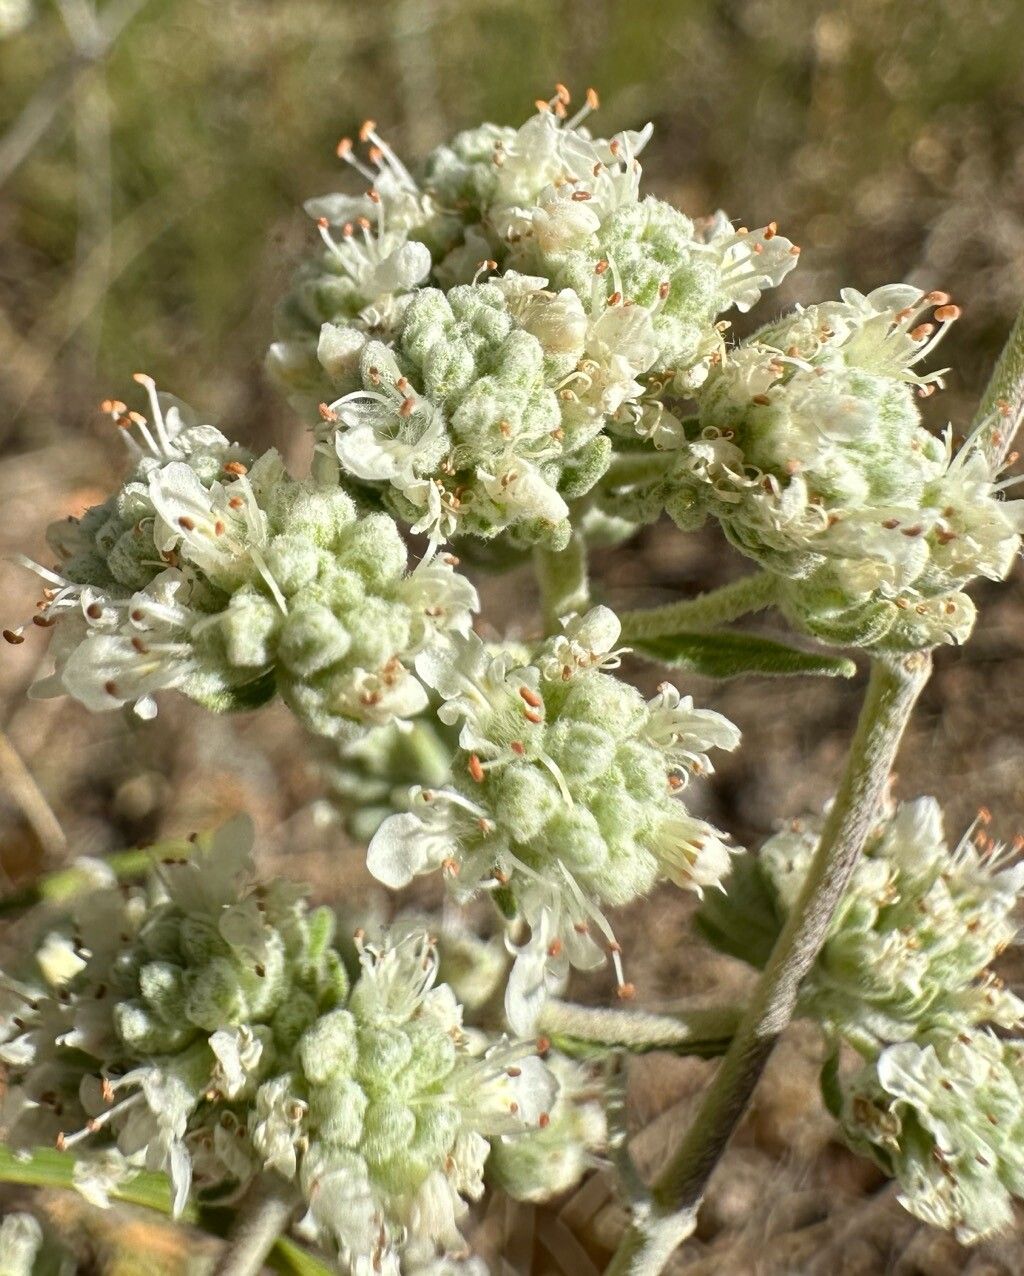
Oh, hello there! So glad you stopped by. Today, we’re going to dive into the wonderful world of propagating Teucrium capitatum, or as I like to call it, our little “Ground Pine.” If you haven’t met this Mediterranean gem, imagine clusters of fuzzy, aromatic leaves topped with charming little white or pink flowerheads that just sing of sunshine and warm breezes. It’s a fantastic plant for a sunny spot, attracting all sorts of beneficial pollinators. And the best part? It’s surprisingly rewarding to multiply your own supply! Honestly, Teucrium capitatum is quite a forgiving plant, making it a lovely one to try propagating, even if you’re just starting out.
The Best Time to Start
For the absolute highest success rate, I always reach for my pruning shears in late spring or early summer. This is when the plant is actively growing. You’re looking for stems that are new and flexible, not woody and old. They’ll have a bit of give when you bend them, but they won’t be flopping over limp. This vibrant growth stage means the plant has plenty of energy to put into making new roots.
Supplies You’ll Need
Here’s what you’ll want to have on hand before you begin:
- Sharp pruning shears or a sharp knife: Cleanliness is key to preventing disease!
- Rooting hormone powder or gel: This is optional but can give your cuttings a helpful boost.
- A light, well-draining potting mix: A good blend is about 50% potting soil and 50% perlite or coarse sand. You could also use a commercial seed-starting mix.
- Small pots or seedling trays: Clean ones are a must.
- A spray bottle: For gentle misting.
- (Optional) A propagator or plastic bag: To create a humid environment.
- (Optional) Bottom heat mat: Especially useful if your propagation area is a bit chilly.
Propagation Methods
Stem cuttings are my go-to for Teucrium capitatum. It’s straightforward and usually yields great results.
- Take Your Cuttings: Gently select a healthy, non-flowering stem from your mature plant. Using your clean shears or knife, make a cut just below a leaf node (where a leaf attaches to the stem). You’re aiming for cuttings that are about 3-4 inches long. Remove any lower leaves, leaving just a few at the top.
- Prepare the Cuttings: If you’re using rooting hormone, dip the cut end of each stem into the powder or gel. Give it a gentle tap to remove any excess.
- Plant Your Cuttings: Fill your small pots or trays with your prepared potting mix. Make a small hole in the center of each pot with your finger or a pencil. Carefully insert the cutting, making sure at least one leaf node is buried beneath the soil surface. Firm the soil gently around the stem.
- Water Gently: Water the soil thoroughly but gently using your spray bottle or a watering can with a fine rose. You want the soil to be moist but not waterlogged.
- Create Humidity: If you have a propagator, place your pots inside. If not, you can cover the pots with a clear plastic bag, creating a mini-greenhouse effect. Make sure the plastic doesn’t touch the leaves too much.
The “Secret Sauce” (Pro Tips)
Here are a couple of things I’ve learned over the years that really make a difference:
- Don’t let the leaves touch the water: If you wind up doing any water propagation (though cuttings in soil are usually best for Teucrium), or even if your humidity dome is a bit too much, make sure the leaves aren’t sitting in moist soil or water. This is a fast track to rot, and we don’t want that!
- Bottom heat is your friend: Especially if you’re attempting propagation earlier in the season or your home is on the cooler side, a gentle bottom heat mat can dramatically speed up the rooting process. It mimics the warmth of spring soil and really encourages those roots to get going.
Aftercare & Troubleshooting
Once your cuttings are potted, find a bright spot that gets indirect sunlight. Avoid direct sun, which can scorch those delicate new cuttings. Keep the soil consistently moist but not soggy. You can gently tug on a cutting after about 3-4 weeks; if you feel resistance, you’ve got roots!
Watch out for the dreaded rot. If your cuttings start to look mushy, black, or slimy, it’s usually a sign of too much moisture and not enough air circulation. If you see this, remove the affected cutting immediately to prevent it from spreading. A bit of yellowing on the lower leaves is pretty normal as the plant focuses energy on roots, but if the whole cutting starts to decline, it might not have taken.
Keep Going!
Don’t be discouraged if a few cuttings don’t make it. Gardening is all about learning and experimenting! The joy of seeing those tiny new roots emerge and watching your little Teucrium plants grow is truly immense. Be patient, enjoy the process, and soon you’ll have more Ground Pine than you know what to do with. Happy propagating!
Resource:
https://identify.plantnet.org/k-world-flora/species/Teucrium%20capitatum%20L./data