Oh, hello there! It’s lovely to have you join me. I’ve spent two decades with my hands in the soil, coaxing life from tiny seeds and cuttings, and I still get a thrill every time a new plant unfurls. Today, we’re diving into the wonderful world of Oleandra wallichii.
Why Grow Oleandra wallichii?
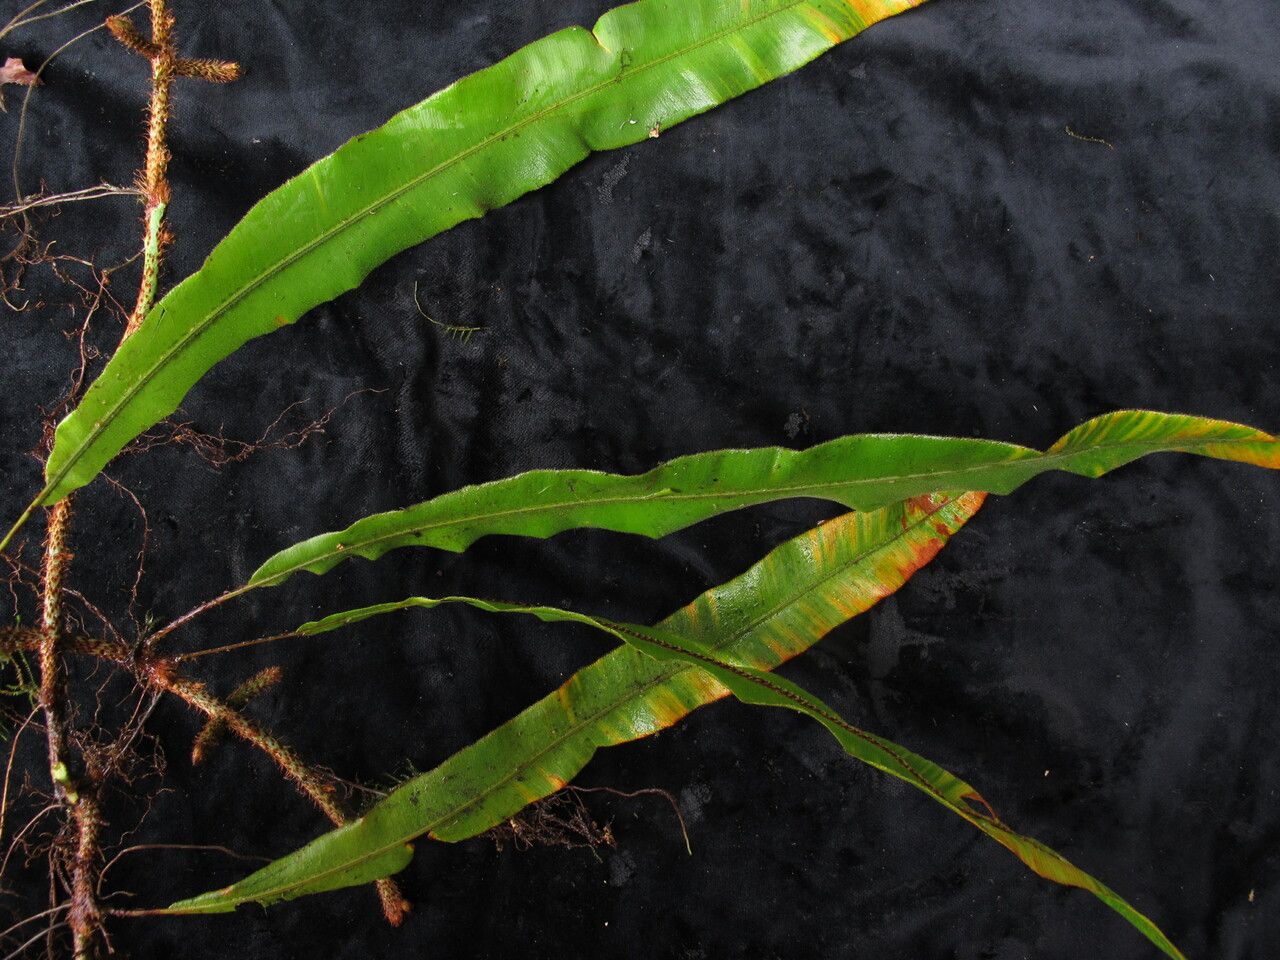
This graceful fern, with its arching fronds and shaggy rhizomes, brings a touch of the exotic to any shady corner. It’s like a miniature jungle gem! Propagating it is not only a fantastic way to expand your collection (or share the love with friends!) but also incredibly rewarding. Seeing a bit of fern I’ve nurtured myself start to grow gives me such a sense of accomplishment. Now, is it for total beginners? Honestly, Oleandra wallichii can be a tad trickier than some of your more common houseplants. But don’t let that discourage you! With a little patience and the right approach, you can absolutely succeed.
When is the Best Time to Start?
For Oleandra wallichii, my go-to time is late spring to early summer. This period coincides with active growth after the plant has had a chance to recover from its winter rest. The days are getting longer and warmer, providing that gentle heat and light that new cuttings crave. You want to see some good, healthy new fronds emerging – that tells you the parent plant is full of energy and ready to share it.
What You’ll Need
Gathering your supplies beforehand makes the whole process smoother. Here’s what I always have on hand:
- Sharp pruning shears or a clean, sharp knife: for making clean cuts.
- Small pots or propagation trays: with drainage holes, of course!
- Well-draining potting mix: I like a blend of equal parts peat moss or coco coir, perlite, and a little bit of orchid bark. This provides good aeration and retains just enough moisture.
- Rooting hormone (optional but recommended): This gives the cuttings a helpful boost.
- Plastic bags or a propagator lid: to create a humid environment.
- Watering can with a fine rose: for gentle watering.
Methods for Propagating Oleandra wallichii
There are a couple of ways we can approach this, but my preferred method for Oleandra wallichii is by division. It’s often the most successful for this particular fern.
Division
This is essentially breaking up the parent plant into smaller, independent sections.
- Gently remove the parent plant from its pot. Be kind to the roots!
- Inspect the rhizomes. You’re looking for sections of the rhizome that have at least one or two healthy fronds attached and some existing roots. The rhizomes can look quite shaggy and interesting.
- Using your fingers or a clean knife, carefully separate a section. Try to keep as many roots intact as possible. If you have to cut a rhizome, make sure the cut is clean.
- Pot up the divided sections. Place them in their own pots filled with your prepared potting mix. Plant them so that the top of the rhizome is just at or slightly below the soil surface – don’t bury it too deeply.
- Water thoroughly. Water until you see it draining from the bottom of the pot.
- Create a humid environment. Cover the pot loosely with a plastic bag or a propagator lid. You can use stakes to keep the bag from touching the fronds.
The “Secret Sauce” (Pro Tips)
Here’s where I share a couple of little tricks that have helped me over the years:
- Don’t rinse dusty rhizomes under running water. If the rhizomes are a bit dusty, just gently brush them off with a soft brush. Over-watering or trying to clean them aggressively can introduce fungal issues, which is the last thing we want for young cuttings.
- Bottom heat is your best friend. While not strictly essential, placing your pots on a seedling heat mat can make a remarkable difference. It encourages root development from the bottom up, mimicking its natural tropical environment. Just set it to a gentle warmth, not too hot.
- Patience with those rhizomes. Sometimes, you’ll see new fronds appearing quickly, but the roots take a little longer to establish. Don’t be tempted to tug on the plant to check for roots. Trust the process!
Aftercare and Troubleshooting
Once your divisions are potted and settled, keep them in a bright, indirect light location. Avoid direct sunlight at all costs – it will scorch those delicate new fronds.
Maintain consistent moisture, but don’t let them sit in soggy soil. The key is moist, not wet. Mist the fronds occasionally if the air feels dry, especially if you’re not using a propagator lid.
What if things go wrong? The most common issue is rot. If you see fronds turning yellow and mushy, or if the rhizome feels soft and slimy, it’s usually a sign of overwatering or poor drainage. If this happens, you might need to pull the affected piece out, trim away any rotted parts with a clean knife, and repot in fresh, dry mix. If it’s widespread, sadly, you might have to start again.
Go Forth and Propagate!
Propagating Oleandra wallichii is a journey, not a race. Be observant, adjust your watering as needed, and celebrate every tiny sign of new growth. There’s a real joy in nurturing these ferns, and soon you’ll have a whole collection of these beautiful, shaggy beauties. Happy gardening!
Resource:
https://identify.plantnet.org/k-world-flora/species/Oleandra%20wallichii%20(Hook.)%20C.Presl/data