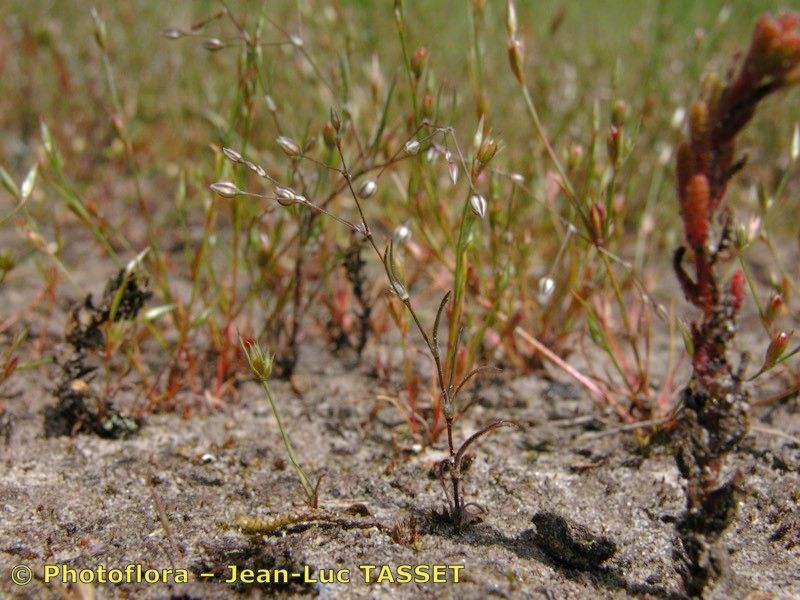
Hello there, fellow plant enthusiasts! Today, I want to chat about a little gem that often gets overlooked: Spergula segetalis. You might know it by its common name, Corn Spurrey, or perhaps you’ve admired its delicate, airy sprays of tiny white flowers and fine, grassy foliage in gardens. It brings a lovely, naturalistic feel, especially when you want to soften hard edges or fill in gaps. If you’re looking to expand your collection or share the joy of this plant with friends, propagating Spergula segetalis is a wonderfully rewarding endeavor. And the good news? It’s quite forgiving, making it a great plant for beginners looking to dip their toes into propagation!
The Best Time to Start
When it comes to Spergula segetalis, spring is truly your best bet. As the days get longer and the weather starts to warm up consistently, the plant is entering its active growth phase. This exuberance translates beautifully into successful propagation. You’ll find that cuttings taken during this time are more vigorous and have a higher likelihood of rooting quickly. Waiting for that spring surge makes all the difference.
Supplies You’ll Need
Gathering your tools beforehand makes the whole process much smoother. Here’s what I always have on hand:
- Sharp pruning shears or a clean, sharp knife: For making clean cuts.
- Well-draining potting mix: A blend of equal parts peat moss or coco coir, perlite, and coarse sand works wonderfully. I often add a little bit of worm castings for a nutrient boost.
- Small pots or seed trays: About 3-4 inches in diameter are perfect for starting out. Make sure they have drainage holes!
- Watering can with a fine rose or a spray bottle: To keep things gently moist.
- Optional: Rooting hormone: While Spergula segetalis often roots readily without it, a dip can sometimes speed things up. Look for a liquid or powder form.
- Optional: A clear plastic bag or dome: To create a humid microclimate for cuttings.
Propagation Methods
I find Spergula segetalis is remarkably easy to propagate from stem cuttings. Let me walk you through it.
- Select a healthy parent plant: Choose a mature plant that’s actively growing and free from pests or diseases.
- Take cuttings: Using your sharp shears or knife, take cuttings that are about 4-6 inches long. Look for stems that are healthy and have a good amount of foliage. Make the cut just below a leaf node – this is where roots are most likely to form.
- Prepare the cuttings: Gently remove the lower leaves from the bottom inch or two of the cutting. This prevents them from rotting when you plant them. If your cuttings are quite long, you can pinch off the very tip to encourage bushier growth later on.
- Apply rooting hormone (optional): If you’re using rooting hormone, dip the cut end of the stem into the powder or liquid, tapping off any excess.
- Plant the cuttings: Fill your pots with the well-draining potting mix and moisten it gently. Insert the prepared cuttings into the soil, making sure at least one or two leaf nodes are buried. Space them a few inches apart if you’re planting multiple in one pot.
- Water gently: Water the soil thoroughly but gently, so as not to dislodge the cuttings.
The “Secret Sauce” (Pro Tips)
Over the years, I’ve learned a few little tricks that really boost success rates.
- Don’t let those lower leaves touch the soil! Seriously, this is a big one. Any leaf material in constant contact with damp soil is just an invitation for rot. Keep them clean and above the soil line.
- Humidity is your friend, but not a swamp. For those first few weeks, giving your cuttings a humid environment is crucial. You can achieve this by popping a clear plastic bag over the pot, making sure it doesn’t touch the leaves too much, or by using a propagation dome. Just open it for a few minutes each day to allow for air circulation and prevent fungal issues.
- Warm toes help! If you have a particularly stubborn cutting that isn’t showing signs of life, consider placing the pot on a heat mat designed for seedlings. A gentle warmth from below can really encourage root development.
Aftercare & Troubleshooting
Once your cuttings have started to show signs of rooting – you might see new leaf growth or feel a gentle resistance when you tug lightly on the stem – it’s time to transition them.
- Gradually acclimate: If you’ve used a plastic bag or dome, start removing it for longer periods each day to let the cuttings adjust to normal humidity levels.
- Keep them lightly moist: Continue to water when the top inch of soil feels dry. Avoid waterlogging, as this is the most common cause of failure.
- Watch for rot: The most common sign of trouble is a blackening and mushy stem at the soil line. If you see this, it’s usually gone too far. Prevention, through good drainage and avoiding overwatering, is key.
- Transplant when ready: Once the new plants have developed a good root system and look sturdy, you can transplant them into individual pots.
A Little Patience Goes a Long Way
Propagating any plant is a journey, and Spergula segetalis is no different. There’s a unique satisfaction in watching a tiny cutting transform into a thriving plant. Be patient, enjoy the process of nurturing these little lives, and soon you’ll have a garden brimming with beautiful Corn Spurrey. Happy propagating!
Resource:
https://identify.plantnet.org/k-world-flora/species/Spergula%20segetalis%20(L.)%20Vill./data