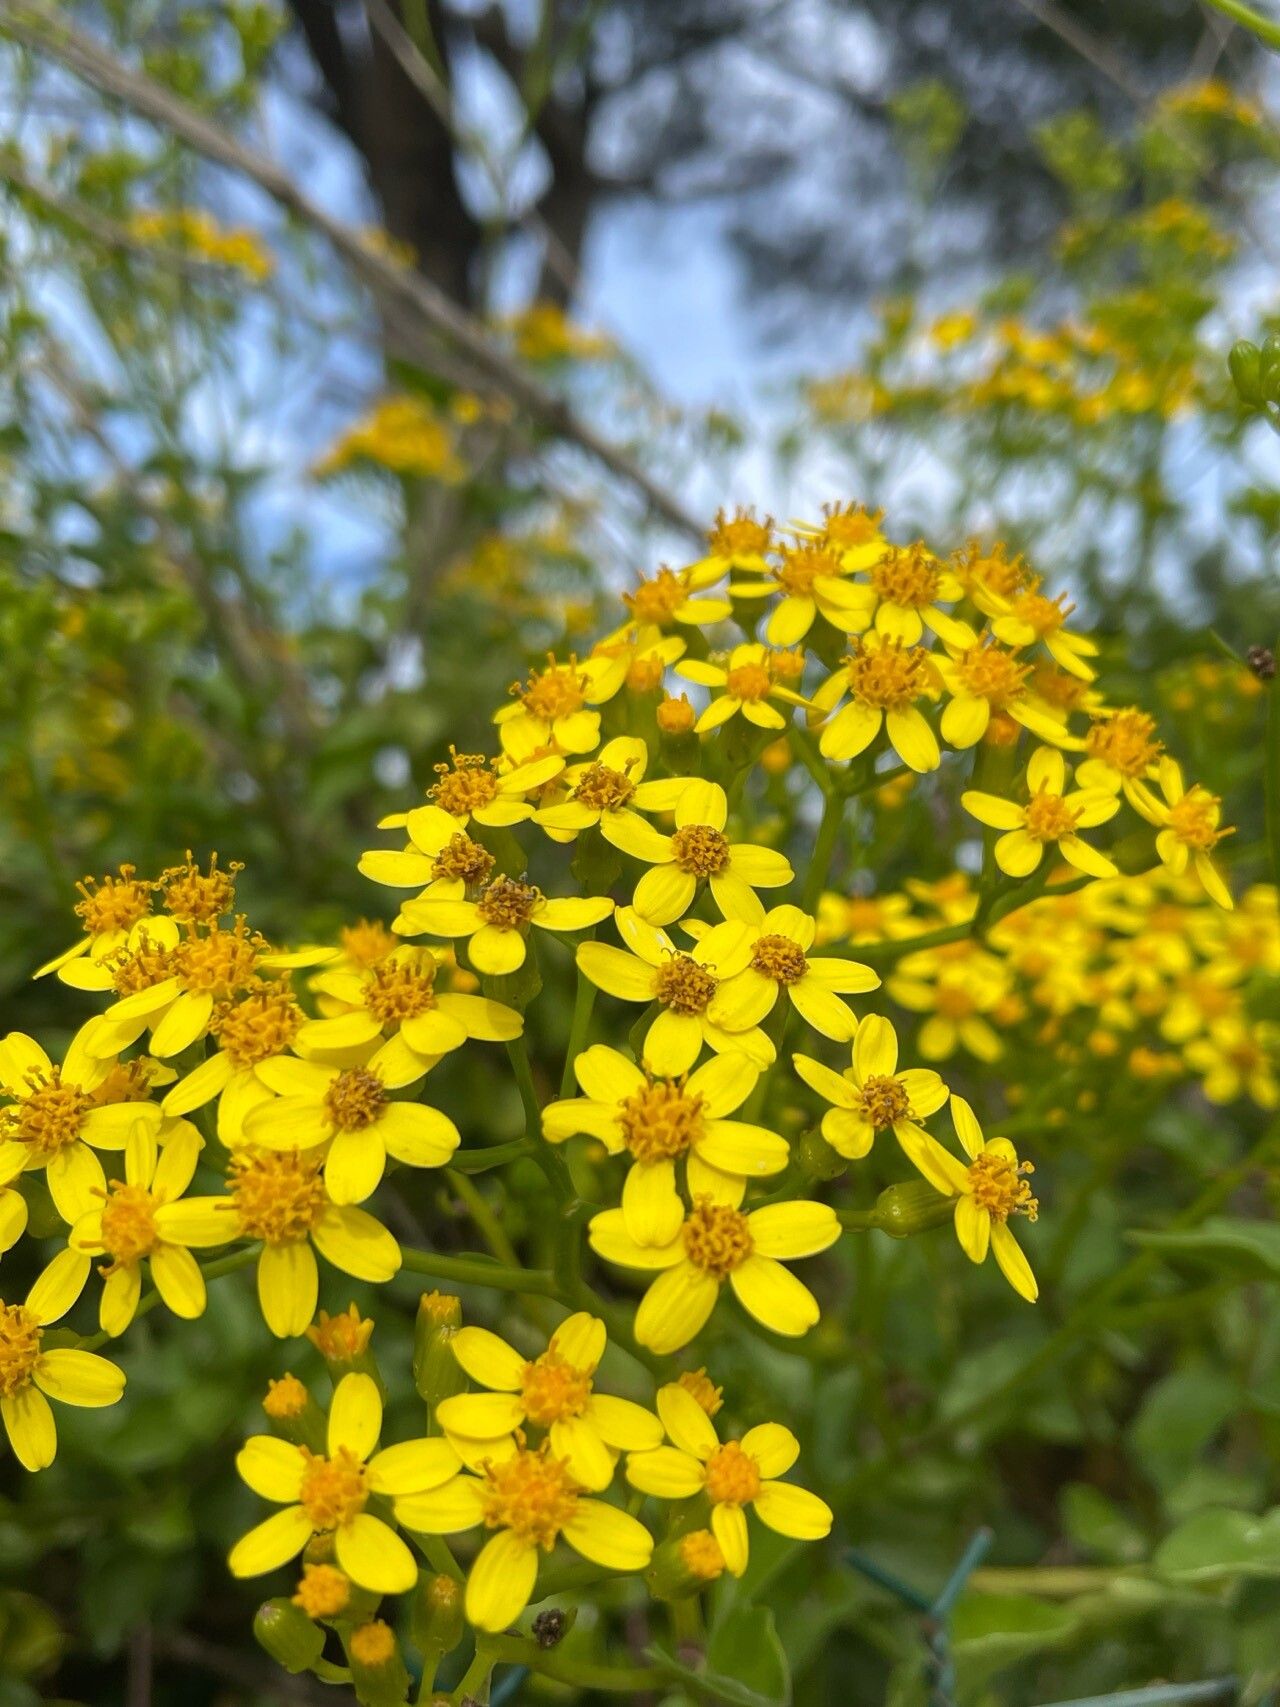
Hello, fellow plant lovers! It’s such a joy to connect with you today from my little corner of the garden. We’re going to talk about something truly delightful: Senecio angulatus, also known affectionately as the prolific cape ivy or climbing senecio. This plant is a real charmer with its bright green, ivy-shaped leaves and surprisingly cheerful yellow daisy-like flowers that appear in late winter or early spring. It’s incredibly vigorous, and the satisfaction you get from creating more of this beauty from just a few snips is immense. Don’t worry if you’re new to propagation; the cape ivy is wonderfully forgiving. I’d say it’s a fantastic choice for beginners.
The Best Time to Start
For the highest success rates, I always find that early spring is the sweet spot. When the plant is really starting to wake up after its winter rest, it has all that stored energy ready to fuel new growth. Late summer and early autumn can also work well, giving cuttings time to establish before the weather cools too much. Basically, you want to catch your cape ivy when it’s actively growing and putting out fresh, new stems.
Supplies You’ll Need
- Sharp pruning shears or a clean knife. Hygiene is key!
- A well-draining potting mix. I personally love a blend of equal parts peat moss or coco coir, perlite, and a little garden soil. This gives good aeration and moisture retention.
- Optional: Rooting hormone. While not strictly necessary for cape ivy, it can give your cuttings a helpful boost.
- Small pots or seed trays with drainage holes.
- A spray bottle for misting.
- A clear plastic bag or dome to create a humid environment.
Propagation Methods
Cape ivy is wonderfully versatile, and I’ve had success with a couple of methods.
Stem Cuttings
This is my go-to. It’s straightforward and reliably produces new plants.
- Take your cuttings. Look for healthy, non-flowering stems that are at least 4-6 inches long. Make your cuts just below a leaf node (where a leaf meets the stem).
- Prepare the cuttings. Gently strip off the lower leaves, leaving just a few at the top. This prevents them from rotting when buried. If you’re using rooting hormone, dip the cut end into it now.
- Pot them up. Fill your small pots with your prepared potting mix. Make a small hole in the center with your finger or a pencil and gently insert the cut end of the stem. Firm the soil gently around it.
- Water them in. Give the soil a good watering until it drains from the bottom of the pot.
- Create humidity. Place a clear plastic bag over the pot (without touching the leaves too much) or use a propagator lid. This traps moisture and keeps the cuttings from drying out while they’re trying to root.
Water Propagation
This is a fun one to watch, as you can see the roots develop!
- Take cuttings. Same as above – healthy, 4-6 inch stems with the lower leaves removed.
- Place in water. Put the cuttings in a clean glass or jar filled with fresh water. Make sure the leaf nodes where you removed leaves are submerged, but the remaining leaves are not.
- Change the water. Change the water every few days to keep it fresh and prevent any bacterial growth.
- Wait for roots. You should start to see tiny white roots appearing from the nodes in a few weeks. Once the roots are about an inch long, you can carefully transplant them into your potting mix.
The “Secret Sauce” (Pro Tips)
Here are a couple of things I’ve learned over the years that make a difference:
- Don’t let the leaves touch the water in your water propagation jars. If they’re submerged, they tend to rot quickly, which can take down the whole cutting along with them. Keep those leaves up and dry!
- Bottom heat is a game-changer for stem cuttings. If you have a seedling heat mat, pop your pots on it. It encourages root development much faster and can significantly improve your success rate, especially in cooler environments. It mimics the warmth of spring soil.
- A gentle misting is better than soaking for your potted cuttings. Overwatering at this stage is the quickest way to invite rot. A light misting daily or every other day is usually enough to keep them happy under their plastic dome.
Aftercare & Troubleshooting
Once your cuttings have developed a good root system – you’ll see new leaf growth and feel some resistance when you gently tug on the stem – it’s time to give them a bit more room. Carefully transplant them into slightly larger pots, using the same well-draining mix. Continue to keep them in bright, indirect light and water when the top inch of soil feels dry.
The most common problem you’ll encounter is rot. If you see your cuttings turning brown and mushy, or if they simply fail to root and start to wither, it’s usually a sign of too much moisture or poor air circulation. Make sure your pots are draining well, and if they’re under plastic, lift it for a few hours each day to let them breathe. Don’t be disheartened if a few don’t make it; it’s all part of the learning process!
A Encouraging Closing
So there you have it – a simple way to multiply your beautiful cape ivy. Remember, patience is a gardener’s best friend. Enjoy the process of watching those tiny roots unfurl and new leaves emerge. Before you know it, you’ll have a whole troop of happy, thriving Senecio angulatus plants ready to find their new homes. Happy propagating!
Resource:
https://identify.plantnet.org/k-world-flora/species/Senecio%20angulatus%20L.f./data