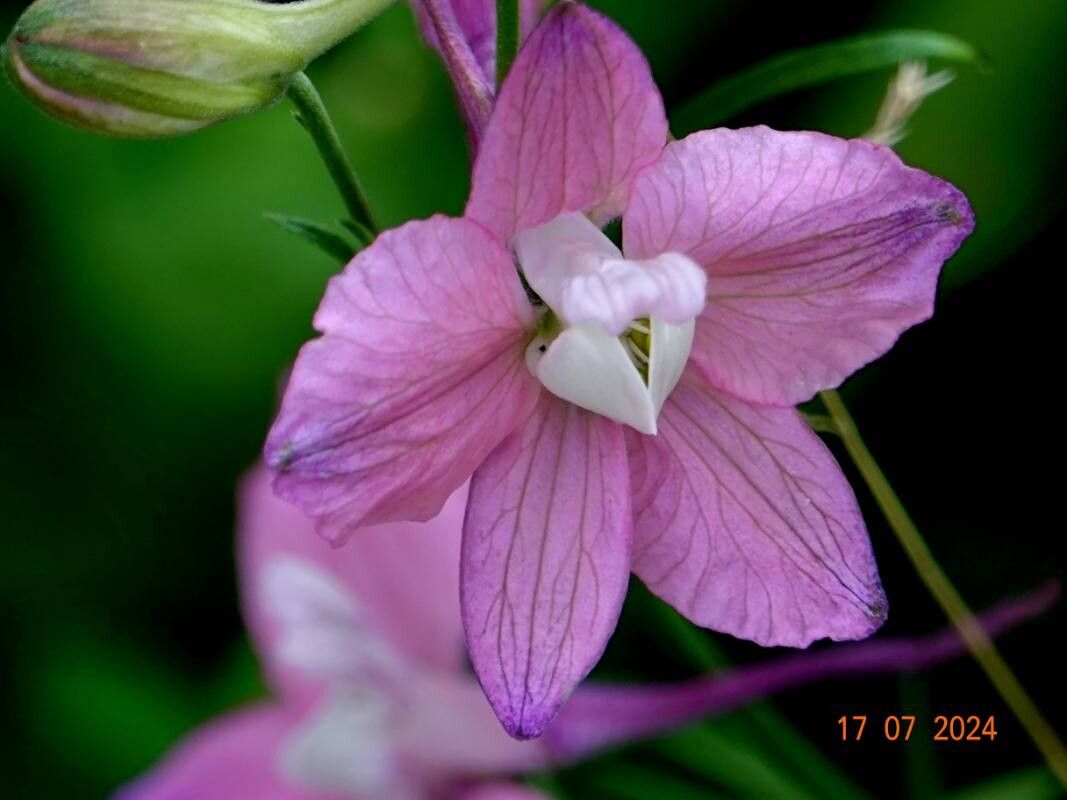
Oh, Delphinium ajacis! Those tall, spires of color are just a garden dream, aren’t they? And getting to create more of them from your favorite plants? That’s a special kind of magic. If you’ve ever admired these beauties and wished you could fill your garden with them, you’re in the right place. Propagating them is a wonderful way to multiply their charm. For beginners, I’d say it’s moderately easy. A little patience goes a long way, and you’ll learn so much along the way.
The Best Time to Start
For Delphinium ajacis, the sweet spot for propagation is generally late spring or early summer. This is when the plant is actively growing and has plenty of energy to put into developing new roots. You want to select young, healthy stems that haven’t yet flowered or are just beginning to. Think of it as capturing that youthful vigor!
Supplies You’ll Need
Here’s a simple rundown of what you’ll want to have on hand:
- Sharp pruning shears or a very clean knife: For making clean cuts.
- Rooting hormone (optional but recommended): A powder or gel that encourages root development.
- Light, well-draining potting mix: A blend of peat moss, perlite, and a little compost works beautifully. Avoid heavy soils.
- Small pots or trays with drainage holes: So excess water can escape.
- A plastic bag or propagator lid: To create a humid environment.
- Watering can with a fine rose: For gentle watering.
Propagation Methods
While Delphinium ajacis can be grown from seed (which is also a fun adventure!), propagating from stem cuttings is a fantastic way to get genetically identical plants from your existing, well-loved specimens.
- Take Your Cuttings: Select a healthy stem that’s about 4-6 inches long. Using your sharp shears, make a clean cut just below a leaf node (where a leaf attaches to the stem). Remove the leaves from the bottom half of the cutting. You can leave a couple of leaves at the top.
- Prepare for Rooting: Dip the cut end of the stem into your rooting hormone, tapping off any excess.
- Plant Your Cuttings: Fill your pots or trays with your prepared potting mix. Make a small hole with your finger or a pencil, and gently insert the cutting. Firm the soil around the stem so it stands upright.
- Create a Humid Environment: Water the soil gently but thoroughly. Then, cover the pots with a plastic bag or a propagator lid. This traps humidity, which is crucial for cuttings to root. Place the pots in a bright spot that gets indirect sunlight.
The “Secret Sauce” (Pro Tips)
Over the years, I’ve picked up a few little tricks that seem to make all the difference:
- Bottom Heat is Your Friend: If you have a seedling heat mat, placing your pots on it can significantly speed up root formation. It mimics that lovely warmth the soil gets in summer.
- Don’t Overcrowd: Give your cuttings a little breathing room in their pots. Trying to cram too many together can lead to competition for resources and increase the risk of disease.
- Cleanliness is Key: I can’t stress this enough! Sterilize your pruning shears and any pots you use. This prevents the spread of any nasty fungal infections that can quickly take down young cuttings.
Aftercare & Troubleshooting
Once your cuttings have roots (this can take anywhere from 3-6 weeks, so be patient!), you’ll start to see new growth appearing. At this point, you can gradually remove the plastic bag over a few days to acclimatize them to normal humidity. Continue to keep the soil consistently moist but not waterlogged.
The most common sign of trouble is rot. If your cuttings turn mushy and black at the base, it’s usually a sign of too much moisture or poor air circulation. If you see this happening, try to remove the affected cuttings immediately and improve drainage and ventilation. Sometimes, despite our best efforts, not every cutting will take. It’s a natural part of the process!
Happy Propagating!
Watching a tiny cutting transform into a flourishing new plant is one of the most rewarding parts of gardening for me. So, don’t be afraid to dive in! Be patient with your Delphinium ajacis, observe them closely, and enjoy the learning journey. Soon, you’ll have an abundance of these glorious flowers to enjoy. Happy gardening!
Resource:
https://identify.plantnet.org/k-world-flora/species/Delphinium%20ajacis%20L./data