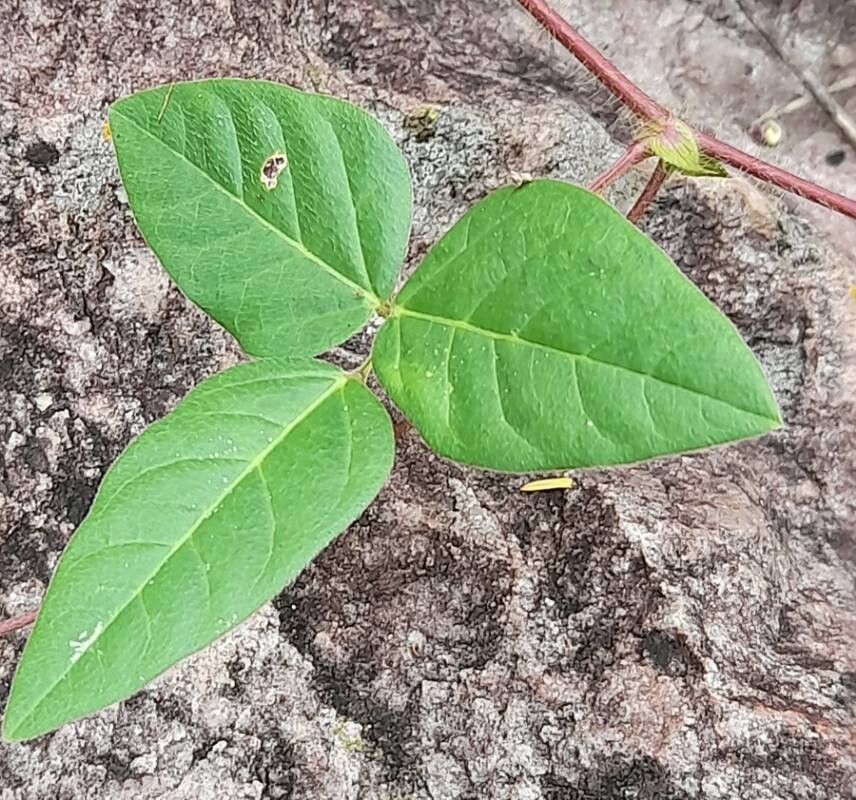
Hello fellow garden enthusiasts! Are you captivated by the delicate charm of Macroptilium prostratum? Me too! This lovely little plant, with its trailing habit and sweet pea-like flowers, brings such a delightful touch to hanging baskets, borders, and even as a groundcover. If you’ve admired it at a friend’s place or in a nursery, you might be wondering how to get more of this beauty for yourself. The good news? Propagating Macroptilium prostratum is a wonderfully rewarding endeavor. For beginners, I’d say it’s about a medium difficulty. It’s not quite as foolproof as a pothos, but with a little care and attention, you’ll be well on your way to success.
The Best Time to Start
When it comes to coaxing new life from existing plants, timing is everything. For Macroptilium prostratum, your best bet is to propagate during its active growing season. Think late spring through summer. This is when the plant has plenty of energy to draw from, making it more robust and receptive to taking root. Waiting until the plant is actively producing new stems and showing good vigor will significantly boost your chances of success.
Supplies You’ll Need
To get our propagation party started, gather these essentials:
- Sharp, clean pruning shears or a sharp knife: A clean cut prevents disease.
- Small pots or trays: Four-inch pots are usually a good size.
- A good quality seed-starting mix or a blend of perlite and peat moss: Good drainage is key! I like to mix about 50% perlite with 50% coco coir or peat moss myself.
- Rooting hormone (optional, but recommended): This really gives your cuttings a helping hand.
- Watering can with a fine rose: Gentle watering is a must.
- Plastic bags or a propagation dome: To create that essential humid environment.
Propagation Methods
Let’s get our hands dirty! Macroptilium prostratum is generally quite happy to be propagated from stem cuttings.
- Take Your Cuttings: On a healthy, non-flowering stem, look for a section that’s about 4-6 inches long. You want to make your cut just below a leaf node. A node is where a leaf attaches to the stem – this is where the magic happens, where roots are most likely to form.
- Prepare the Cuttings: Gently remove the leaves from the bottom half of your cutting. We only want to leave a couple of leaves at the very top to photosynthesize. If the top leaves are very large, you can even cut them in half to reduce water loss.
- Apply Rooting Hormone (if using): Dip the cut end into your rooting hormone, tapping off any excess. This step creates a nice, protective seal and encourages root development.
- Plant Your Cuttings: Fill your small pots or trays with your chosen potting mix. Make a small hole with your finger or a pencil in the center. Insert the prepared cutting into the hole, ensuring the leaf nodes are buried in the soil. Gently firm the soil around the base of the cutting. Water gently until the soil is moist but not waterlogged.
- Create Humidity: To keep those cuttings from drying out, cover them loosely with a plastic bag or place them under a propagation dome. Make sure the plastic doesn’t directly touch the leaves. Place the pots in a bright spot, but out of direct sunlight.
The “Secret Sauce” (Pro Tips)
- Bottom Heat is Your Friend: If you have it, placing your pots on a gentle heating mat can really speed up root formation. It mimics the warmth of spring soil, giving those cuttings their best start. Just keep it on a low setting – you don’t want to cook them!
- Don’t Be Afraid to Pinch: Once your cuttings have started to root and you see new growth, pinch off the tip of the new growth. This encourages the plant to branch out, creating a bushier, fuller plant rather than a leggy one.
- Watch for the “Wiggle Test”: After a few weeks, gently tug on a cutting. If you feel a bit of resistance, that’s a good sign that roots are developing.
Aftercare & Troubleshooting
Once you see new leaves emerge and your cuttings feel firm when gently tugged, they’ve successfully rooted! You can now remove the plastic covering and begin to gradually acclimate them to normal conditions. Water them as you would a mature plant, allowing the top inch of soil to dry out between waterings. Gradually introduce them to more sunlight.
The biggest challenge you might face is rot. This is usually caused by overwatering or poor drainage. If your cuttings turn mushy or black at the base, it’s likely rot. Sometimes you can save them by cutting off the rotted part and trying again, but often, it’s best to start fresh with drier conditions. Wilting can also be a sign of dehydration, especially before roots have formed. Make sure that humidity is maintained.
A Encouraging Closing
Propagating plants is a journey, and Macroptilium prostratum offers a delightful way to expand your garden or share the beauty with friends. Be patient with the process. Some cuttings will root quickly, while others might take their sweet time. Celebrate each success, learn from any setbacks, and most importantly, enjoy the rewarding experience of bringing new life into your green space. Happy propagating!
Resource:
https://identify.plantnet.org/k-world-flora/species/Macroptilium%20prostratum%20(Benth.)%20Urb./data