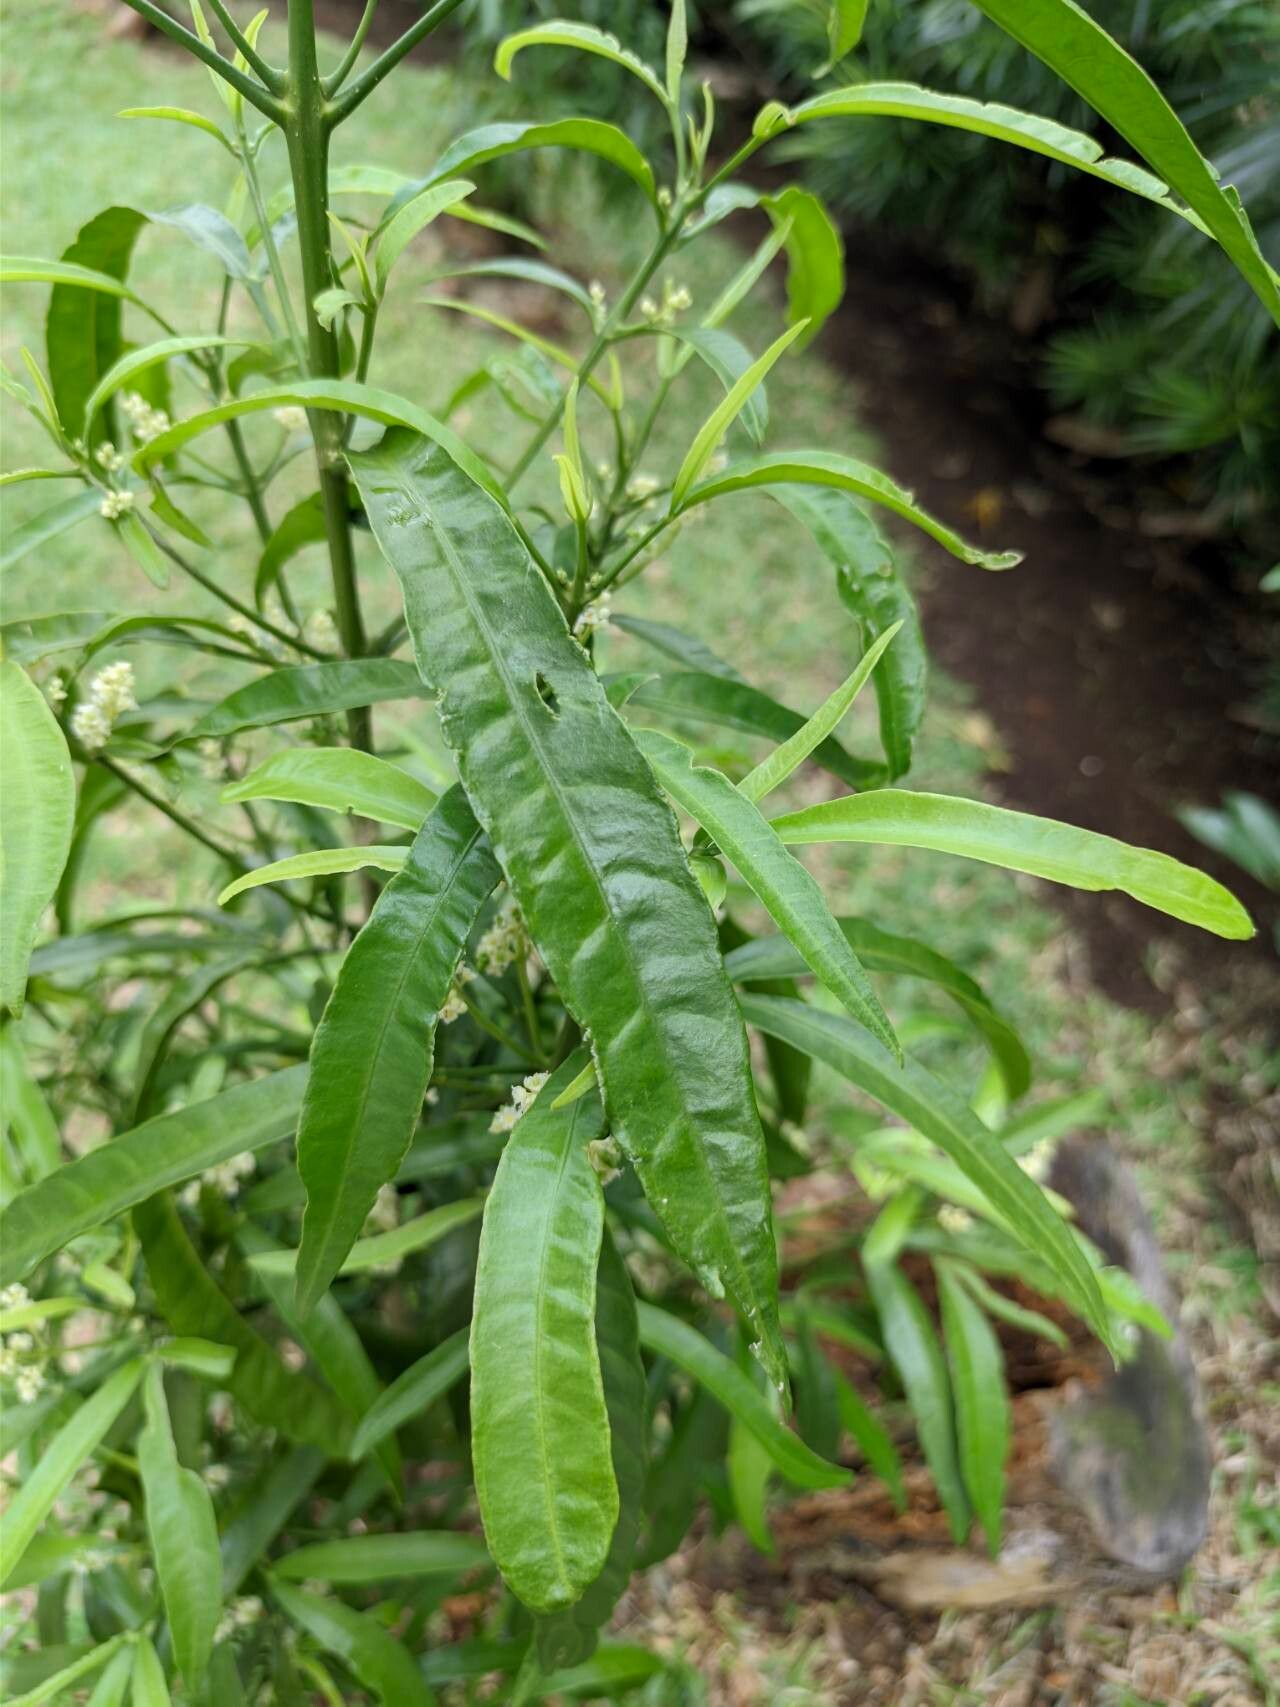
Hello fellow plant lovers! If you’re anything like me, you’ve probably fallen head over heels for the lush foliage and vibrant blooms of Euodia hortensis. This tropical beauty, also known as Native Lime or Korean Evodia, can truly add a touch of exotic flair to any garden or indoor space. But the real magic? It’s surprisingly rewarding to create more of these beauties from cuttings. Don’t be intimidated; while it takes a little finesse, propagating Euodia hortensis is a venture that’s definitely achievable, even for those just starting out on their propagation journey.
The Best Time to Start
For the best chance of success with Euodia hortensis, I always recommend striking cuttings in the late spring or early summer. This is when the plant is actively growing and has plenty of energy to put into developing new roots. You’re looking for semi-hardwood cuttings – that means they’re not brand new and soft, but also not old and woody. Think of a stem that bends with a bit of resistance but doesn’t snap easily.
Supplies You’ll Need
Having your toolkit ready makes all the difference. Here’s what I always have on hand:
- Sharp pruning shears or a clean, sharp knife: For taking clean cuts.
- Rooting hormone (powder or gel): This isn’t strictly essential, but it significantly boosts your success rate.
- Well-draining potting mix: A blend of perlite, peat moss, and a bit of coir works wonders. You want something that holds moisture but doesn’t get waterlogged.
- Small pots or propagation trays: Yogurt cups with drainage holes work in a pinch!
- Plastic bag or dome: To create a humid environment.
- Watering can or spray bottle: For gentle watering.
Propagation Methods
Let’s get our hands dirty! Here are the methods I find most effective for Euodia hortensis:
Stem Cuttings
This is my go-to method for Euodia hortensis.
- Take Your Cuttings: Using your clean shears, take cuttings that are about 4-6 inches long. Make the cut just below a leaf node (where a leaf attaches to the stem).
- Prepare the Cuttings: Gently strip off the lower leaves, leaving just a couple at the top. If the remaining leaves are very large, I like to cut them in half to reduce water loss through transpiration.
- Dip in Rooting Hormone: Dip the cut end of the stem into your rooting hormone, ensuring it’s coated. Tap off any excess.
- Plant the Cuttings: Fill your small pots or trays with your prepared potting mix. Make a hole in the center with your finger or a pencil and insert the cutting. Gently firm the soil around it.
- Water and Cover: Water the soil thoroughly but gently. Then, cover the pot with a clear plastic bag or a propagation dome to create a mini-greenhouse effect. This is crucial for maintaining humidity.
Division (for mature plants)
If you have a larger, established plant that’s starting to get a bit crowded, division is a great option.
- Uproot the Plant: Carefully remove the entire plant from its pot.
- Gently Separate the Roots: With your hands, or a clean trowel if necessary, gently tease apart the root ball into sections. Try to ensure each section has a good amount of roots and some foliage.
- Repot: Pot each division into its own pot with fresh, well-draining soil. Water well.
The “Secret Sauce”
Here are a few things I’ve learned over the years that really make a difference:
- Bottom Heat: If you’re propagating in a cooler environment, placing your pots on a seedling heat mat can dramatically speed up root development. It mimics the warmth of the soil in its natural habitat.
- Don’t Drown Your Cuttings: While humidity is key, overwatering can lead to rot. Let the top inch of soil dry out slightly before watering again. A good sign is when the soil feels lighter when you lift the pot.
- Patience is a Virtue: Sometimes, it can take several weeks to see new growth emerging, which is a sign of roots forming. Resist the urge to pull them up to check! Trust the process.
Aftercare & Troubleshooting
Once you see growth – new leaves emerging from the top or even tiny roots peeking out of the drainage holes – you’re well on your way!
- Transition Slowly: Gradually acclimate your new plants to lower humidity. Start by opening the plastic bag or dome for a few hours each day. Once they seem robust, you can remove the covering entirely.
- Watering: Continue to water when the top inch of soil feels dry. As they grow, they’ll become a little more forgiving, but they still appreciate consistent moisture.
- Common Issues: The biggest culprit for failure is rot, often caused by overwatering or poor drainage. If your cutting turns black and mushy, it’s usually a sign it didn’t make it. Don’t be discouraged! Sometimes, a few cuttings won’t take, but others will surprise you.
Happy propagating, my friends! There’s something incredibly satisfying about nurturing a whole new plant from just a small piece of another. Be patient, enjoy the magic of growth, and before you know it, you’ll have an abundance of Euodia hortensis to share or enjoy yourself. Happy gardening!
Resource: