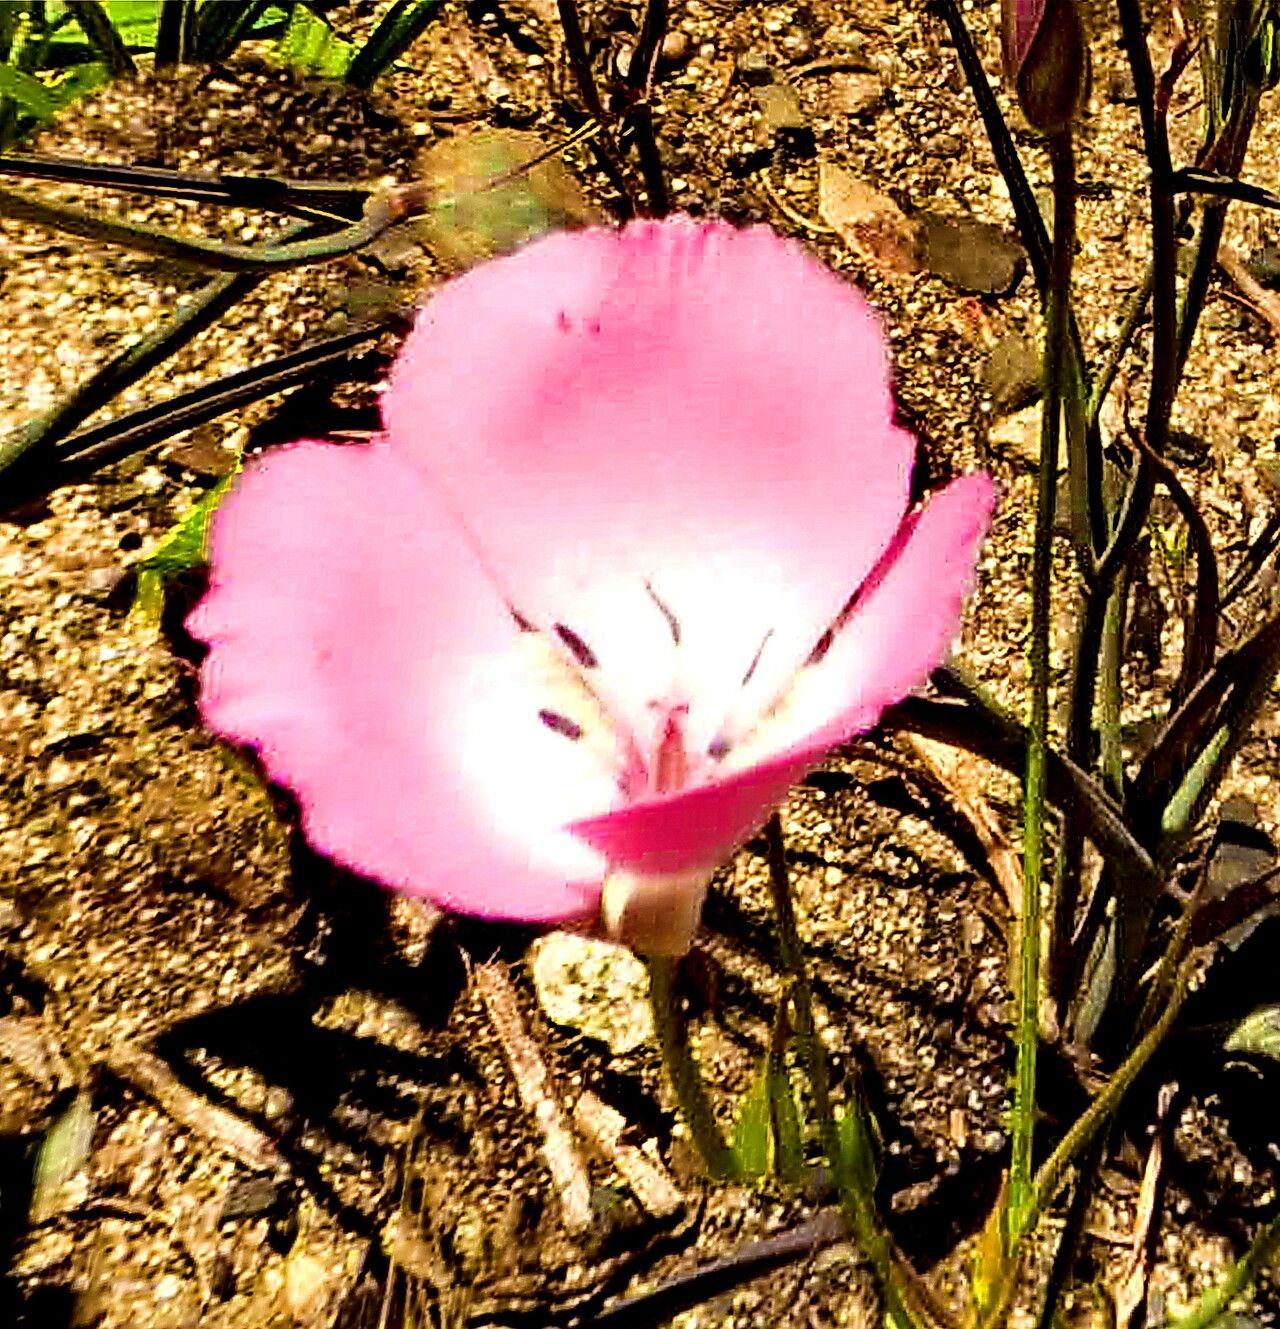
Oh, Calochortus splendens! Isn’t she a beauty? Those delicate, often ruffled petals, usually in shades of lilac, rose, and white, often with a striking central blotch – they truly are like little jewels in the garden. And the reward of growing your own from scratch? Pure joy! Now, I’ll be upfront: Calochortus can be a bit of a diva. They aren’t the easiest for absolute beginners, but with a little understanding and patience, you can absolutely succeed. Think of it as a special project for those wanting to delve a little deeper into the world of bulbs. You’ve got this!
The Best Time to Start
When it comes to Calochortus splendens, the best time to start propagating is typically in late summer or early fall. This is when the plant has finished its blooming cycle and is entering a period of dormancy. You’ll be working with the bulbs themselves, and this timing gives them a good head start for establishing roots before the real cold sets in.
Supplies You’ll Need
Before we get our hands dirty, let’s gather our tools:
- Healthy bulbs: The foundation of our success!
- Sharp pruning shears or a clean knife: For making precise cuts.
- A well-draining potting mix: I like a mix of coarse sand, perlite, and a good quality potting soil. Think gritty!
- Small pots or trays: With drainage holes, of course.
- Rooting hormone (optional but helpful): Particularly for divisions.
- Watering can or spray bottle: For gentle hydration.
- Labels and a marker: To keep track of what you’re doing.
Propagation Methods
For Calochortus splendens, we’ll focus on the most reliable method: bulb division. This is essentially like taking a little piece of the parent plant that already has the potential to become a new one.
- Gently excavate the parent bulb: In late summer or early fall, carefully dig around your Calochortus plant. You want to expose the bulb and any offsets it might have produced. Be very gentle; these bulbs can be delicate.
- Identify offsets: Look for smaller bulbs attached to the main bulb. These are the young ones ready to be separated. Sometimes, they’ll be clearly joined, other times they might be nestled right at the base.
- Make the separation: If the offsets are naturally loose, you can gently pull them away. If they are more firmly attached, use your clean pruning shears or knife to carefully cut the connecting tissue. Try to make a clean cut. If you have a bit of root still attached to the offset, that’s a bonus!
- Apply rooting hormone (optional): If you’re working with very small divisions or ones that didn’t have many natural roots, you can dip the cut end of the offset into rooting hormone. This can encourage root development.
- Pot up your new bulbs: Fill your small pots with your gritty, well-draining mix. Plant each offset about 1-2 inches deep, depending on its size. The pointy end should face upwards. Gently water them in.
The “Secret Sauce” (Pro Tips)
Now for a couple of things I’ve learned over the years that make a difference:
- Don’t overwater dormancy: This is crucial! Calochortus bulbs hate sitting in soggy soil. Once potted up after division, give them a good watering, then let the soil dry out almost completely before watering again. During their dormant period (which you’ve just initiated by propagating), they need very little moisture. Think “barely damp.”
- Chilling is key (for some): While not strictly for propagation, know that Calochortus bulbs often benefit from a period of cold stratification to fully mimic their natural conditions. If you’re really keen, after potting them up and letting them settle for a couple of weeks, you can place the pots in a cool, dark place (like an unheated garage or even the crisper drawer of your fridge for a couple of months) before they need to sprout.
Aftercare & Troubleshooting
Once your propagated bulbs start to show signs of life – little green shoots emerging! – you can treat them like your mature plants. Continue with that careful watering schedule, ensuring they don’t get waterlogged. They’ll appreciate good light, but protect them from intense midday sun, especially when they’re young.
The most common sign of failure is rot. If you see a bulb turning mushy and dark, it’s usually a sign of too much moisture. Unfortunately, there’s not much you can do once rot sets in, so prevention is really your best friend here. If you see mold on the soil surface, it’s a good indicator that you might be watering a little too often, or the air circulation isn’t great.
A Encouraging Closing
Propagating Calochortus splendens is a journey. There might be moments of doubt, but trusting the process and respecting the plant’s needs will bring you immense satisfaction. Be patient, observe your new little charges, and celebrate every tiny green shoot. You’re nurturing a piece of living art, and that’s a wonderful thing to do. Happy gardening!
Resource: