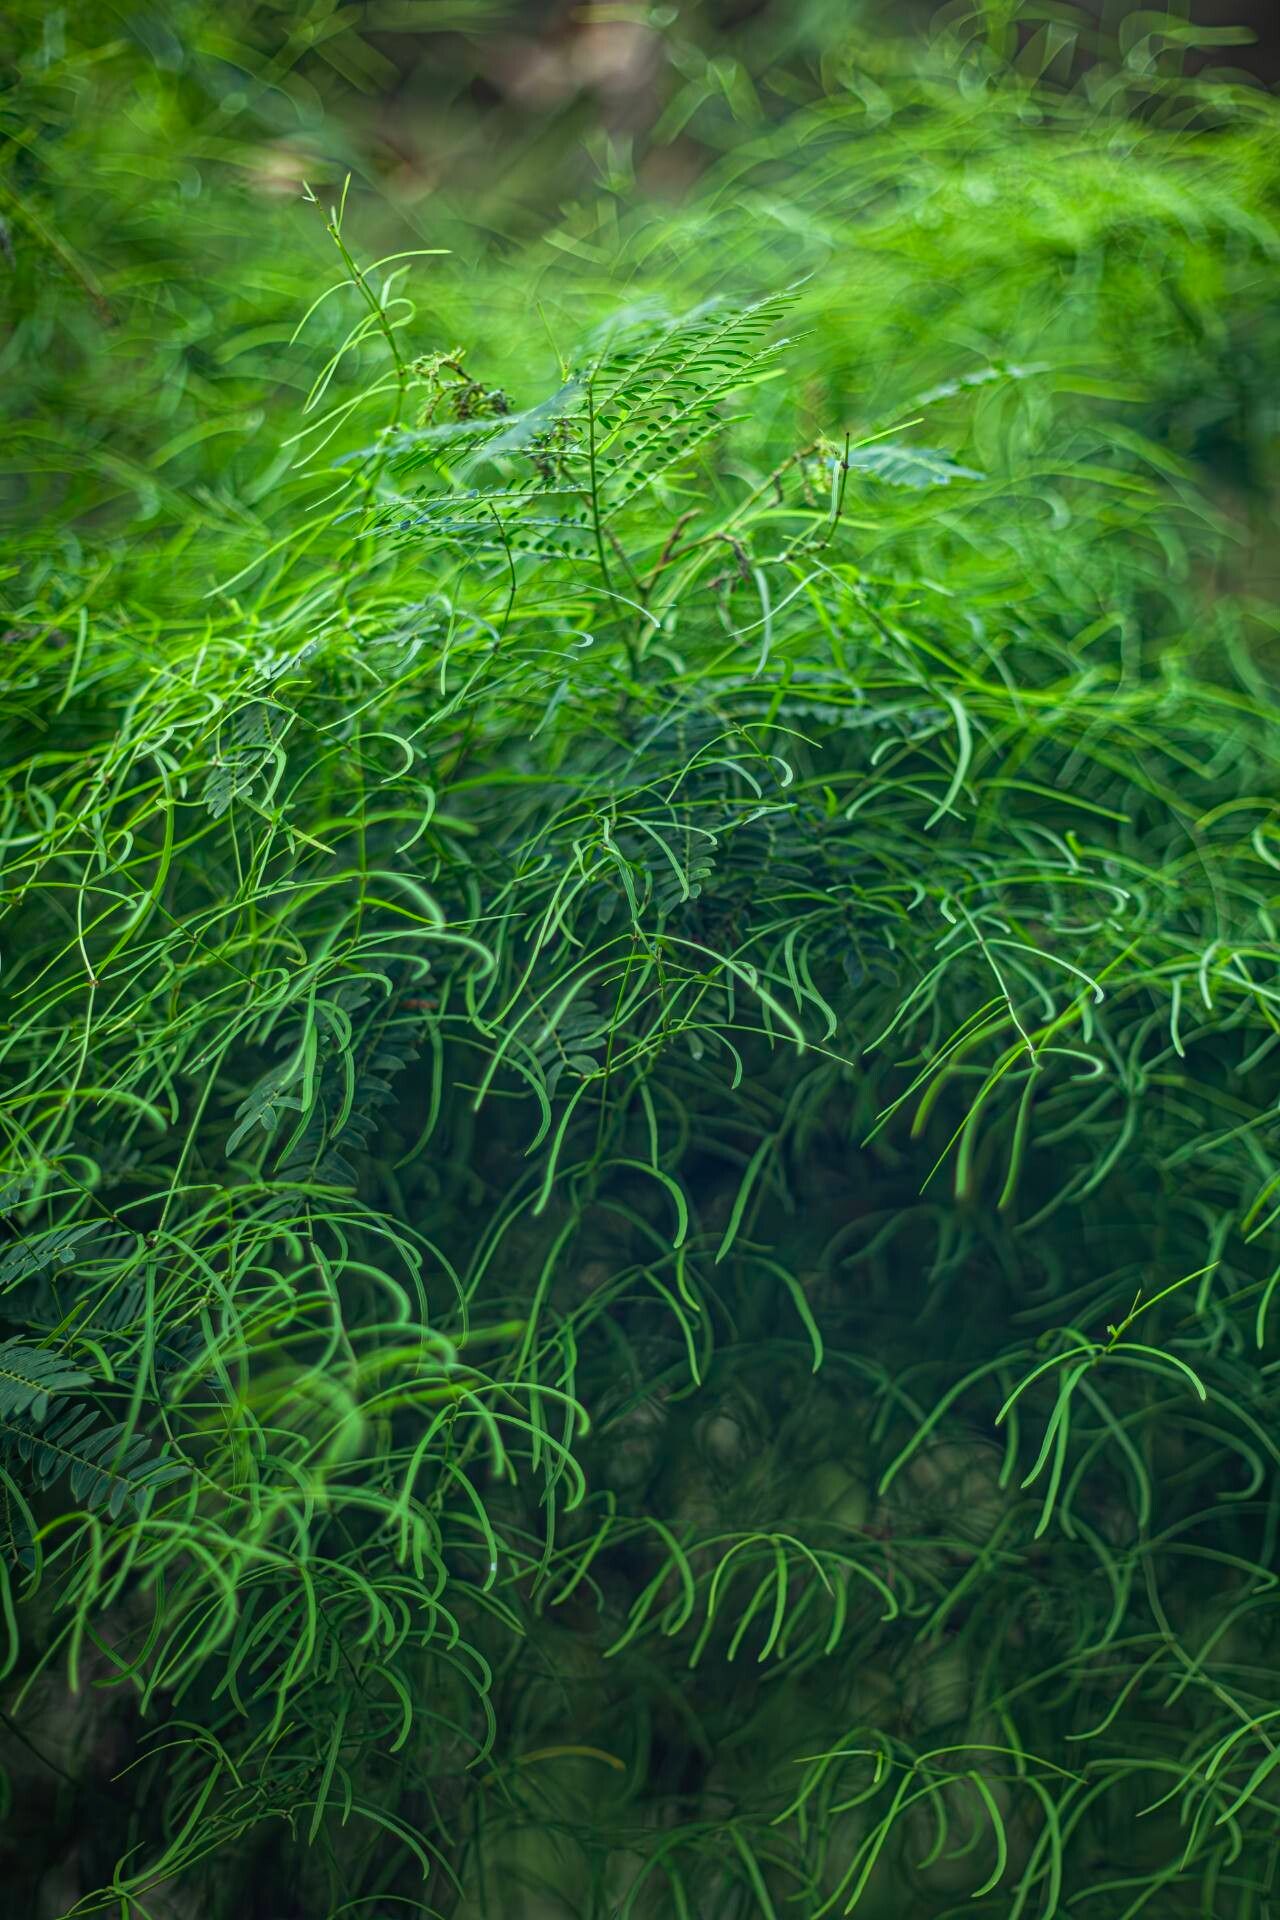
Hey there, garden friends! Today, we’re diving into the wonderful world of propagating Asparagus cochinchinensis, also known as Shatavari or Phoenix Tail Asparagus. I’ve been growing and working with this beauty for years, and let me tell you, its delicate, airy foliage brings such a lovely texture to any space, whether it’s tucked into a hanging basket or gracing the edge of a garden bed. And the best part? Bringing new life into your garden by propagating it yourself is incredibly satisfying.
Now, if you’re new to the plant world, don’t shy away. While it might not be your absolute easiest beginner plant compared to something like a pothos, propagating Shatavari is definitely achievable with a little care and attention. Think of it as a rewarding challenge that pays off with gorgeous new plants.
The Best Time to Start
For the highest success rate, I always aim to propagate my Asparagus cochinchinensis in the spring or early summer. This is when the plant is actively growing and has abundant energy to put into developing new roots. You want to see good, healthy new growth on your parent plant before you start taking cuttings. Avoid attempting this when the plant is dormant or stressed.
Supplies You’ll Need
Before we get our hands dirty, let’s gather our tools. Having everything ready makes the process so much smoother!
- Sharp Pruning Shears or a Clean Knife: For taking clean cuts.
- Rooting Hormone (Optional but recommended): Helps to stimulate root development.
- Potting Mix: A well-draining mix is key. I like a blend of peat moss, perlite, and a bit of compost.
- Small Pots or Seedling Trays: For your new baby plants to establish in. Make sure they have drainage holes!
- Watering Can or Spray Bottle: For gentle watering.
- Clear Plastic Bags or a Propagation Dome: To create a humid environment.
- Chopsticks or a Pencil: To poke holes in the soil for easy insertion of cuttings.
Propagation Methods
Shatavari can be propagated primarily through two common methods: stem cuttings and division. I find stem cuttings to be a very effective way to get multiple new plants.
Stem Cuttings
- Select Your Cuttings: Look for healthy, non-flowering stems that are at least 4-6 inches long. I prefer to take cuttings from the new growth, as it tends to root more readily.
- Make the Cut: Using your sharp pruning shears, make a clean cut just below a leaf node. A leaf node is that little bump on the stem where a leaf emerges. This is where roots will likely form.
- Prepare the Cutting: Gently remove the lower leaves from the bottom inch or two of the stem. You want to expose the nodes. If the cutting is very fluffy, you can trim back some of the feathery foliage to reduce water loss, but don’t go too drastic!
- Apply Rooting Hormone (Optional): Dip the cut end of the stem into your rooting hormone powder, tapping off any excess. This step isn’t strictly necessary for Shatavari, as they can often root without it, but it definitely boosts your chances.
- Plant Your Cutting: Fill your small pots with your prepared potting mix. Use a chopstick or pencil to poke a hole in the soil, deep enough to accommodate the leafless part of your cutting. Carefully insert the cutting into the hole and gently firm the soil around it.
- Water Lightly: Water the soil gently but thoroughly. You want it to be moist, but not waterlogged.
- Create Humidity: Cover the pot with a clear plastic bag or place it under a propagation dome. This creates a mini-greenhouse effect, keeping the humidity high, which is crucial for cuttings to root.
Division
This method is best done when you have a mature plant that has grown a bit crowded in its pot.
- Remove from Pot: Carefully take your Asparagus cochinchinensis out of its current container.
- Inspect the Roots: Gently shake away some of the excess soil to get a good look at the root ball. You’re looking for distinct sections of growth.
- Separate Divisions: Using your hands or a clean, sharp knife, carefully separate the root ball into smaller sections. Each division should have a healthy clump of roots and some leafy stems.
- Pot Up: Pot each division into its own container filled with fresh, well-draining potting mix.
- Water Gently: Water each new division thoroughly.
The “Secret Sauce” (Pro Tips)
Here are a few little tricks I’ve picked up over the years that really make a difference:
- Don’t Let Leaves Touch the Water (for stem cuttings in water): While I primarily advocate for soil propagation for Shatavari, if you ever choose to prop some varieties in water, ensure the leaves do not touch the water’s surface. This will cause them to rot before they even have a chance to form roots.
- Bottom Heat is Your Friend: If you’re propagating in a cooler environment, placing your pots on a heat mat designed for plant propagation can significantly speed up root development. It mimics the warmth of spring soil beautifully.
- Patience is Paramount: Seriously. Sometimes cuttings can take weeks, even a couple of months, to show signs of rooting. Don’t give up too soon! I’ve had cuttings that looked like they were failing only to surprise me with new growth.
Aftercare & Troubleshooting
Once your cuttings have successfully rooted (you’ll usually see new leafy growth or feel resistance when you gently tug on the stem), it’s time for a little extra attention.
- Acclimate Gradually: If you’ve been using a plastic bag, start by removing it for a few hours each day, gradually increasing the time until the plant is comfortable in open air.
- Watering: Continue to water when the top inch of soil feels dry. As the plant grows, you can move it into slightly larger pots.
- Light: Place your new plants in a location with bright, indirect light. Avoid harsh, direct sun, which can scorch their delicate foliage.
The biggest sign of failure you’ll likely encounter is rotting. If your cutting turns mushy and black, it’s usually a sign of too much moisture or poor air circulation. If this happens, unfortunately, that particular cutting is probably lost. Don’t let it discourage you; just try again with fresh cuttings and perhaps adjust your watering or humidity levels.
A Little Encouragement
Propagating Asparagus cochinchinensis is a journey, and like all good gardening endeavors, it’s about the process and the joy of nurturing new life. Be patient with your new plants, celebrate every tiny new shoot, and don’t be afraid to experiment. Soon enough, you’ll have a little army of these beautiful ferns gracing your home or garden. Happy propagating!
Resource: