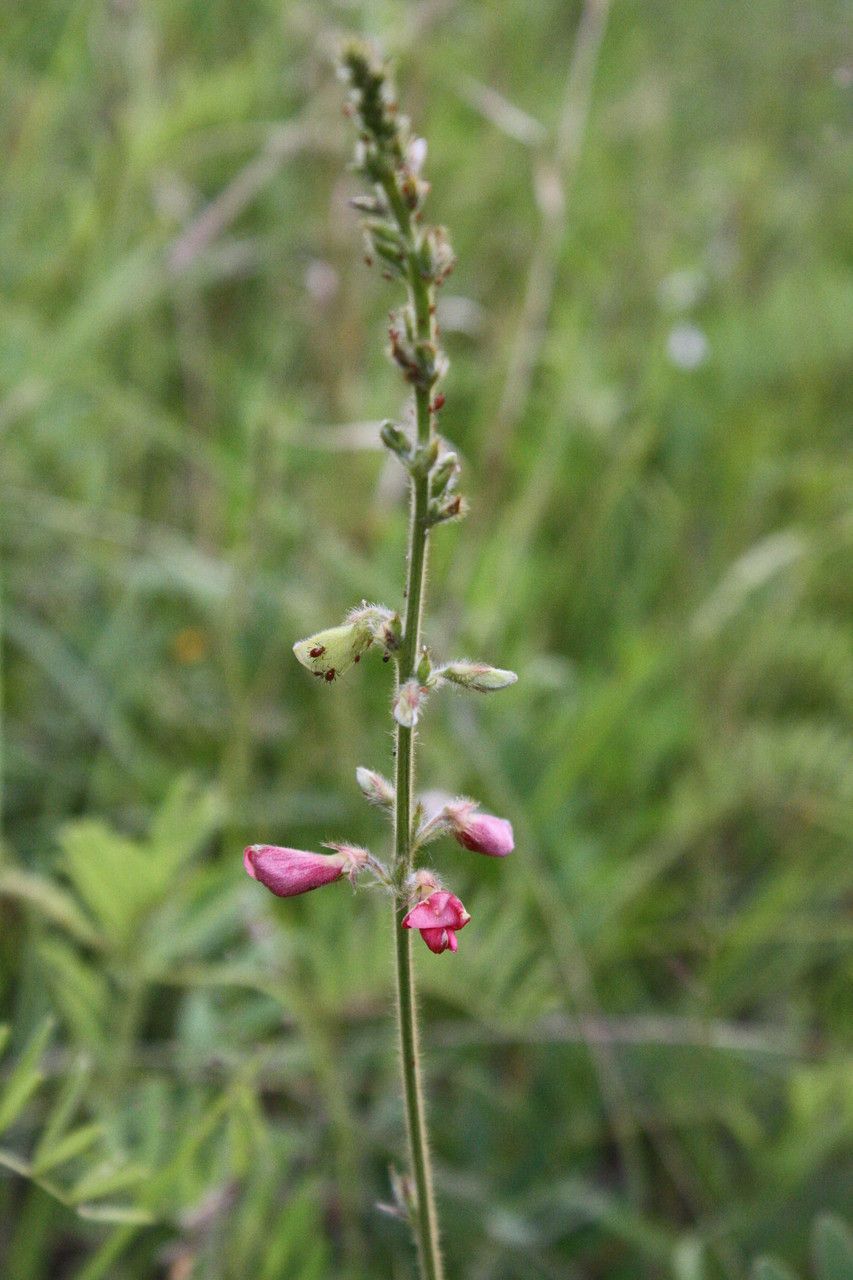
Hello, fellow plant lovers! I’m so excited to talk to you today about a truly special plant: Tephrosia onobrychoides. If you’re looking for something a little different for your garden, these beauties are worth a second glance. They offer such a lovely display, often with delicate, pea-like flowers that attract all sorts of pollinators. Plus, the act of growing new plants from existing ones is just incredibly satisfying. It’s a wonderful way to multiply your garden’s beauty and share it with friends. For those of you just dipping your toes into propagation, Tephrosia onobrychoides is moderately easy, making it a great choice to get your hands dirty with.
The Best Time to Start
When it comes to getting your Tephrosia onobrychoides babies started, spring is really your golden ticket. Think of it as the plant waking up from its winter nap and bursting with energy. You want to catch it in its active growth phase, when it’s feeling vigorous and ready to throw out new shoots. This usually means after the last frost has passed and the days are getting longer and warmer.
Supplies You’ll Need
Gathering the right tools will make your propagation journey so much smoother. Here’s what I usually have on hand:
- Sharp, clean pruning shears or a sharp knife: For making clean cuts, which helps prevent disease.
- Well-draining potting mix: A good starting point is a 50/50 blend of peat moss or coco coir and perlite or vermiculite. This ensures excellent aeration.
- Rooting hormone (optional, but recommended): This can give your cuttings a little boost to help them develop roots faster.
- Small pots or seed trays: Make sure they have drainage holes!
- Clear plastic bags or a propagator: To create a humid environment.
- Small labels or plant markers: So you don’t forget what you’ve planted where.
- Watering can with a fine rose: For gentle watering.
Propagation Methods
Let’s get our hands dirty! For Tephrosia onobrychoides, I find two methods work particularly well.
Stem Cuttings
This is my go-to for multiplying these lovely plants.
- Select your cuttings: Look for healthy, non-flowering semi-hardwood stems. These are stems that have grown this season but are starting to firm up a bit, not the super soft new growth or old woody stems. Aim for cuttings about 4-6 inches long.
- Make the cut: Using your clean shears or knife, make a clean cut just below a leaf node. This is where roots are most likely to form.
- Prepare the cutting: Remove the lower leaves, leaving just a few at the top. This prevents them from rotting in the soil. If your leaves are quite large, you can even cut them in half to reduce water loss.
- Apply rooting hormone (if using): Dip the cut end of the stem into your rooting hormone powder, tapping off any excess.
- Pot them up: Gently insert the cut end of the stem about an inch deep into your prepared, moistened potting mix. Firm the soil gently around the base.
- Create a humid environment: Water gently, then cover the pot loosely with a clear plastic bag or place it in a propagator. This traps moisture and creates the humid atmosphere the cuttings need. Make sure the leaves don’t touch the plastic! You can use stakes to prop it up if needed.
- Find a good spot: Place the pots in a bright location out of direct sunlight. Warmth is also beneficial.
Water Propagation
Sometimes, the simplest methods are the most effective!
- Choose your cuttings: Similar to stem cuttings, select healthy, semi-hardwood stems about 4-6 inches long.
- Prepare the cutting: Remove all leaves except for the top two or three.
- Place in water: Put the cuttings in a clean jar or glass filled with fresh water. Ensure that the leaf nodes are submerged, but do not let the leaves themselves touch the water. This is crucial to prevent rot.
- Change the water regularly: I like to change the water every 2-3 days to keep it fresh and oxygenated.
- Location, location, location: Place the jar in a bright, indirect light spot. You should start to see tiny white roots emerge from the nodes within a few weeks.
- Pot them up: Once the roots are about an inch long, you can carefully transplant them into your well-draining potting mix, just as you would with stem cuttings.
The “Secret Sauce” (Pro Tips)
Here are a few things I’ve learned over the years that really make a difference:
- Bottom Heat is Your Friend: Tephrosia onobrychoides really likes a bit of warmth from below, especially for stem cuttings. A heating mat designed for seedlings can significantly speed up root development and increase your success rate. Just place your pots on top of it.
- Don’t Rush the Potting-Up: When propagating in water, hold off on potting until those roots are a good size, say at least an inch long. This gives them a stronger start when they move to soil.
- Cleanliness is Key: I can’t stress this enough – always use sterilized tools and pots. Even a tiny bit of lingering bacteria or fungus can spell disaster for your precious cuttings. A quick wipe with rubbing alcohol is usually enough.
Aftercare & Troubleshooting
Once your cuttings have developed a good root system – you’ll see them emerging from the drainage holes, or they’ll resist gentle tugging when you try to transplant them – it’s time for a little more care.
- Watering: Continue to water gently and consistently, keeping the soil moist but not waterlogged. As the new plants establish, you can gradually acclimate them to a regular watering schedule.
- Light: Keep them in bright, indirect light for a while until they are more robust. Slowly introduce them to more direct sunlight as they grow.
- Fertilizing: I usually wait until they’ve shown good signs of new leafy growth before introducing a very diluted, balanced liquid fertilizer.
Now, what if things go wrong? The most common issue you’ll encounter is rot. If you see mushy, black stems or a foul smell, it’s usually a sign of too much moisture and not enough air circulation. You might need to start over with fresh cuttings, ensuring better drainage and less water. Yellowing leaves can sometimes mean they need a bit more light, or perhaps they’re getting too much water. Don’t get discouraged; it’s all part of the learning process!
A Little Patience Goes a Long Way
Propagating plants is an exercise in patience and observation. Some take off right away, while others require a bit more time to show their roots. Enjoy the process, learn from each attempt, and soon you’ll be surrounded by beautiful Tephrosia onobrychoides that you grew yourself. Happy gardening!
Resource:
https://identify.plantnet.org/k-world-flora/species/Tephrosia%20onobrychoides%20Nutt./data