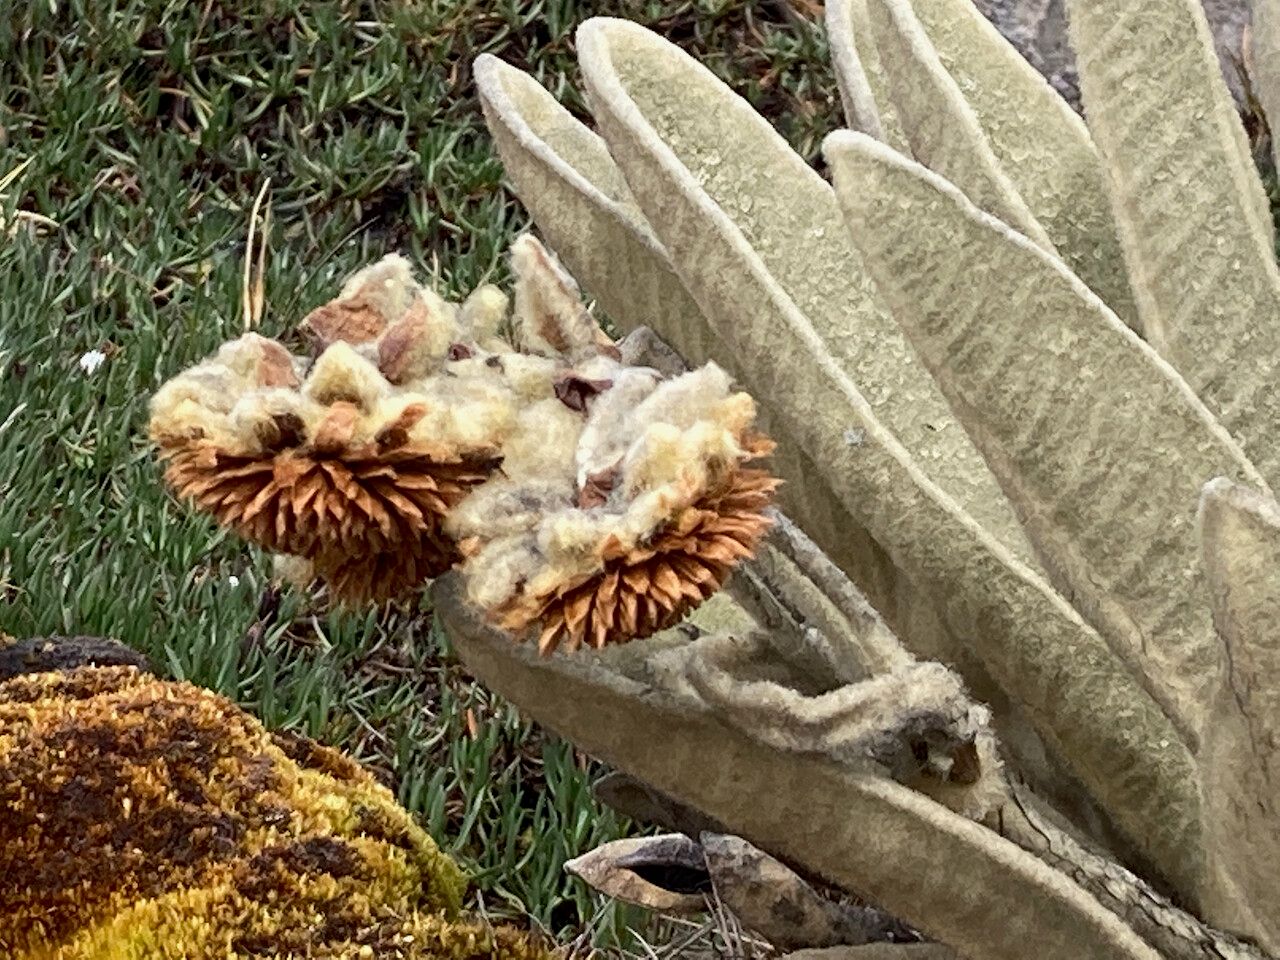
Hello fellow plant lovers! I’m so excited to talk with you today about a truly unique and utterly charming plant: Espeletia lopezii, often called the “frailejón.” These beauties, with their fuzzy, grey-green leaves and rocket-like growth, are straight out of a fairy tale. They hail from the high Andean páramos, and seeing them clustered together in their natural habitat is an experience I’ll never forget.
Propagating your own Espeletia lopezii is incredibly rewarding. You get to witness the magic of new life unfold, and there’s a special satisfaction in nurturing these distinct plants from a tiny cutting or division into a mature specimen. Now, I won’t sugarcoat it – Espeletia lopezii can be a bit finicky, so it might not be the absolute easiest plant for a complete beginner. But with a little attention and this guide, you’ll be well on your way!
The Best Time to Start
For the highest success rate with Espeletia lopezii, you’ll want to propagate in the spring or early summer. This is when the plant is actively growing and has plenty of energy to put into developing new roots. Look for new growth on your existing plant; these are usually the most vigorous and responsive stems. Avoid propagating during very hot periods or when the plant is stressed.
Supplies You’ll Need
Here’s a handy list of what you’ll want to have on hand:
- Sharp, clean pruning shears or a sharp knife: For making clean cuts.
- Potting mix: A well-draining mix is crucial. I like to use a blend of equal parts perlite and a good quality potting soil, or even add a bit of coarse sand. A cactus and succulent mix can also work well.
- Small pots or propagation trays: Ensure they have drainage holes!
- Rooting hormone (optional but recommended): A powdered or gel form can give your cuttings a helpful boost.
- A clear plastic bag or a propagator: To create a humid environment.
- Spray bottle: For misting.
- Small trowel or dibber: For planting cuttings.
Propagation Methods
There are two main ways I successfully propagate Espeletia lopezii: stem cuttings and division.
Stem Cuttings
This is my go-to method for increasing my stock of these wonderful plants.
- Select your cutting: Look for a healthy, non-flowering stem that is at least 4-6 inches long. Gently twist or cut it from the mother plant using your clean shears.
- Prepare the cutting: Remove the lower leaves from the stem, leaving about 2-3 inches bare. If the leaves are very large, you can even cut them in half to reduce moisture loss. Let the cutting callus over for a day or two in a dry, shaded spot. This is a crucial step in preventing rot. You’ll see a dry, whitish scar at the cut end.
- Apply rooting hormone: If you’re using rooting hormone, dip the callused end of the cutting into it, tap off any excess.
- Plant the cutting: Fill your small pot with your well-draining potting mix. Make a hole with your trowel or finger and insert the callused end of the cutting. Gently firm the soil around it.
- Create humidity: Water the soil lightly, then cover the pot with a clear plastic bag or place it in a propagator. Ensure the leaves aren’t touching the plastic.
Division
If your Espeletia lopezii has grown into a clump with multiple stems arising from the base, division is a great option.
- Remove from pot: Gently take your Espeletia lopezii out of its pot.
- Inspect the roots: Examine the root ball. You’ll want to identify natural divisions where you can separate sections without causing too much damage to the roots.
- Separate the clumps: Using a clean, sharp knife or your hands, gently pull or cut the plant apart into smaller sections. Each section should have a good amount of roots attached and at least one healthy stem.
- Replant: Pot each divided section into its own pot with fresh, well-draining potting mix. Water lightly.
The “Secret Sauce” (Pro Tips)
Here are a couple of things I’ve learned over the years that really make a difference:
- Don’t let the leaves touch the water: If you’re using water propagation (though I find it trickier for Espeletia lopezii), make sure any remaining leaves are well above the water line. This prevents rot. For soil propagation, the key is that callused stem and free-draining mix.
- Bottom heat is your friend: If you can provide a gentle bottom heat source (like a seedling heat mat), it can significantly speed up the rooting process for stem cuttings. Just a little warmth encourages those roots to get going.
Aftercare & Troubleshooting
Once your cuttings or divisions are planted, keep them in bright, indirect light. Avoid direct sunlight, which can scorch the delicate new growth. Water sparingly. The soil should be lightly moist, not soggy. Mist the leaves occasionally if you’re using a propagator, but again, avoid waterlogged soil.
You’ll know your cutting has rooted when you see new growth appearing at the tip of the stem. You can also give a very gentle tug; if there’s resistance, roots are forming. This can take anywhere from 4-12 weeks, so patience is key!
The most common issue you’ll encounter is rot. This is usually caused by overwatering or not allowing the cuttings to callus properly. If you see a cutting turning mushy or black, it’s likely succumbed to rot. Don’t be discouraged; just try again with a fresh cutting and review your watering and callusing steps.
Let’s Get Growing!
Propagating Espeletia lopezii is a journey, and like any good garden adventure, it requires a bit of patience and a lot of love. Don’t be afraid to experiment and learn from each attempt. The reward of seeing your own little frailejones sprout and thrive is absolutely worth it. Happy propagating!
Resource:
https://identify.plantnet.org/k-world-flora/species/Espeletia%20lopezii%20Cuatrec./data