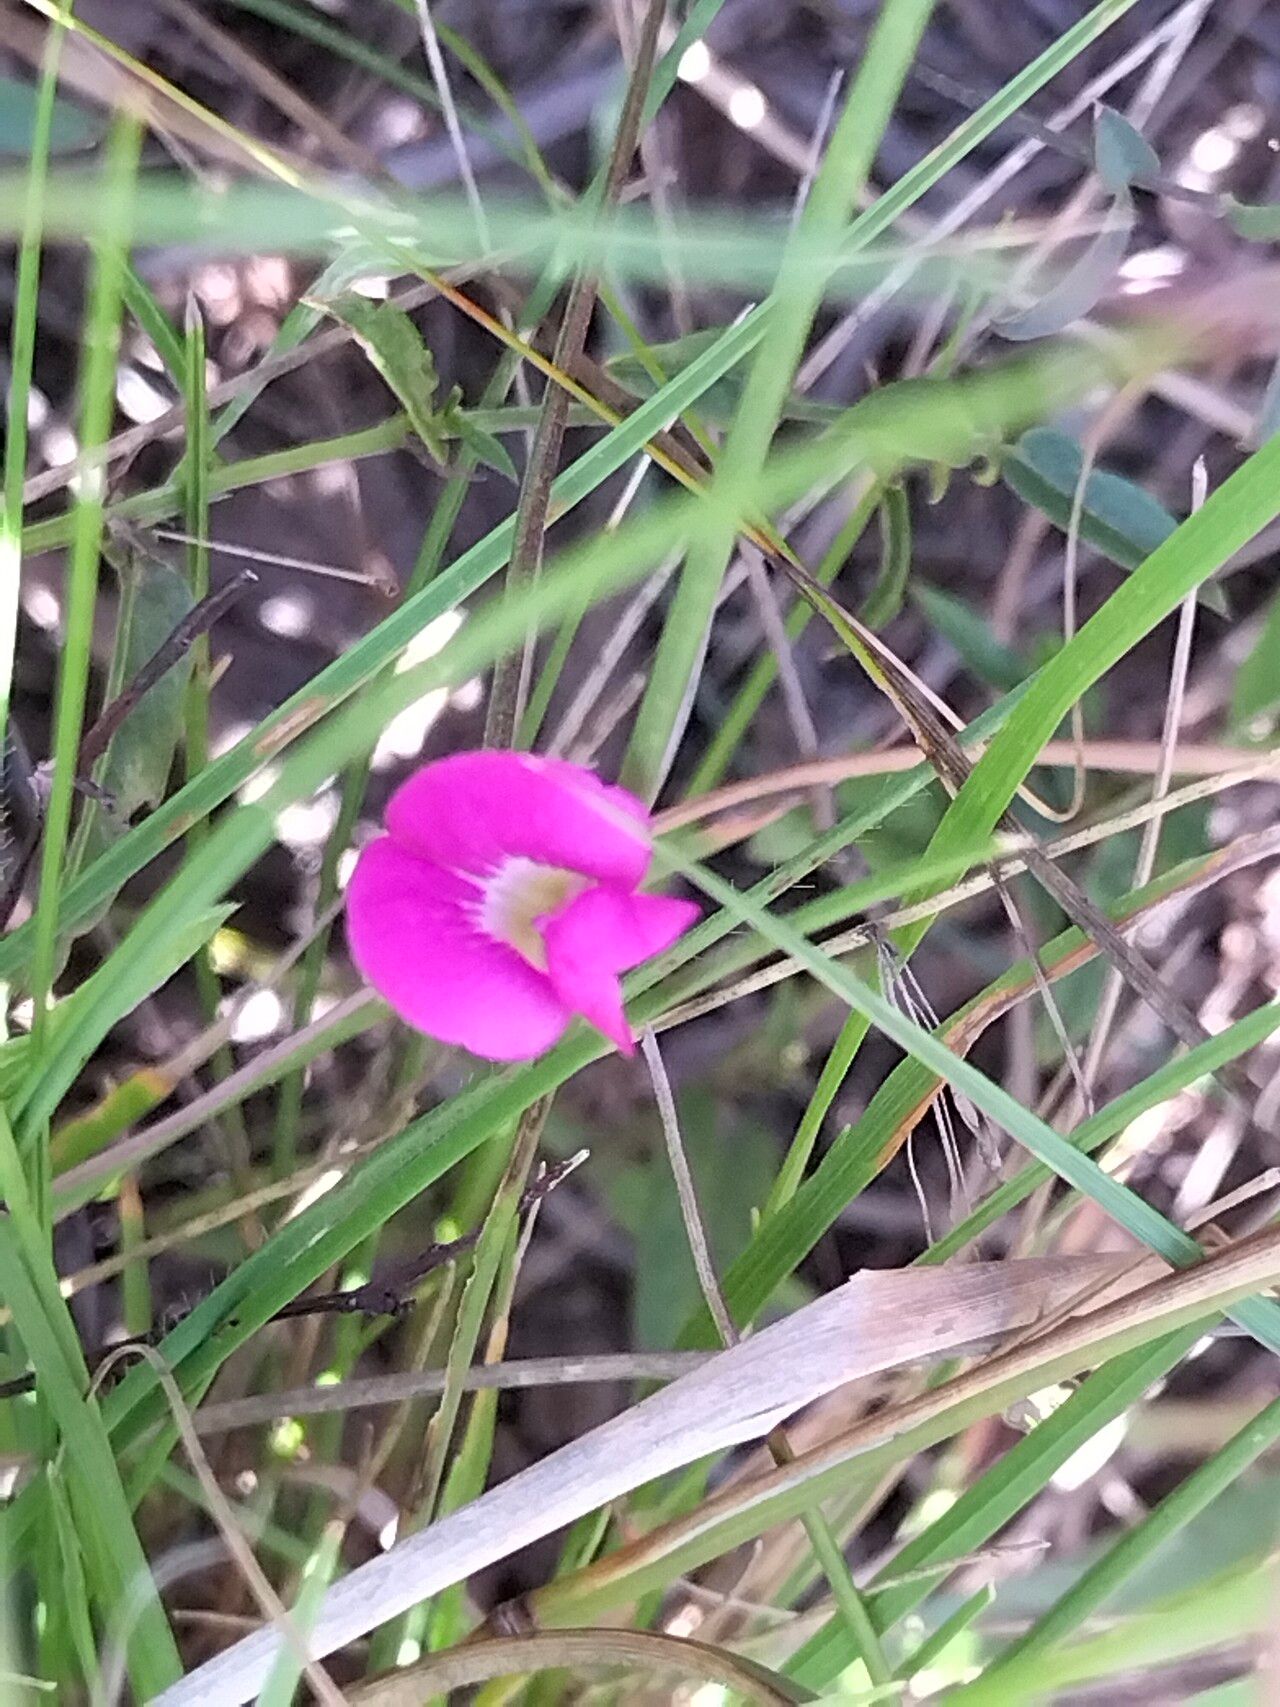
Hello fellow plant lovers! It’s so lovely to have you join me in my little corner of the garden today. We’re going to chat about a plant that brings a burst of sunshine and delicate beauty to any space: Tephrosia capensis. You might know it as the Cape Poison bush, but don’t let that name fool you – it’s a delightful plant to grow, and its pretty pink-purple pea-like flowers are just charming.
Propagating Tephrosia capensis yourself is incredibly rewarding. Seeing a tiny cutting or seed sprout into a new, thriving plant is pure magic, wouldn’t you agree? And the best part? It’s not a difficult plant to get started, even for those of you just dipping your toes into the world of propagation. I find it’s a joy to share.
The Best Time to Start
When is the magic window for success? For Tephrosia capensis, the late spring or early summer is your absolute best bet. This is when the plant is in its active growth phase. The warmer temperatures and longer days give cuttings the best chance to root. If you’re working with seeds, starting them in the late spring will allow them plenty of time to establish before the cooler weather sets in.
Supplies You’ll Need
Before we get our hands dirty, let’s gather our tools:
- Sharp pruning shears or clean scissors: For taking clean cuts.
- Seed-starting mix or a well-draining potting mix: I like to use a blend of equal parts peat moss, perlite, and a touch of compost.
- Small pots or trays: Cleanliness is key here!
- Rooting hormone (optional but helpful): A powder or gel formulation.
- Plastic bags or a propagator: To create a humid environment.
- Labeling sticks and a pen: So you don’t forget what’s what!
- Watering can or spray bottle: For gentle watering.
Propagation Methods
Tephrosia capensis is quite amenable to propagation, and I find two methods work wonders:
1. Stem Cuttings: My Favorite for a Quick Start
This is a fantastic way to get new plants quickly from a mature specimen.
- Choose your cutting: Look for healthy, non-flowering stems. Gently bend a stem; if it snaps easily, it’s ready. You want pieces that are about 4-6 inches long.
- Make the cut: Using your sharp shears, cut just below a leaf node. This is where the plant’s natural rooting hormones are concentrated.
- Prepare the cutting: Remove the lower leaves, leaving just two or three at the top. This helps prevent rotting in the soil.
- Dip in rooting hormone (optional): Lightly dip the cut end into your rooting hormone. Tap off any excess.
- Plant your cutting: Fill your small pots with your prepared potting mix. Make a pilot hole with a pencil and gently insert the cutting, ensuring the nodes are buried. Firm the soil gently around the base.
- Water and cover: Water the soil lightly until it’s evenly moist but not soggy. Pop your potted cutting into a plastic bag or a propagator to maintain humidity.
2. Seed Propagation: A Rewarding Journey
Starting from seed takes a little more patience, but it’s a beautiful way to watch the process unfold.
- Source your seeds: You can often collect seeds from your own Tephrosia capensis plants after the flowers have faded and pods have formed. Ensure they are fully mature and dry.
- Scarify the seeds: Tephrosia seeds can have a tough coat, which can make germination slow. To help them along, you can lightly nick the seed coat with a file or sandpaper, or soak them in warm water for 12-24 hours.
- Sow the seeds: Fill shallow trays or pots with your seed-starting mix. Sow the seeds about 1/4 inch deep.
- Water and cover: Water gently and cover with a plastic lid or bag to retain moisture.
The “Secret Sauce” (Pro Tips)
Here are a few little tricks I’ve learned over the years that really make a difference:
- Bottom heat for cuttings: If you’re struggling with cuttings rooting, placing your pots on a gentle heat mat can significantly speed up the process. It mimics the warmth of the soil in summer.
- Don’t overcrowd: When propagating from seeds or multiple cuttings, give them a little breathing room. Overcrowding can lead to fungal issues and competition for resources.
- Air circulation is crucial: While humidity is important, don’t keep your propagating containers sealed tight all the time. Open the bags or propagator for a few minutes each day to allow for fresh air exchange. This drastically reduces the risk of mold.
Aftercare & Troubleshooting
Once your cuttings have roots (you can gently tug on them to check – if there’s resistance, they’re rooting!) or your seeds have germinated, it’s time for tender loving care.
- Gradually acclimate: Slowly introduce your new plants to the outside air by opening the bag or propagator a little more each day over a week.
- Watering: Continue to keep the soil consistently moist, but not waterlogged. Water when the top inch of soil feels dry to the touch.
- Light: Provide bright, indirect light. Direct sun can scorch delicate new growth.
- Fertilizing: Once your new plants have developed a good set of leaves, you can start feeding them with a diluted, balanced liquid fertilizer every 4-6 weeks.
If you notice mushy stems or wilting that doesn’t improve, it’s likely a sign of overwatering and potential rot. In this case, you might need to start fresh or try to salvage any healthy parts of the stem. If seedlings or cuttings fail to root or grow, don’t despair! It happens to all of us. Sometimes, they just don’t take, and that’s part of learning.
So there you have it! A simple guide to bringing more of these lovely Tephrosia capensis plants into your garden. Be patient with the process. Each little sprout is a testament to your skill and dedication. Enjoy the journey, and happy gardening!
Resource:
https://identify.plantnet.org/k-world-flora/species/Tephrosia%20capensis%20(Jacq.)%20Pers./data