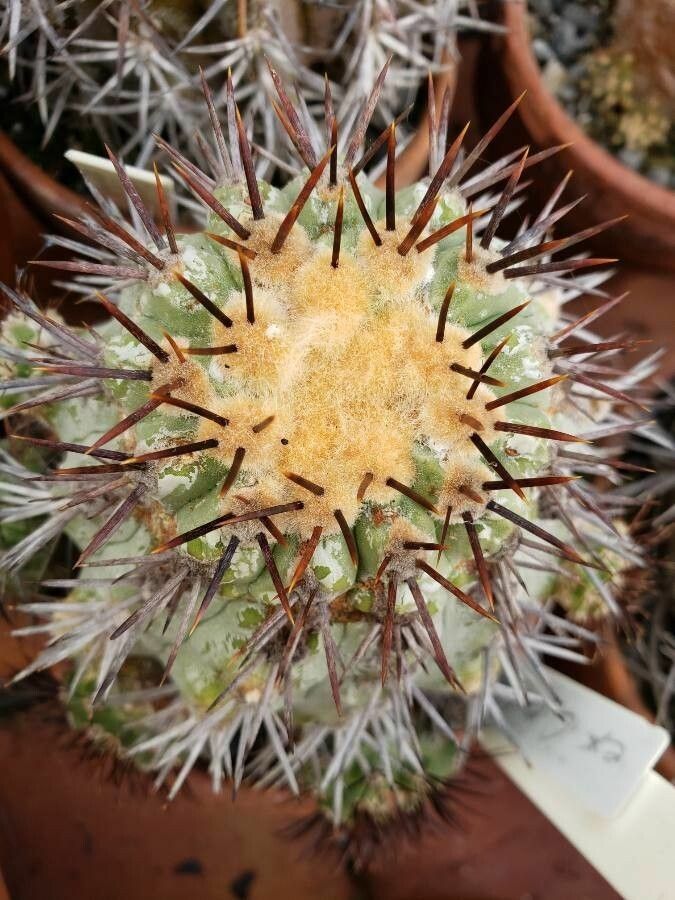
Hello fellow garden enthusiasts! Today, we’re going to talk about a real gem: Copiapoa megarhiza. If you’re not familiar, imagine a small, fuzzy, often columnar cactus, sometimes solitary, sometimes clustering, with fascinating ribs and a delightful fuzzy coat that begs to be gently stroked. They’re just… charming. And the real joy? Propagating them yourself. Watching a tiny piece of your beloved cactus grow into a new, independent plant is incredibly rewarding.
Now, I won’t sugarcoat it – Copiapoa megarhiza can be a little more particular than your average succulent. For absolute beginners, it might present a gentle challenge, but with a bit of care and attention, it’s absolutely achievable. Think of it as learning to dance – a few missteps at first, and then you find your rhythm!
The Best Time to Start
When it comes to coaxing new life from your Copiapoa megarhiza, spring is your best friend. This is when they’re shaking off their winter slumber and entering their active growth phase. You’ll see new shoots and general vigor, which signals they’re ready to be propagated. Trying to do it in the dead of winter when they’re dormant is like asking them to run a marathon without any warm-up laps – it’s just not going to end well.
Supplies You’ll Need
Before we dive into the nitty-gritty, let’s gather our tools. Having everything ready makes the process much smoother.
- Well-draining cactus or succulent mix: This is non-negotiable! I like a blend of potting soil, perlite, and coarse sand. Think gritty, not damp.
- Sharp, clean pruning shears or a sharp knife: Sterilize these with rubbing alcohol to prevent disease transfer.
- Rooting hormone (optional but recommended): A powder or gel form can give your cuttings a little boost.
- Small pots or seedling trays: Whatever you have that will hold your soil and give new roots room to stretch.
- Newspaper or paper towels: Handy for catching excess soil and for drying cuttings.
- Watering can with a fine rose: For gentle watering.
- Labels and a marker: So you don’t forget what you’ve propagated!
Propagation Methods
The most successful way to propagate Copiapoa megarhiza is through offsets, also known as pups. Sometimes, these cacti will naturally produce little baby plants at their base. If yours is doing this, you’re in luck!
Propagating Offsets (Pups):
- Gently remove the offset: Wait until the offset is a decent size, at least an inch or two tall. Carefully unpot your parent plant so you can get a good look at where the offset attaches. Using your clean knife or shears, carefully cut the offset away from the mother plant as close to its base as possible, making sure to get a bit of its own base where roots will form.
- Let it cure: This is crucial! Place the offset on a dry surface, like a paper towel or newspaper, in a well-ventilated area. Allow it to callus over for a few days to a week. You’ll see the cut end dry out and form a skin. This prevents rot when you plant it.
- Planting: Once the end has callused, gently place the offset an inch or so deep into your prepared cactus mix. Don’t water it immediately. Let it settle in for a few more days.
If your Copiapoa megarhiza isn’t producing offsets, or you’d like to try a different method, taking a stem cutting can work, though it’s a bit more delicate.
Propagating Stem Cuttings (More Advanced):
- Take the cutting: Choose a healthy stem that looks plump and strong. Using your sterilized knife, carefully make a clean cut severing the stem. Again, aim for a clean break.
- Let it cure (essential!): Just like with offsets, this cutting MUST callus over. Place it cut-end up in a dry, airy spot for at least a week, maybe even two, until the cut end is completely dry and hardened.
- Planting: Once callused, you can plant the cutting about an inch deep into your cactus mix, cut-end down. Again, hold off on watering for a few days.
The “Secret Sauce” (Pro Tips)
Here are a few things I’ve learned over the years that make a big difference:
- Gentle is key with the soil: When planting your offset or cutting, don’t pack the soil down too tightly. You want air to circulate. Just firm it gently around the base so it stands upright.
- Bottom heat is a game-changer: If you can, place your pots on a seedling heat mat set to a low temperature (around 70-75°F), especially if your house is cooler. This warmth encourages root development from below, giving your cuttings a much-needed boost.
- When in doubt, wait to water: This is probably the biggest one for cacti. Overwatering is the quickest way to kill a propagation. It’s far better to wait a little too long to water than water a smidge too soon.
Aftercare & Troubleshooting
Once your Copiapoa megarhiza has started to root – you can test this very gently by giving it a tiny wiggle. If you feel resistance, congratulations! It’s starting to anchor itself.
Now, you can start watering very sparingly. Water only when the soil is completely dry. A good sign is when the plant starts to look a little plumper or you see new growth.
The most common culprit for failure is rot. If your cutting or offset suddenly looks mushy, discolored, or starts to collapse, it’s likely rot. This is usually due to too much moisture and not enough airflow. Unfortunately, if rot has set in significantly, it’s best to discard the affected plant to prevent it from spreading and start again. Keeping those cuttings callused is your best defense against this.
A Encouraging Closing
The journey of propagating Copiapoa megarhiza is one of patience and observation. Don’t get discouraged if your first attempt doesn’t go perfectly. Each new plant you nurture is a testament to your growing connection with the plant world. So, get your hands dirty, enjoy the process, and before you know it, you’ll have a whole new collection of these fuzzy little wonders! Happy propagating!
Resource:
https://identify.plantnet.org/k-world-flora/species/Copiapoa%20megarhiza%20Britton%20&%20Rose/data