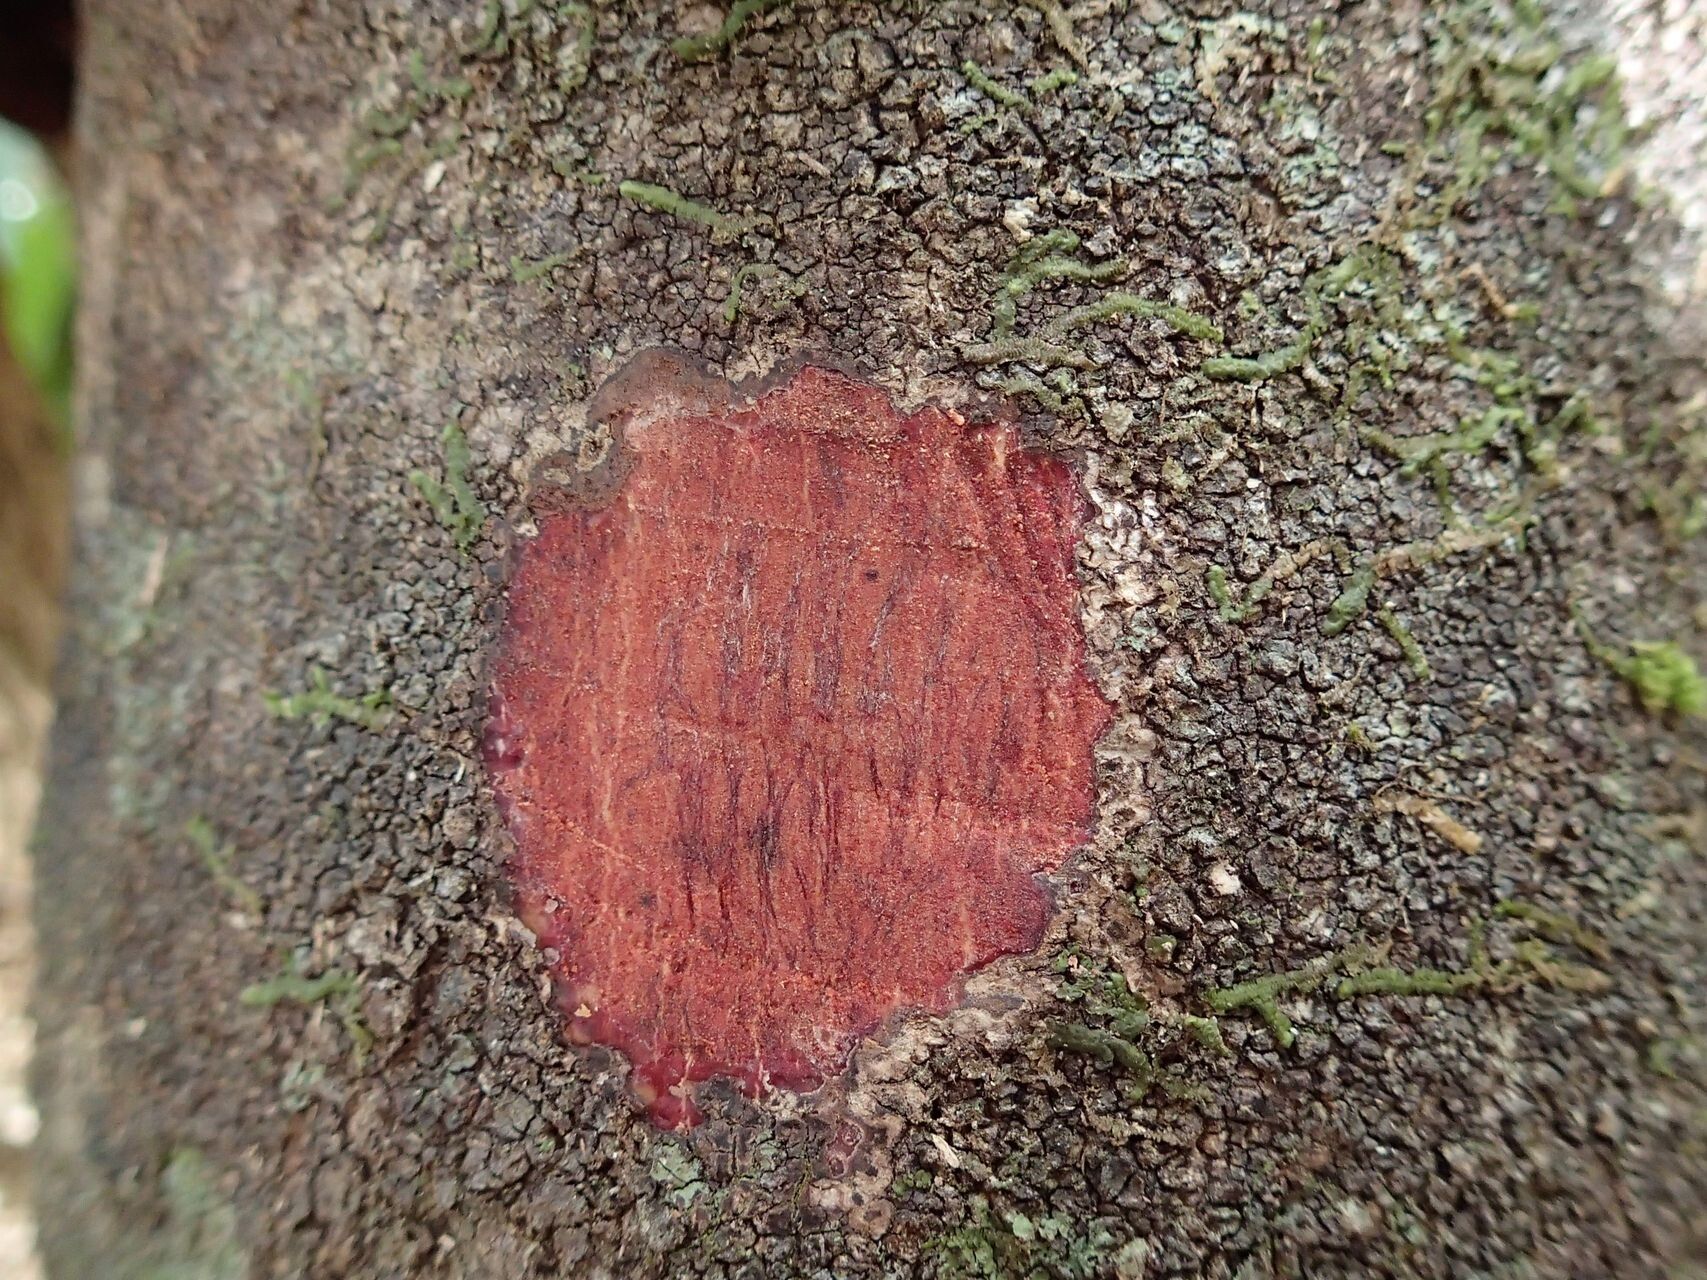
Oh, Myrsine ovicarpa! Isn’t she a beauty? With those glossy, dark leaves and that wonderful, subtle fragrance, it’s no wonder you’re drawn to this gem. I’ve been growing and propagating this wonderful little shrub for years, and I can tell you, adding more of them to your garden or even sharing cuttings with friends is incredibly rewarding. If you’re new to propagation, don’t worry too much. While it’s not quite “plant it and forget it,” Myrsine ovicarpa is moderately easy to propagate, especially using stem cuttings. With a little guidance, you’ll be well on your way!
The Best Time to Start
For the absolute highest success rate, I always recommend starting your Myrsine ovicarpa propagation in the late spring or early summer. This is when the plant is actively growing, and the new growth, called semi-hardwood cuttings, is just starting to mature. It’s not too soft and floppy, but not too woody and stubborn either. Think of it as the plant’s sweet spot for rooting.
Supplies You’ll Need
Gathering your supplies beforehand makes the whole process much smoother. Here’s what I usually have on hand:
- Sharp, sterile pruning shears or a clean knife: For making clean cuts.
- Rooting hormone (powder or gel): This really gives your cuttings a fighting chance.
- Small pots or seed trays with drainage holes: I like 4-inch pots for cuttings.
- Well-draining potting mix: A good blend is usually 50% peat moss or coco coir and 50% perlite or coarse sand.
- A clear plastic bag or humidity dome: To keep the cuttings moist.
- Watering can or spray bottle: For gentle watering.
- Labels: So you don’t forget what you’ve planted!
Propagation Methods
The most reliable way I’ve found to propagate Myrsine ovicarpa is through stem cuttings. Here’s how I do it:
- Take Your Cuttings: On a pleasant morning, use your sharp shears to select a healthy, vigorous stem. Look for a stem that feels slightly firm but still somewhat pliable – that’s your semi-hardwood. Cut a length of about 4-6 inches, making your cut just below a leaf node (where leaves attach to the stem).
- Prepare the Cuttings: Gently remove the lower leaves from the bottom half of the cutting. You want to expose at least two leaf nodes where roots will emerge. If your cutting has very large leaves, you can even cut larger leaves in half to reduce water loss through transpiration.
- Apply Rooting Hormone: Dip the cut end of the stem into your rooting hormone, flicking off any excess. Ensure the nodes where you removed leaves are well-coated.
- Pot Them Up: Fill your pots with your prepared potting mix. Make a small hole in the center of the soil with your finger or a pencil. Gently insert the prepared cutting into the hole, ensuring the hormone-coated nodes are buried. Firm the soil gently around the base of the cutting.
- Create a Humid Environment: Water the potting mix thoroughly until water drains from the bottom. Then, cover the pot with a clear plastic bag or place it under a humidity dome. You want to create a mini-greenhouse effect. Prop the bag up with stakes or skewers so it doesn’t touch the leaves.
The “Secret Sauce” (Pro Tips)
Over the years, I’ve picked up a few tricks that seem to make a big difference. Don’t be afraid to try these:
- Bottom Heat is Your Friend: If you have the option, placing your potted cuttings on a gentle heat mat can significantly speed up root development. The warmth encourages root formation. Just make sure the heat isn’t too intense.
- Don’t Let Leaves Touch Water: If you decide to try water propagation (which I find a little less reliable for Myrsine ovicarpa but still possible), it’s crucial to keep the leaves out of the water. Only the stem should be submerged. Leaves sitting in water will rot, taking your cutting with them.
- Patience with the Potting Mix: When you’re planting, don’t pack the soil down too firmly. You want it to be airy and well-draining. A compact mix can suffocate delicate roots before they even have a chance to form.
Aftercare & Troubleshooting
Once your cuttings are planted, the real waiting game begins. Keep them in a spot with bright, indirect light. Avoid direct sun, which can scorch them. Check the moisture level regularly. The soil should feel consistently moist but never soggy. Lift the plastic bag once a day for a few minutes to allow for some air circulation, which helps prevent fungal issues.
You’ll know your cuttings have started to root when you see them firmly resisting a gentle tug, or you might even spot new leaf growth appearing. This can take anywhere from 4 to 8 weeks, sometimes longer.
If you start seeing blackening or mushy stems, that’s usually a sign of rot, often caused by too much moisture and not enough air circulation. If this happens, you might need to discard the affected cutting. Sometimes, a bit of rot on one cutting can spread, so keep an eye out. If you see wilting and limp leaves that don’t perk up after watering, it could mean the cutting is too dry, or it simply hasn’t rooted yet and is struggling to get water.
A Encouraging Closing
Propagating plants is a journey, and sometimes you have little setbacks. But don’t get discouraged! Each cutting is a new adventure, and when one takes root, there’s a special kind of joy that comes with it. Be patient, offer your cuttings good care, and enjoy the process of bringing more of these lovely Myrsine ovicarpa into your world! Happy gardening!
Resource: