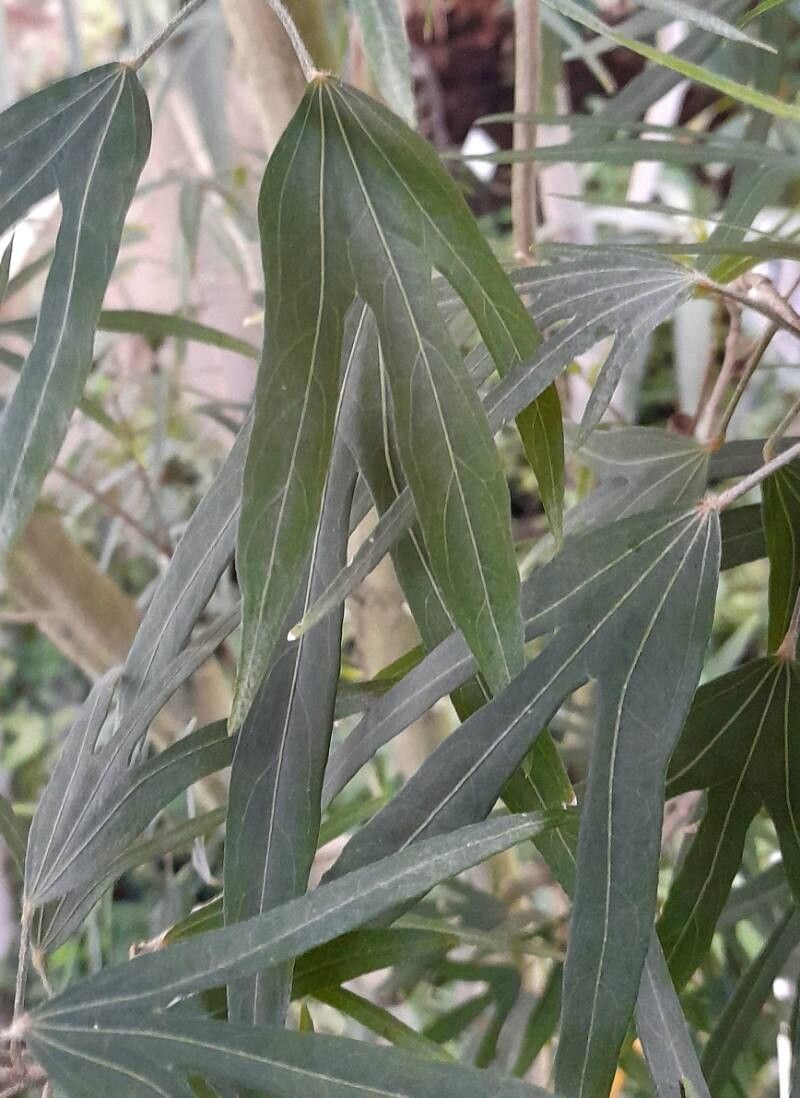
Oh, hello there, fellow garden enthusiast! I’m so glad you’ve decided to dive into the wonderful world of propagating Hibiscus boryanus. I’ve spent nearly two decades with my hands in the soil, and believe me, there’s a special kind of joy in coaxing a new life from a parent plant.
Hibiscus boryanus, with its vibrant blooms and lush foliage, is truly a showstopper. And the satisfaction of growing your own from a tiny cutting? Absolutely immense! It’s a plant that offers a good amount of reward without being overly fussy, making it a lovely project for both seasoned gardeners and adventurous beginners.
The Best Time to Start
For the highest odds of success, I’ve found that late spring or early summer is your golden window for propagating Hibiscus boryanus. This is when the plant is in its active growth phase, meaning it has plenty of energy to put into rooting. You’ll want to take cuttings from new, semi-hard wood – think of it as growth that’s not too soft and floppy, but not yet old and woody either.
Supplies You’ll Need
Gathering your tools beforehand makes the whole process so much smoother. Here’s what I usually have on hand:
- Sharp pruning shears or a clean knife: For making those crucial, clean cuts.
- Rooting hormone: This is a real game-changer for encouraging root development. I prefer the powdered kind, but gel works too.
- Small pots or seedling trays: With good drainage, of course!
- A well-draining potting mix: I like a blend of perlite, peat moss, and a little bit of compost. Think airy and light.
- A clear plastic bag or propagation dome: To create a humid microclimate.
- Water: For keeping things moist.
- Optional: A heat mat: This can really speed things up, especially if your indoor temperatures are a bit cooler.
Propagation Methods: Stem Cuttings
This is my go-to method for Hibiscus boryanus, and it’s quite straightforward.
- Take Your Cuttings: On a healthy, non-flowering branch, make a cut just below a leaf node (where a leaf attaches to the stem). Your cutting should be about 4-6 inches long. Remove the lower leaves, leaving just a couple at the very top. If the remaining leaves are quite large, I’ll snip them in half horizontally to reduce water loss.
- Dip in Rooting Hormone: Gently dip the cut end of the stem into your rooting hormone powder, tapping off any excess.
- Plant Your Cuttings: Make a hole in your prepared potting mix with a pencil or your finger and carefully insert the cutting. Firm the soil gently around it.
- Create Humidity: Water the soil lightly until it’s evenly moist, not soggy. Then, cover the pot with a clear plastic bag or place it under a propagation dome. Make sure the leaves aren’t touching the plastic.
- Provide Light and Warmth: Place your newly potted cuttings in a bright, indirect light location. If you have a heat mat, place the pots on it.
The “Secret Sauce” (Pro Tips)
Here are a couple of things I’ve learned over the years that can make a big difference:
- Keep it Consistently Moist, Not Soggy: This is paramount. Too much water can lead to rot, while too little will dry out your cutting before it has a chance to root. I often check the moisture by feeling the weight of the pot. If it feels light, it’s time to water.
- Bottom Heat is a Friend: Especially out of season or if your home is on the cooler side, a gentle warmth from below can significantly accelerate root formation. It mimics the soil temperature of spring and summer, signaling to the plant that it’s a good time to grow.
- Don’t Rush It: Patience, my friend! It can take anywhere from 3-8 weeks (or sometimes even longer) for your cuttings to develop a good root system. Resist the urge to tug on them to check for roots – you could damage developing ones!
Aftercare & Troubleshooting
Once you start to see signs of new growth at the top of your cutting, that’s a fantastic indicator that roots are forming! At this point, you can gradually acclimate your new plant to normal household humidity by opening the plastic bag or dome a little more each day over a week.
The most common issue you might encounter is rot. If your cutting turns mushy or develops black, soft spots, it’s likely succumbed to too much moisture. Don’t be discouraged! This happens even to the most experienced gardeners. Simply discard the affected cutting and try again, paying extra attention to soil drainage and watering frequency. Another sign that things aren’t going well is a cutting that wilts dramatically and never recovers, even with adequate moisture. This could be due to heat stress, lack of light, or simply a stubborn cutting.
A Encouraging Closing
Growing your own Hibiscus boryanus is such a rewarding journey. Remember to be kind to yourself, enjoy the process of nurturing these new little plants, and celebrate every bit of progress. Before you know it, you’ll have a small jungle of these beautiful hibiscus to share (or to keep all to yourself – I won’t judge!). Happy propagating!
Resource:
https://identify.plantnet.org/k-world-flora/species/Hibiscus%20boryanus%20DC./data