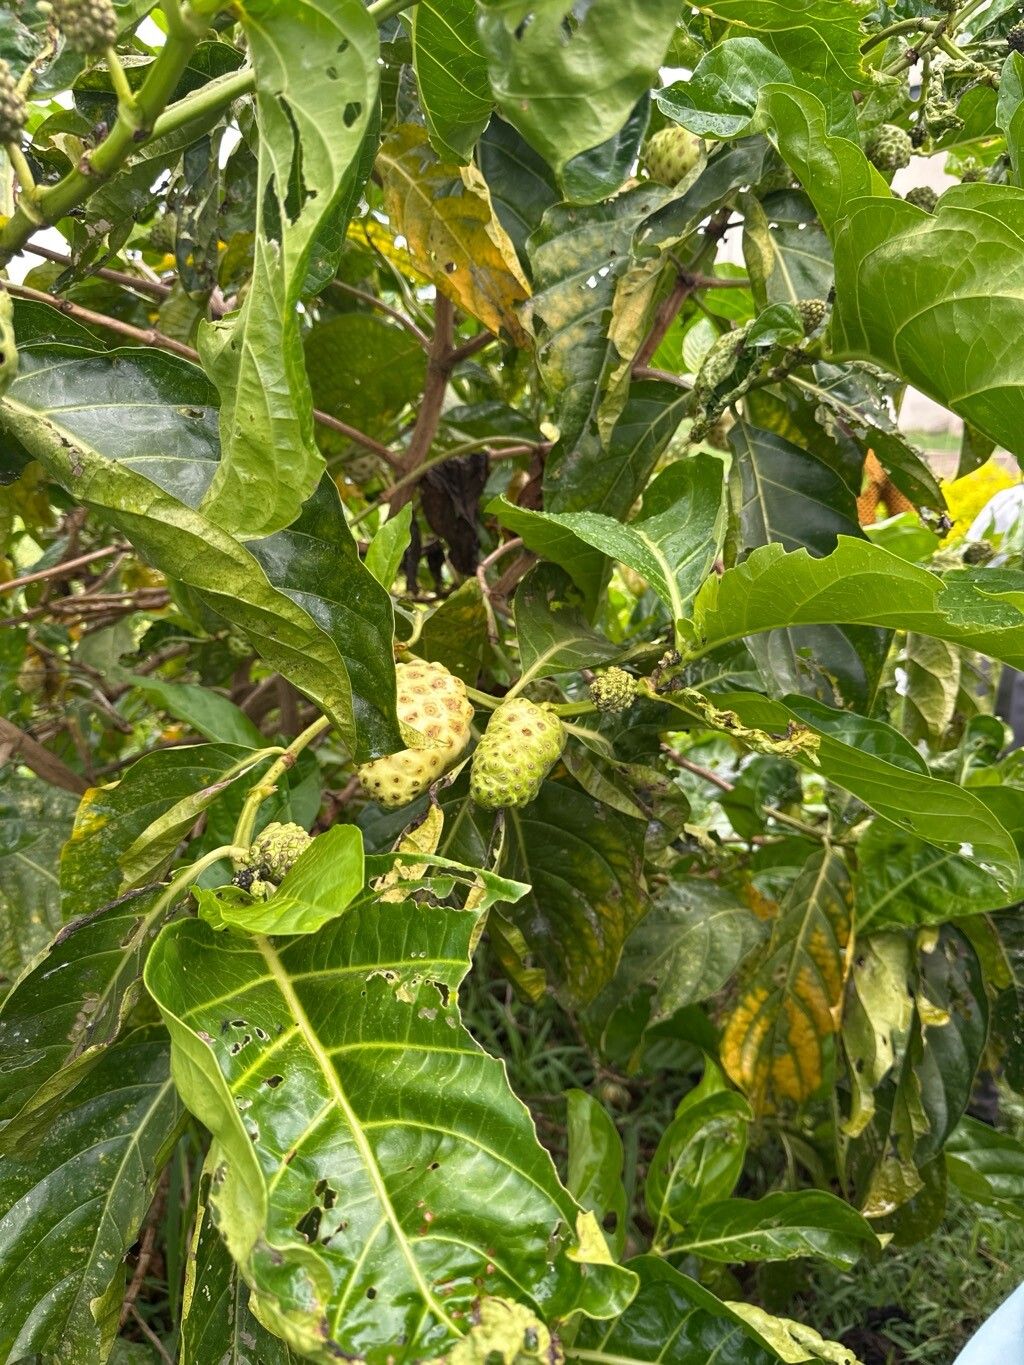
Oh, hello there! Come on in, grab a mug. Let’s chat about getting more of those gorgeous Morinda chrysorhiza plants. I’ve been growing these beauties for years now, and there’s something incredibly satisfying about taking a tiny piece of a plant I love and turning it into a whole new one. They bring such a pop of color and life, don’t they? And honestly, even if you’re just dipping your toes into the world of propagation, this one is certainly doable. It might have a little fussiness, but with a few of my tricks, you’ll be celebrating success in no time.
The Best Time to Start
Timing is everything, as we seasoned gardeners know! For Morinda chrysorhiza, I find the late spring to early summer is absolutely prime time. This is when the plant is actively growing, full of energy, and really keen to put out new roots. You want to be taking cuttings from healthy, vigorous stems that aren’t flowering or producing fruit. Think of it as tapping into its youthful zest!
Supplies You’ll Need
Alright, let’s gather our tools. Nothing too fancy, I promise!
- Sharp Pruning Shears or a Craft Knife: Clean cuts are crucial for preventing disease. Keep them sanitized!
- Rooting Hormone (Optional, but Recommended): This really gives your cuttings a strong start. Look for one with IBA.
- Well-Draining Potting Mix: I like a blend of good quality potting soil with added perlite or coarse sand. Aim for something that doesn’t stay soggy.
- Small Pots or Seedling Trays: Clean containers with drainage holes, of course.
- Plastic Bag or Cling Film: To create a mini-greenhouse effect.
- Watering Can or Spray Bottle: For gentle watering.
- Labels: Don’t forget to label your precious babies!
Propagation Methods
Now for the fun part! Here are a couple of ways I’ve had great luck with Morinda chrysorhiza.
1. Stem Cuttings: The Classic Approach
This is my go-to method, and it’s usually the most reliable.
- Select Your Cuttings: Find a healthy, current-season stem that’s about 4-6 inches long. Make a clean cut just below a leaf node (where a leaf attaches to the stem). This is where the magic of root development happens.
- Prepare the Cuttings: Gently remove the lower leaves, leaving only a couple of sets at the top. If the remaining leaves are very large, I sometimes cut them in half to reduce water loss through transpiration.
- Apply Rooting Hormone: Dip the cut end of the stem into your rooting hormone, making sure it’s coated. Tap off any excess.
- Plant Your Cuttings: Fill your small pots with your prepared potting mix. Make a small hole with your finger or a pencil and insert the cutting, ensuring the leaf nodes are buried. Gently firm the soil around the stem.
- Water and Cover: Water the soil lightly until it’s evenly moist. Then, cover the pot with a plastic bag or cling film, creating a humid environment. You can prop it up with a couple of skewers if needed. Place the pot in a bright spot, but out of direct sunlight.
2. Water Propagation: Simple and See-Through
This one’s great for a visual learner, and it’s quite low-fuss!
- Take Your Cuttings: Same as above – select healthy stems, 4-6 inches long, and make a clean cut below a leaf node. Remove lower leaves.
- Place in Water: Put the cuttings in a clean jar or vase filled with room-temperature water. Make sure no leaves are submerged below the water line. This prevents rot.
- Change Water Regularly: Change the water every few days to keep it fresh. You’ll start to see tiny white roots emerging from the nodes!
- Transplant When Ready: Once the roots are about an inch long, you can transplant them into your potting mix, following the planting steps in stem cuttings.
The “Secret Sauce” (Pro Tips)
Here are a few things I’ve learned over the years that have made a real difference:
- Bottom Heat is Your Friend: If you can, placing your pots on a gentle heat mat significantly speeds up root formation. It mimics the warmth of spring soil and gives those roots a real nudge. Just a gentle warmth, not hot!
- Don’t Drown Them: While humidity is key with the plastic bag method, it’s crucial that the soil isn’t waterlogged. You want it consistently moist, like a wrung-out sponge, not soaking wet. Overwatering is the quickest way to rot a promising cutting.
- Patience with New Growth: The first sign of success isn’t always a giant new leaf. Sometimes it’s just a tiny speck of green appearing. That’s your cue that roots are forming and the plant is happy! Don’t be discouraged if there’s no visible change for a few weeks.
Aftercare & Troubleshooting
Once you see those first roots appearing, you’re already a proud parent!
- Acclimatize: If you used the plastic bag method, gradually start to open the bag or remove it for longer periods over a week or so. This helps the new plant adjust to less humid air.
- Water Gently: Continue to water when the top inch of soil feels dry. Avoid harsh watering that can disturb the young roots.
- Watch for Rot: The main enemy here is rot, which usually looks like a black, mushy stem or wilting that doesn’t respond to watering. If you see this, sadly, that cutting is likely lost. The best prevention is good drainage and avoiding overwatering.
- Slow Growth is Normal: Don’t expect instant miracles. New plants take time to establish. Be patient, give them good light, and they’ll reward you.
See? It’s not so daunting, is it? Propagating Morinda chrysorhiza is a lovely way to multiply your enjoyment of these plants. Just remember to be gentle, observant, and most importantly, enjoy the process. Watching something grow from a tiny piece is a little bit of magic, and you absolutely have the power to make it happen. Happy propagating!
Resource:
https://identify.plantnet.org/k-world-flora/species/Morinda%20chrysorhiza%20(Thonn.)%20DC./data