Hey there, fellow plant lovers!
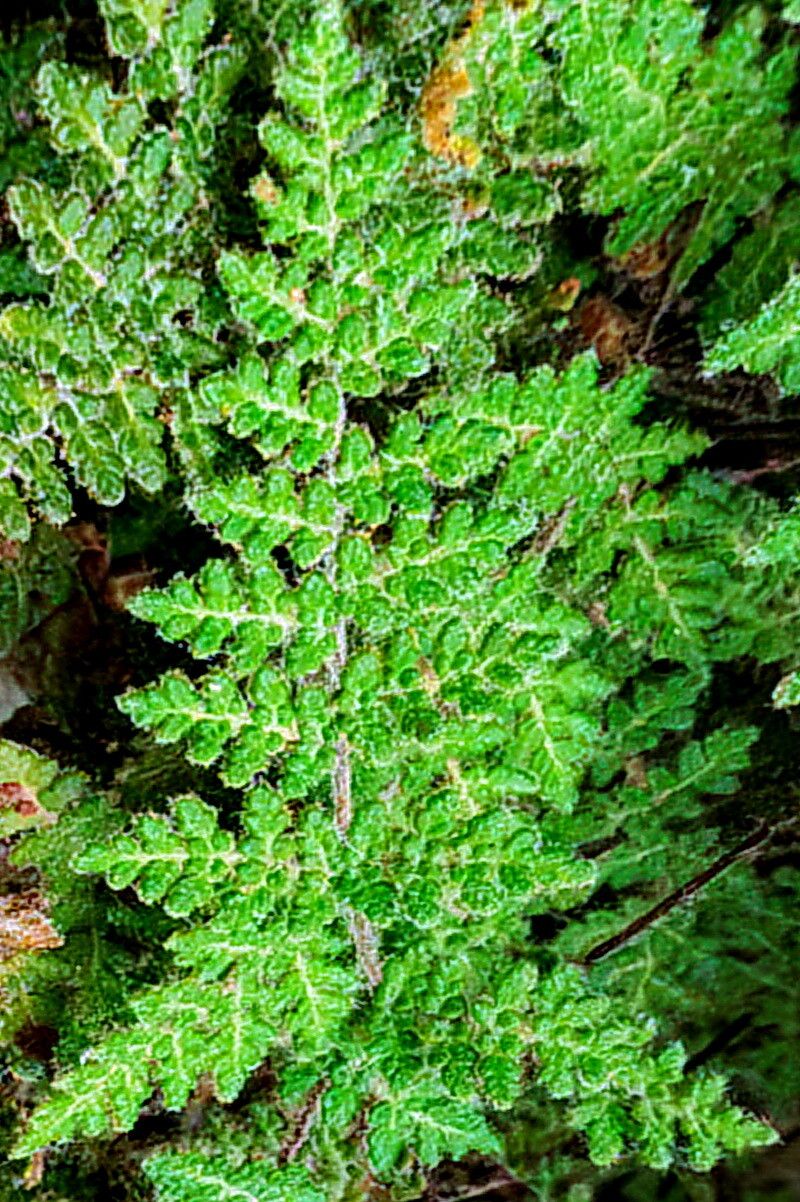
Today, we’re talking about a fern that just brings a smile to my face every time I see it: Hemionitis feei. You might know it as the cinnamon fern, though it’s not a true cinnamon fern – that’s Osmunda cinnamomea. This particular beauty often has this lovely, almost fuzzy texture and a delicate, intricate frond structure that’s just captivating. And the best part? Sharing this beauty with others is totally doable! Propagating it is a truly rewarding experience, watching a tiny piece of your beloved plant transform into a whole new life. Now, I’ll be honest, Hemionitis feei isn’t a beginner’s first rodeo for propagation. It can be a little bit particular, but with a few well-placed tips, you’ll be well on your way.
The Best Time to Start
My best advice? Wait for the active growing season. That’s usually late spring or early summer for us in most climates. The plant is full of energy then, and those new bits are more likely to take hold and grow. You can also try in early fall, but you’ll want to ensure your new babies have plenty of time to establish before things cool down too much.
Supplies You’ll Need
Here’s what I like to have on hand:
- Sterile small pots: About 3-4 inch is perfect.
- Well-draining potting mix: I usually go for a mix of peat moss, perlite, and a bit of orchid bark. For ferns, you want it to hold moisture but not get soggy.
- Sharp, clean pruning shears or a sharp knife: For making clean cuts. Sterilize them first with rubbing alcohol!
- Rooting hormone (optional but helpful): A powdered version works well for ferns.
- Spray bottle: For keeping things consistently moist.
- Clear plastic bag or dome: To create a mini-greenhouse.
- Labels: So you don’t forget what you’ve got!
Propagation Methods
For Hemionitis feei, division is my go-to method. This fern tends to be a clumping grower, so dividing it is a natural fit.
- Gently remove the plant from its pot. Try to do this when the soil is slightly moist – not bone dry or soaking wet.
- Inspect the root ball. Look for natural breaks in the root system and where the crowns (the base of the fronds) are. You can often see where one plant is starting to grow away from another.
- Using your clean shears or knife, carefully divide the plant. You want each section to have a good amount of roots and at least one or two healthy fronds. Don’t be afraid to get in there, but also, be gentle with those delicate roots.
- Pot up each division into its own small pot filled with your well-draining mix. Press the soil down gently around the roots to ensure good contact.
- Water thoroughly until you see water draining from the bottom.
The “Secret Sauce” (Pro Tips)
Here are a couple of things I’ve learned over the years that really make a difference:
- Don’t bury the crown too deep. When you pot up your divisions, make sure the very top of the root ball, where the fronds emerge, is just at soil level or slightly above. Burying it can lead to rot.
- Humidity is your best friend. Hemionitis feei absolutely thrives in high humidity. After potting, I’ll immediately mist the fronds and then cover the pot with a clear plastic bag or a humidity dome. This traps the moisture and creates that humid environment the fern craves. Just make sure there’s a little airflow so things don’t get stagnant.
Aftercare & Troubleshooting
Once your divisions are potted and covered, place them in a spot with bright, indirect light. Avoid direct sun, which can scorch those tender leaves. Keep the soil consistently moist, but never waterlogged. Check it regularly and mist if the surface starts to dry out.
The first signs of success will be new frond growth. You might see tiny fiddleheads unfurling! If you notice your fronds browning and crisping up, it might be too dry or getting too much light. On the flip side, if you see a mushy base or the fronds are yellowing and drooping unhappily, overwatering and lack of airflow are likely culprits – that’s rot setting in. If rot is an issue, gently remove the affected parts and try to allow the soil to dry slightly more between waterings. Remove the plastic cover gradually once you see consistent new growth, letting the plant acclimate to your home’s humidity level.
It takes a little patience, a watchful eye, and a lot of love, but seeing a new fern sprout from a division is incredibly satisfying. Don’t be discouraged if your first attempt isn’t perfect. Gardening is all about learning and trying again. Enjoy the process, and soon you’ll have even more of these delightful ferns to admire! Happy growing!
Resource:
https://identify.plantnet.org/k-world-flora/species/Hemionitis%20feei%20(T.Moore)%20Christenh./data