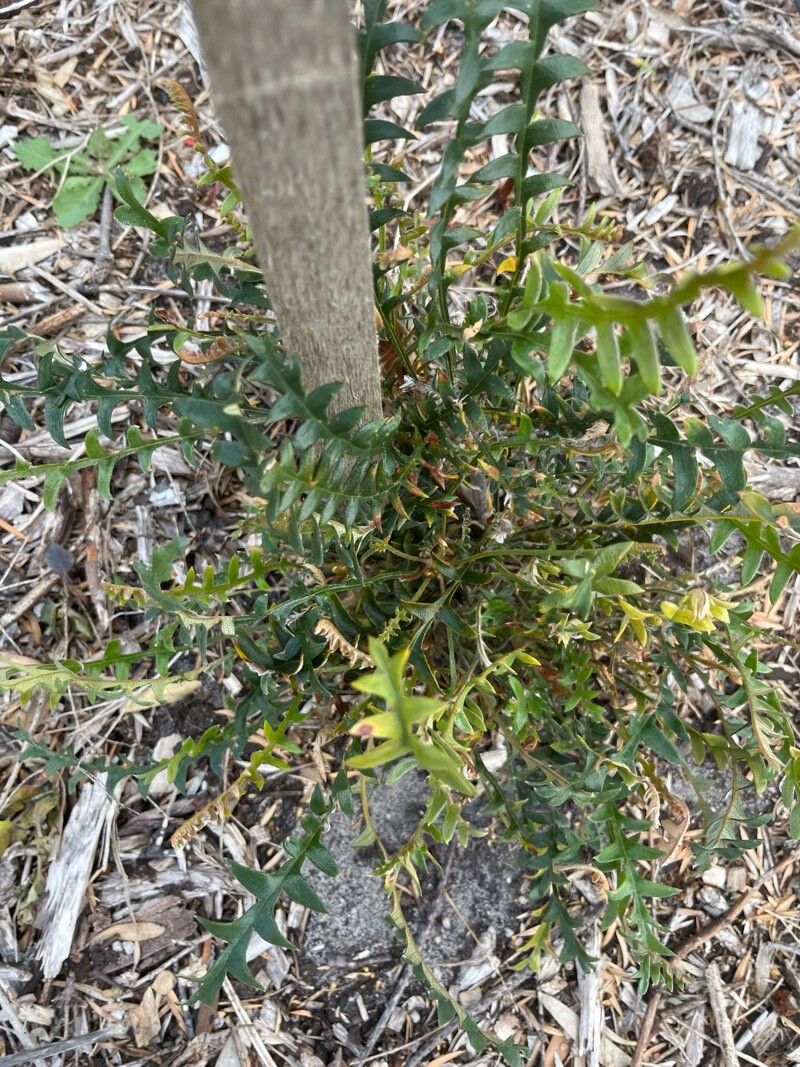
Oh, Banksias! Aren’t they just the most wonderfully unique plants? I’ve spent years admiring Banksia blechnifolia, with its stunning, architectural flower spikes and that gorgeous, leathery foliage. It really brings a special kind of wild beauty to any garden. And for those of you who love to multiply your gardening treasures, propagating this beauty is incredibly satisfying. Now, I’ll be honest, Banksia blechnifolia can be a tad on the challenging side for absolute beginners. It has its own particular preferences, but don’t let that deter you! With a little patience and the right approach, you’ll be rewarded with a whole new clan of these beauties.
The Best Time to Start
Timing is everything, isn’t it? For Banksia blechnifolia, your best bet is to take cuttings when the plant is actively growing but not in full bloom. This usually means late spring through early summer. Look for new, semi-hardwood growth. This means the stem is starting to firm up a bit after the initial flush of soft, new growth, but it’s not yet woody and old.
Supplies You’ll Need
Gathering your tools beforehand makes the whole process so much smoother. Here’s what you’ll want within reach:
- Sharp, clean pruning shears or a sharp knife: Essential for making clean cuts to prevent disease.
- Rooting hormone: A good quality powder or gel specifically for cuttings. This really gives them a helpful boost.
- Well-draining potting mix: A blend of coarse sand, perlite, and a small amount of peat moss or coir works wonders. You want something that allows water to drain away quickly.
- Small pots or seed trays: Make sure they have drainage holes!
- Plastic bags or a propagator: To create a humid environment for your cuttings.
- Watering can with a fine rose: For gentle watering.
- Labels and a permanent marker: To keep track of what’s what.
Propagation Methods: Stem Cuttings
This is usually the most successful way to get new Banksia blechnifolia plants going.
- Select Your Cuttings: Head over to your mature plant and look for those perfect, semi-hardwood shoots. Aim for cuttings that are about 10-15 cm long.
- Make the Cut: Using your clean shears or knife, make a clean, angled cut just below a leaf node (where a leaf attaches to the stem).
- Prepare the Cutting: Gently remove the leaves from the bottom half of the cutting. You want to expose at least two leaf nodes for root development. You can also nip off the very tip of the cutting if it’s very soft.
- Apply Rooting Hormone: Dip the cut end of the stem into your rooting hormone, tapping off any excess.
- Plant Your Cuttings: Fill your pots with your special well-draining mix. Make a small hole with a pencil or dowel and gently insert the cutting, ensuring the nodes are covered by the soil. Firm the soil gently around the base of the cutting.
- Water Gently: Give the soil a light watering with your fine-rose can. You want it moist but not waterlogged.
- Create Humidity: Cover the pots with a clear plastic bag, propped up with stakes so it doesn’t touch the leaves. Alternatively, place them in a propagator. This is crucial for preventing the cuttings from drying out.
- Find a Warm Spot: Place your cuttings in a bright location that receives indirect sunlight. Avoid direct, hot sun, which can scorch them.
The “Secret Sauce” (Pro Tips)
Here are a couple of things I’ve learned over the years that really make a difference:
- Bottom Heat is Your Friend: Banksia blechnifolia roots much better when the soil temperature is warm. If you can, pop your pots onto a heat mat designed for cuttings. This mimics the warmth of summer soil and encourages those roots to get moving.
- Air Circulation is Key: While humidity is important, you don’t want stagnant, damp air. Every few days, lift the plastic bag or open the propagator for about 15-20 minutes to allow for some fresh air exchange. This helps prevent fungal diseases from setting in.
- Don’t Rush the Pull Test: Resist the urge to tug at your cuttings to see if they have roots! Wait at least 6-8 weeks, and even then, do it very gently. You’ll feel a slight resistance when roots have formed.
Aftercare & Troubleshooting
Once you start to see signs of new growth (a tiny leaf unfurling or new shoots emerging), it’s a good indicator that roots are forming.
- Gradual Acclimatization: Once you see good root development, gradually introduce your new plants to normal air by slowly opening the propagator or removing the plastic bag over a week or two.
- Continue Gentle Watering: Keep the soil consistently moist but never soggy.
- Potting On: When your cuttings are well-established and have a decent root system, you can pot them into slightly larger individual pots.
- Watch for Rot: The biggest enemy of cuttings is rot. If you see your cutting wilting, turning black and mushy at the base, or developing mold, it’s likely succumbed to rot. This is often due to overwatering or poor drainage. Don’t be afraid to discard affected cuttings and start again. Sometimes, the soil mix isn’t airy enough, or the environment is too damp without enough ventilation.
A Encouraging Closing
Propagating Banksia blechnifolia is a journey, and like any good garden project, it requires a bit of patience. Don’t get discouraged if your first attempt isn’t a runaway success. Each cutting you take teaches you something new. Keep observing your plants, trust your instincts, and most importantly, enjoy the process of nurturing new life! You’ll be amazed at what you can achieve. Happy propagating!
Resource:
https://identify.plantnet.org/k-world-flora/species/Banksia%20blechnifolia%20F.Muell./data