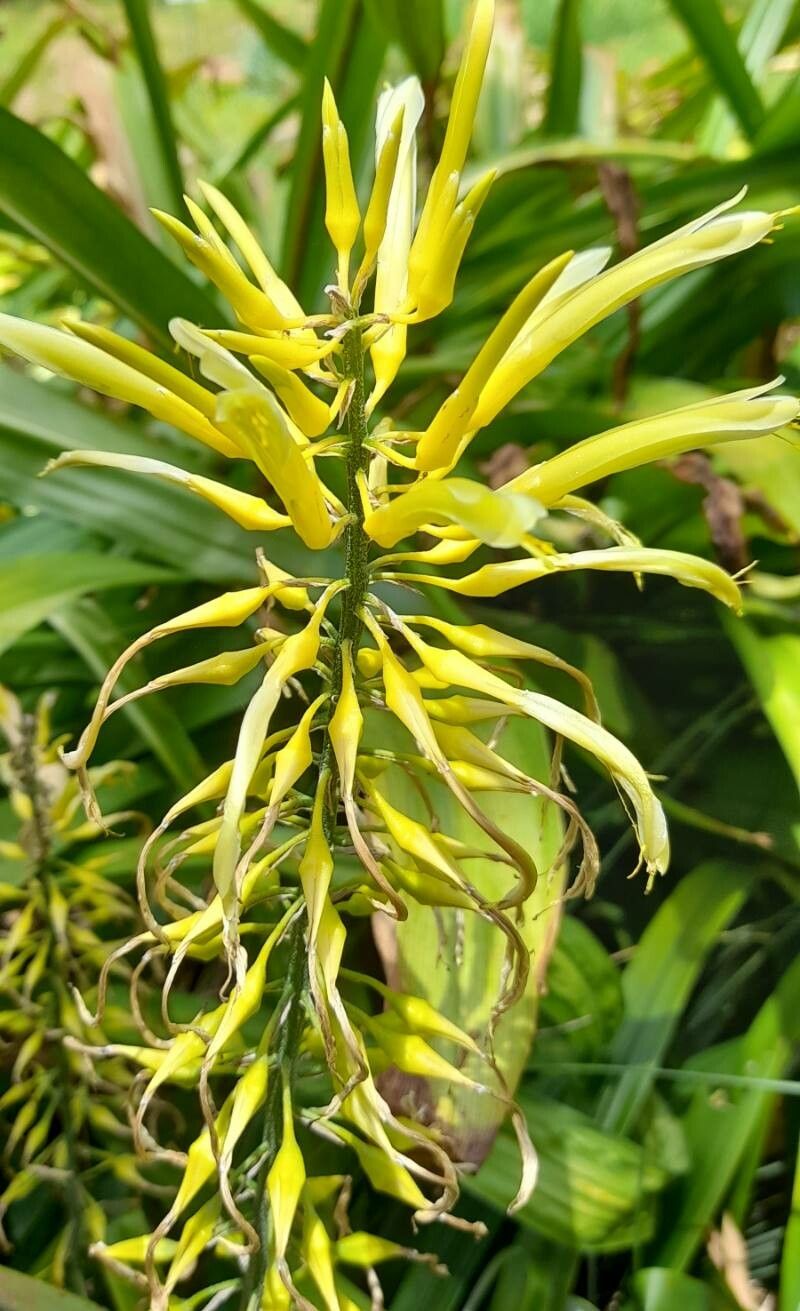
Hello, fellow plant enthusiasts! Today, we’re diving into the wonderful world of Pitcairnia wilburiana. If you haven’t met this beauty yet, imagine elegant, architectural leaves, often with a striking silvery sheen or a deep, rich hue. It’s a plant that adds a touch of the exotic to any indoor jungle or sun-drenched patio. And the best part? Getting more of these beauties is surprisingly achievable, even if you’re just dipping your toes into propagation waters. While not as straightforward as rooting a common houseplant, Pitcairnia wilburiana is a fantastic plant to practice your skills on. The reward of seeing a new life emerge from a parent plant is truly magical.
The Best Time to Start
When it comes to propagating Pitcairnia wilburiana, spring is your golden ticket. This is when the plant is naturally full of vigor, pushing out new growth after its winter rest. You’ll want to look for new pups or offsets that have started to form around the base of the mature plant. This active growth phase means they’ll have the energy needed to establish themselves quickly once separated.
Supplies You’ll Need
Gathering your supplies beforehand makes the whole process so much smoother. Here’s what I usually have on hand:
- Sharp, Clean Pruning Shears or a Knife: For clean cuts that minimize damage.
- Potting Mix: A well-draining mix is crucial. I like to combine equal parts peat moss, perlite, and coarse sand.
- Small Pots or Propagation Trays: With drainage holes, of course!
- Rooting Hormone (Optional but Recommended): A powder or gel can give your cuttings a helpful boost.
- Watering Can or Spray Bottle: For gentle watering.
- Labels/Markers: To keep track of what you’ve propagated and when.
- Clear Plastic Bags or Domes: To create a humid environment.
Propagation Methods: Making More Wilburianas
While Pitcairnia wilburiana isn’t a plant you’ll typically propagate from a single leaf, its primary method of increasing is through offsets, or pups. These are essentially baby plants that sprout from the base of the mother plant.
- Identify Your Pups: Gently examine your Pitcairnia wilburiana. You’ll notice smaller plants emerging from the soil around the main plant’s base. Look for pups that are at least a few inches tall and seem to have their own root system developing.
- Prepare Your Potting Mix: Fill your chosen pots or trays with your well-draining potting mix. Moisten it slightly so it’s damp but not waterlogged.
- Gently Separate the Pup: This is the most delicate step. Using your clean pruning shears or a sharp knife, carefully cut the pup away from the mother plant. Try to get as much of its base attached as possible, ensuring you’re separating it cleanly without damaging the main plant or the pup. If the pup already has established roots, that’s fantastic!
- Apply Rooting Hormone (Optional): If you’re using rooting hormone, dip the cut end of the pup into the powder or gel. Tap off any excess.
- Plant Your Pup: Make a small hole in the prepared potting mix and gently insert the base of the pup. Firm the soil lightly around it, making sure it stands upright.
- Create a Humid Environment: This is key for newly separated pups. Cover the pot with a clear plastic bag or place it under a clear propagation dome. This traps moisture and humidity, which is vital for encouraging root development. Make sure the plastic bag doesn’t directly touch the leaves; you can use small stakes to keep it away.
- Placement: Place the pot in a warm location with bright, indirect light. Avoid harsh, direct sun, which can scorch the tender new leaves.
The “Secret Sauce” (Pro Tips)
After years of trial and error, I’ve picked up a few tricks that really make a difference:
- Don’t Rush the Separation: It’s tempting to want to snatch up every little sprout, but I find it’s best to wait until the pup is a decent size and shows signs of independence. A larger pup has a better chance of survival.
- Bottom Heat is Your Friend: If you’re struggling with rooting or want to speed things up, consider using a propagation mat. This gentle bottom heat mimics ideal growing conditions and can significantly improve success rates for those stubborn propagations. Just ensure the mat isn’t too hot – think of it as a cozy warm bath, not a sauna!
- “Heel” it Up: When cutting the pup, try to get a small sliver of the mother plant’s stem or rhizome attached to the pup. This “heel” often carries dormant buds and extra reserves that can help the pup root and grow more robustly.
Aftercare & Troubleshooting
Once your pup is planted and cozy under its plastic cover, keep the soil consistently moist but not soggy. Mist the leaves gently every few days if the humidity seems to be dropping. You’re looking for signs of new growth, like unfurling leaves or a sturdier appearance, which indicates roots are forming.
Common Signs of Trouble:
- Wilting Leaves: This can mean it’s not getting enough humidity, or the soil is too dry. Check your cover and ensure the soil is consistently damp.
- Yellowing Leaves: This might be a sign of overwatering and potential rot. If you see this, ease up on the watering and ensure excellent drainage.
- Mushy Base: This is a clear sign of rot. Unfortunately, if the base becomes mushy, the pup is unlikely to recover.
Don’t be discouraged if you lose a pup or two. Propagation is a learning process, and every attempt teaches you something new.
A Little Patience Goes a Long Way
There you have it – a guide to bringing more of your beloved Pitcairnia wilburiana into your home. Remember, plants have their own rhythm, and patience is truly a gardener’s best friend. Enjoy the process, celebrate your successes, and don’t be afraid to get your hands a little dirty. Happy propagating!
Resource: