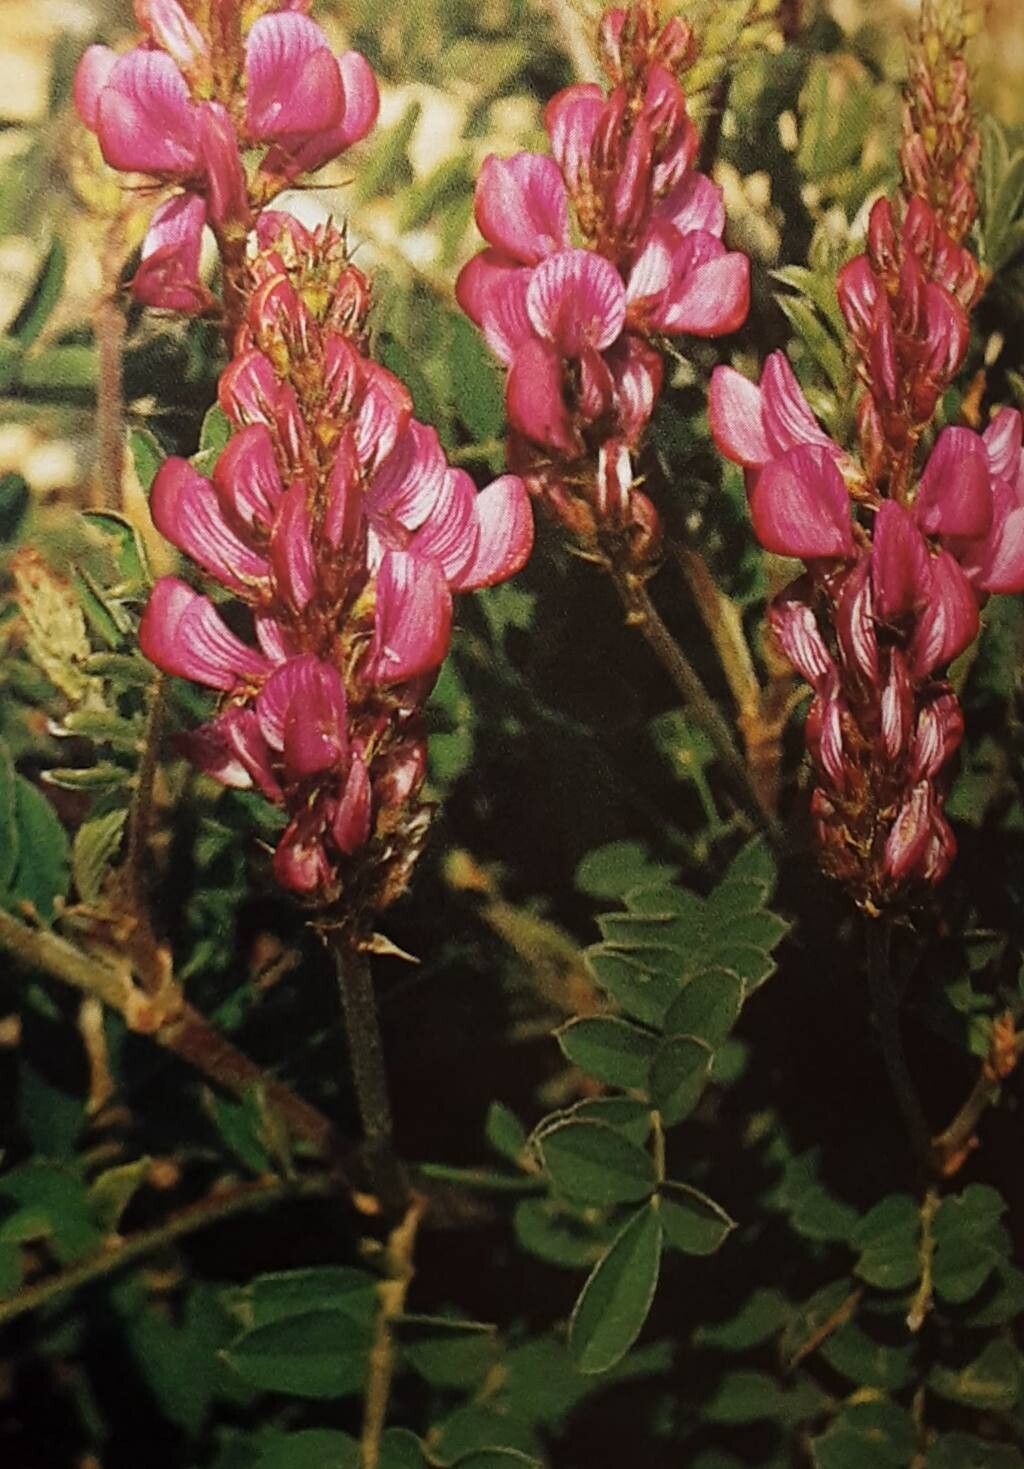
Hey there, fellow plant lovers! Have you ever spotted those lovely little blooms of Onobrychis montana – that’s Sainfoin, or more specifically, a dwarf mountain variety – and thought, “I’d love more of those!”? I certainly have! There’s something so satisfying about nurturing a new plant from a tiny piece of its parent. Onobrychis montana, with its charming pink-purple flowers and attractive foliage, is a delightful addition to any garden, especially rock gardens or drier, sunny spots. And the good news? Propagating it can be quite rewarding! While it’s not the absolute easiest plant for a complete beginner, with a little care and attention, you can absolutely be successful. Let’s dive in!
The Best Time to Start
For Onobrychis montana, I find the sweet spot for propagation is late spring to early summer. You want to catch it when the plant is actively growing, but before the heat of midsummer really sets in. This gives the new cuttings plenty of time to establish some good roots before cooler weather arrives. You can also sometimes get away with taking cuttings in early autumn, but spring is generally more reliable for me.
Supplies You’ll Need
Gathering your supplies beforehand makes the whole process smoother. Here’s what I usually have on hand:
- Sharp pruning shears or a clean knife: For making clean cuts.
- Rooting hormone (optional but recommended): This really gives your cuttings a boost.
- A well-draining potting mix: I often use a mix of equal parts peat moss, perlite, and coarse sand. For Onobrychis montana, good drainage is key!
- Small pots or seed trays: Clean ones, please!
- A watering can or spray bottle: For gentle watering.
- A plastic bag or propagator lid: To create a humid environment.
- Labels: So you don’t forget what you planted where!
Propagation Methods
While Onobrychis montana can be started from seed, I find stem cuttings to be a very effective and hands-on method.
Stem Cuttings:
- Select your cuttings: Look for healthy, non-flowering stems that are about 4-6 inches long. Gently bend a stem; if it snaps cleanly, it’s likely a good candidate. Avoid very soft, leafy new growth and old, woody stems.
- Make the cut: Using your sharp, clean shears or knife, make a cut just below a leaf node. A leaf node is where a leaf attaches to the stem. This is where the magic happens for root formation!
- Prepare the cutting: Gently remove the lower leaves from the cutting, leaving just a few at the top. If the leaves are large, you can even cut them in half to reduce water loss.
- Apply rooting hormone (optional): Dip the cut end of the stem into your rooting hormone powder or gel. Tap off any excess.
- Plant the cuttings: Fill your small pots with your well-draining mix. Make a small hole with a pencil or your finger. Insert the cut end of the stem into the hole, making sure at least one leaf node is buried.
- Water gently: Water the soil thoroughly but gently. You want it moist, not waterlogged.
- Create humidity: Cover the pot with a clear plastic bag or a propagator lid. This creates a mini-greenhouse to keep your cuttings hydrated while they root. Ensure the leaves don’t touch the plastic.
The “Secret Sauce” (Pro Tips)
Here are a couple of little tricks I’ve picked up over the years that often make a difference:
- Bottom Heat is Your Friend: If you can, place your pots on a heat mat designed for seedlings. A gentle warmth from below really encourages root development. You’d be surprised how much faster things take off!
- Don’t Disturb Them Too Soon: Patience is a virtue in gardening, and it’s especially true here. Resist the urge to tug on your cuttings to check for roots! You’ll often see new leafy growth appearing when roots are forming, but for a true confirmation, wait until the cutting feels firmly anchored when you gently try to wiggle it. This usually takes several weeks.
Aftercare & Troubleshooting
Once you see signs of life – like new leaves unfurling or the cutting feeling nice and snug in the pot – it’s time to transition them.
Gradually reduce the humidity by opening the bag or propagator lid a little each day for a week. This helps them adjust to drier air. Continue to water when the top inch of soil feels dry, always ensuring good drainage. You can start feeding them with a diluted liquid fertilizer once they’ve visibly established.
The biggest enemy of cuttings is rot. If your cuttings look mushy, black, or just sad and limp, it’s usually a sign of too much moisture and not enough air circulation. This is why that well-draining mix and not overwatering are crucial! If you see signs of rot, it’s often best to discard the affected cuttings and try again, making sure your conditions are drier next time. Remember, not every cutting will make it, and that’s perfectly okay!
A Little Encouragement to Close
Watching those tiny roots develop and seeing a brand new plant emerge is one of the most rewarding parts of gardening, don’t you think? Be patient with your Onobrychis montana cuttings. Each one is on its own little journey, and sometimes nature just takes its sweet time. Enjoy the process of learning and growing, and happy propagating!
Resource:
https://identify.plantnet.org/k-world-flora/species/Onobrychis%20montana%20DC./data