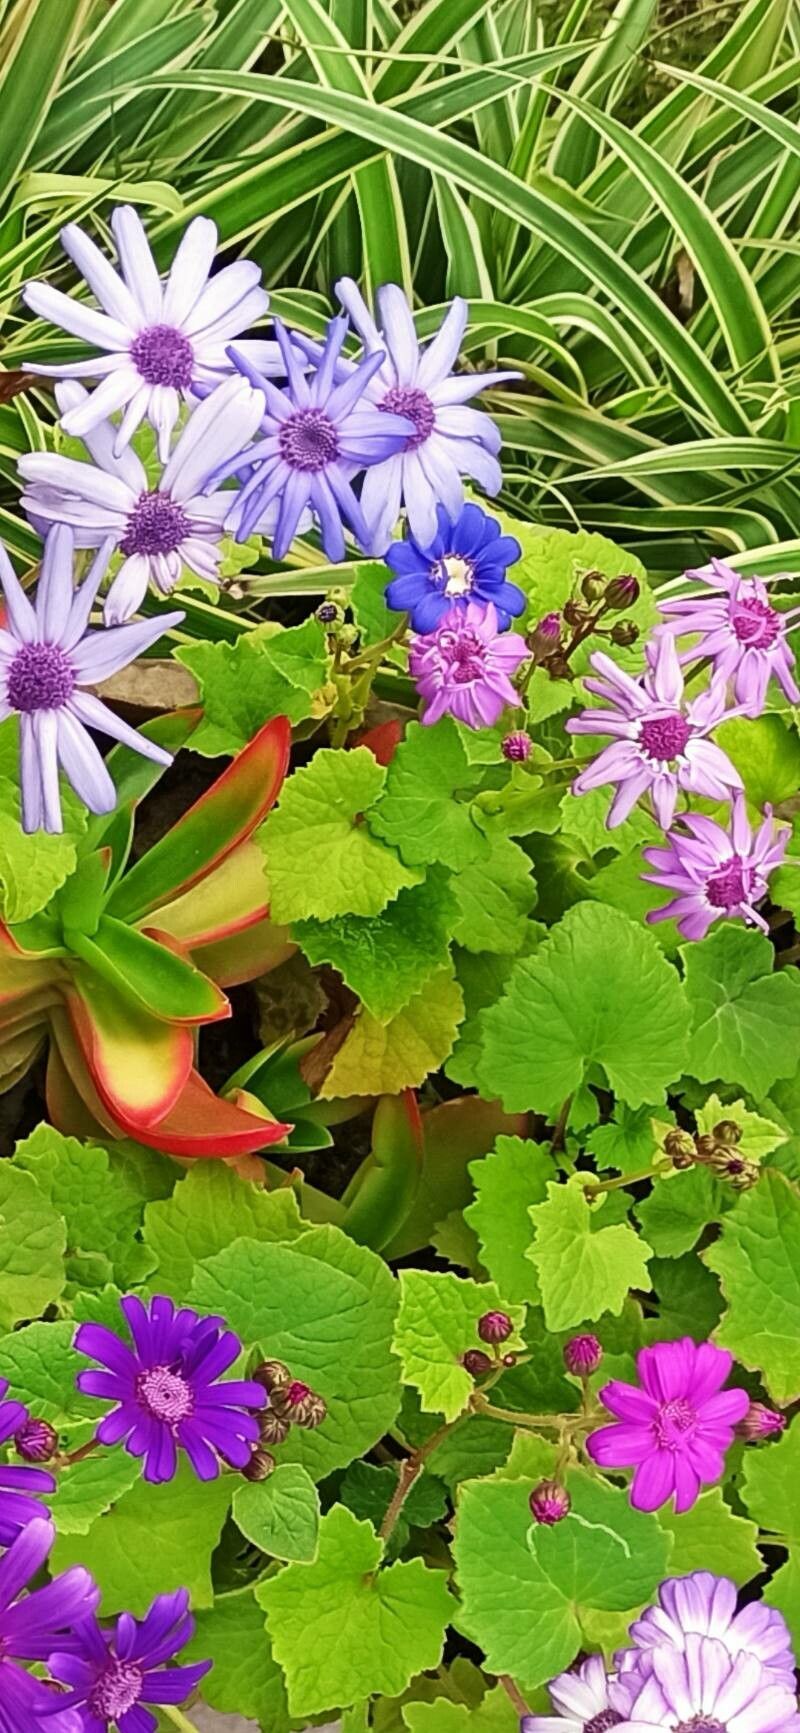
Hello there, fellow plant lovers! I’m so excited to chat with you today about a truly delightful plant that has brought so much joy to my garden over the years: Cineraria abyssinica. If you’ve ever laid eyes on its vibrant blooms in shades of blue, purple, pink, and white, you know exactly why this plant is so special. It’s like a little explosion of happiness in a pot, or a cheerful splash of color in the garden border.
Now, about propagating Cineraria abyssinica – is it a walk in the park for a beginner? I’d say it falls into the “moderately easy” category. With a little care and attention, you’ll be rewarded with your very own new plants, which is one of the most satisfying feelings in gardening, wouldn’t you agree?
When to Get Your Hands Dirty: The Best Time to Start
For the best chance of success with Cineraria abyssinica, I always recommend starting your propagation efforts in late spring or early summer. This is when the plant is in its active growth phase, meaning it has plenty of energy to put into developing new roots. You’re essentially catching it at its most vigorous!
Gathering Your Goodies: Supplies You’ll Need
Before we dive into the fun part, let’s make sure you have everything on hand:
- Sharp pruning shears or a clean knife: For taking cuttings.
- Seed-starting mix or a well-draining potting mix: I prefer using a mix with a good amount of perlite or vermiculite for aeration.
- Small pots or trays: Clean and with drainage holes, of course!
- Rooting hormone (optional but helpful): Especially if you’re a bit nervous about cuttings.
- Plastic bags or a propagator lid: To create a humid environment.
- Watering can with a fine rose: For gentle watering.
- Labels and a marker: To keep track of what you’ve propagated and when.
Bringing New Life: Propagation Methods
Cineraria abyssinica is quite amenable to propagation by stem cuttings. It’s my go-to method because it’s reliable and you get your new plants fairly quickly.
- Select Your Cuttings: Find a healthy, non-flowering stem on your established Cineraria. Look for stems that are about 4-6 inches long. Use your clean shears or knife to make a clean cut just below a leaf node. A leaf node is that little bump on the stem where leaves emerge – that’s where the magic happens for root development!
- Prepare the Cuttings: Gently remove the lower leaves from your cutting, leaving just a few at the top. This prevents them from rotting in the soil. If you’re using rooting hormone, dip the cut end into it now, following the product’s instructions.
- Planting Time: Fill your small pots or trays with your chosen potting mix. Make a small hole in the center of the soil with your finger or a pencil. Gently insert the cut end of the Cineraria stem into the hole, ensuring the leaf nodes are below the soil surface.
- Firm and Water: Firm the soil gently around the cutting. Then, give it a light watering with your fine-rose watering can. You want the soil to be moist, not soggy.
- Create Humidity: This is key! Cover the pot or tray with a plastic bag or a propagator lid. This traps moisture and creates that humid environment your cuttings need to root. Make sure the leaves aren’t touching the inside of the bag if possible.
The “Secret Sauce”: My Insider Tips
Here are a few little tricks I’ve learned over the years that can really boost your propagation success:
- Bottom Heat is Your Friend: If you have a heat mat designed for seedlings, placing your pots on it can significantly speed up the rooting process. That gentle warmth encourages root growth from below.
- Don’t Drown Them: While humidity is important, overwatering is the quickest way to kill your cuttings. The soil should always feel just barely moist. If you see water pooling, that’s a sign you’ve gone too far.
- Patience is a Virtue (and a Gardener’s Superpower): Sometimes, it can take a few weeks for roots to develop. Don’t be tempted to pull them up to check too often! Resist the urge. You’ll know they’re rooting when you see new leaf growth appearing.
Guiding Your New Sprouts: Aftercare & Troubleshooting
Once you see signs of new growth – that’s your cue that roots are forming! At this point, you can gradually begin to acclimate your new Cineraria to drier air. Carefully remove the plastic bag for increasing periods each day over a week or so.
Continue to water gently when the top of the soil feels dry. Move the pots to a bright spot with indirect sunlight. Think of it as giving them a gentle introduction to their new life!
What if things go wrong? The most common culprit is rot, which usually appears as a mushy, discolored stem at the soil line, or yellowing and wilting leaves that don’t bounce back. This is almost always a sign of too much moisture combined with poor air circulation. If you see this, unfortunately, it’s best to discard the affected cutting and re-evaluate your watering habits.
Happy Growing!
Propagating Cineraria abyssinica is such a rewarding experience. It’s a chance to learn more about the incredible life cycle of plants and to expand your collection without spending a fortune. Be patient with yourself and with your cuttings. Enjoy the process of nurturing these little bits of life, and soon you’ll have a whole new burst of color to share! Happy gardening!
Resource: