Hello fellow plant lovers!
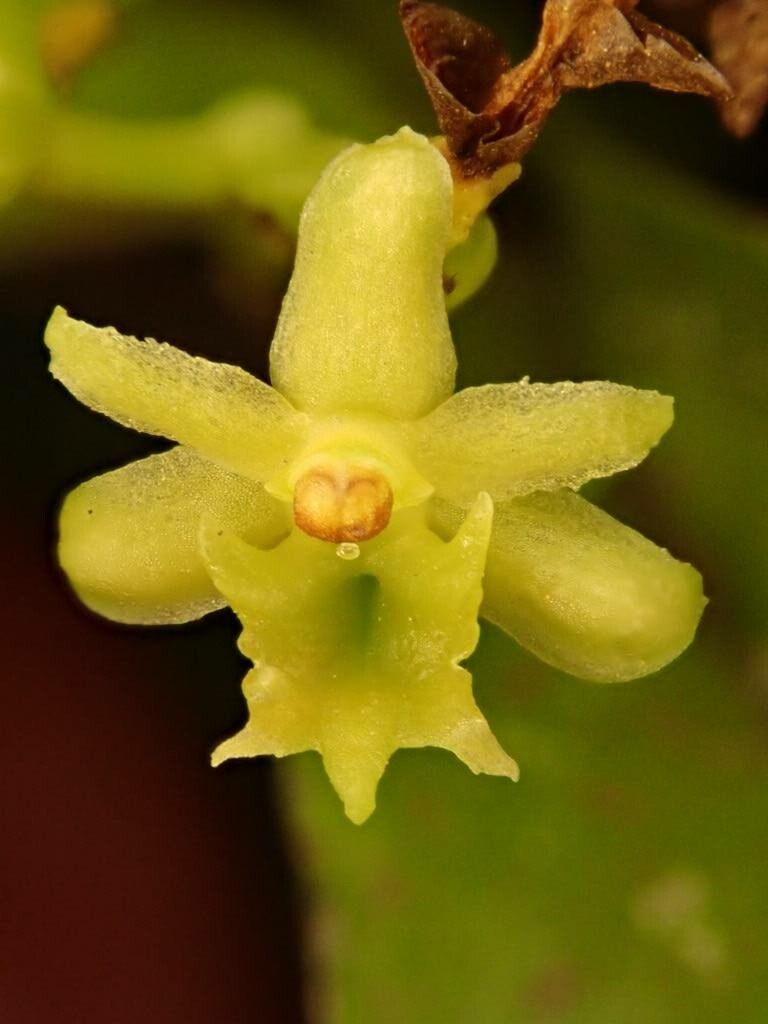
Let me tell you about Tridactyle pentalobata, a plant that truly brings a touch of the tropics into our homes. Its unique, often glossy, lobed leaves add such structural interest and a whisper of exoticism to any space. And the best part? Propagating it is an incredibly rewarding process, allowing you to share its beauty or simply grow your collection without breaking the bank. For newcomers to propagation, I’d say Tridactyle pentalobata falls into the “moderately easy” category. With a little patience and the right approach, you’ll be well on your way to success.
The Best Time to Start
When the weather starts to warm up and your plant is in a vigorous growth phase, that’s your golden window. Think late spring through early summer. During this time, the plant’s natural energy is high, and it’s more receptive to forming new roots. You’ll notice new shoots appearing, which are perfect candidates for taking cuttings.
Supplies You’ll Need
Gathering your tools beforehand makes the whole process smoother. Here’s what I usually have on hand:
- Sharp pruning shears or a clean, sharp knife: For making clean cuts.
- Rooting hormone powder or gel: This isn’t strictly essential for Tridactyle pentalobata, but it can speed up root development.
- Well-draining potting mix: I prefer a blend of perlite, coco coir, and a good quality potting soil. You want something that allows air to reach the roots while retaining some moisture.
- Small pots or seedling trays: Clean ones are crucial to prevent disease.
- Clear plastic bags or a propagation dome: This creates a humid microclimate, which is key.
- Spray bottle: For misting.
- A small trowel or dibber: For making holes in the soil.
Propagation Methods
There are a couple of ways we can coax new Tridactyle pentalobata plants into existence. I find stem cuttings to be the most reliable.
1. Stem Cuttings
- First, select a healthy, non-flowering stem. Look for one that’s at least a few inches long and has several sets of mature leaves.
- Using your clean shears or knife, make a clean cut just below a leaf node. A leaf node is where a leaf attaches to the stem, and this is where roots are most likely to form.
- Gently remove the lower leaves from the cutting. You want to leave at least one or two leaves at the top to photosynthesize, but clearing the lower part prevents them from rotting in the soil.
- If you’re using rooting hormone, dip the cut end into the powder or gel, tapping off any excess.
- Fill your small pots with your well-draining potting mix and moisten it slightly.
- Make a hole in the center of the soil with your finger or dibber.
- Insert the cutting into the hole, ensuring at least one leaf node is buried beneath the soil surface.
- Gently firm the soil around the cutting.
- Now, create that humid environment. Mist the cutting lightly with water and then cover the pot with a clear plastic bag or place it under a propagation dome. Make sure the leaves do not touch the sides of the bag.
- Place the pot in a warm spot with bright, indirect light. Avoid direct sunlight, which can scorch the tender cutting.
2. Water Propagation (with caution!)
While I generally lean towards soil propagation for this plant, you can try water propagation with carefully selected cuttings.
- Follow the steps above for taking and preparing stem cuttings.
- Instead of planting the cutting in soil, place it in a jar or glass of clean water.
- Crucially, ensure that no leaves are submerged in the water. Only the stem should be in contact with the water.
- Change the water every few days to keep it fresh and prevent bacterial growth.
- Place the container in bright, indirect light.
- Once you see tiny white roots developing, you’ll need to gently transition the cutting to soil. Wait until the roots are about an inch long before planting it in your well-draining potting mix.
The “Secret Sauce” (Pro Tips)
Here are a couple of little tricks that have made a big difference for me:
- Bottom Heat is Your Friend: If you have a propagation mat, using it can significantly speed up root formation. The gentle warmth from below encourages the roots to emerge. Just ensure the mat isn’t too hot; a consistent, mild warmth is what we’re aiming for.
- Don’t Rush the Potting Up: When you’re moving a water-propagated cutting to soil, or when a soil-propagated cutting feels firmly rooted, be gentle. I like to give them a little tug – if there’s resistance, the roots are developing nicely. If it pulls out easily, it needs more time.
Aftercare & Troubleshooting
Once your Tridactyle pentalobata cutting has developed a healthy root system (you’ll see new growth on top, and the plant will resist a gentle tug), it’s time for it to become a more independent plant.
- Gradually acclimate your new plant to normal household humidity by opening the plastic bag or propagation dome a little more each day for a week.
- Water when the top inch of soil feels dry. Avoid overwatering; this is the quickest way to invite problems.
- Keep it in bright, indirect light.
- The most common issue you might encounter is rot. If you see the stem turning mushy or black at the soil line, it’s a sign of too much moisture and poor drainage. Unfortunately, there’s usually no coming back from this. Start again with a fresh cutting if this happens. Another sign of distress can be yellowing leaves, which can be caused by too much or too little water, or insufficient light.
A Little Patience Goes a Long Way
Propagating plants is a journey, and it’s not always a perfect outcome. But there’s so much joy in nurturing a new life from a humble cutting. Be patient, observe your plant, and enjoy the process of watching those little roots emerge. Happy propagating!
Resource: