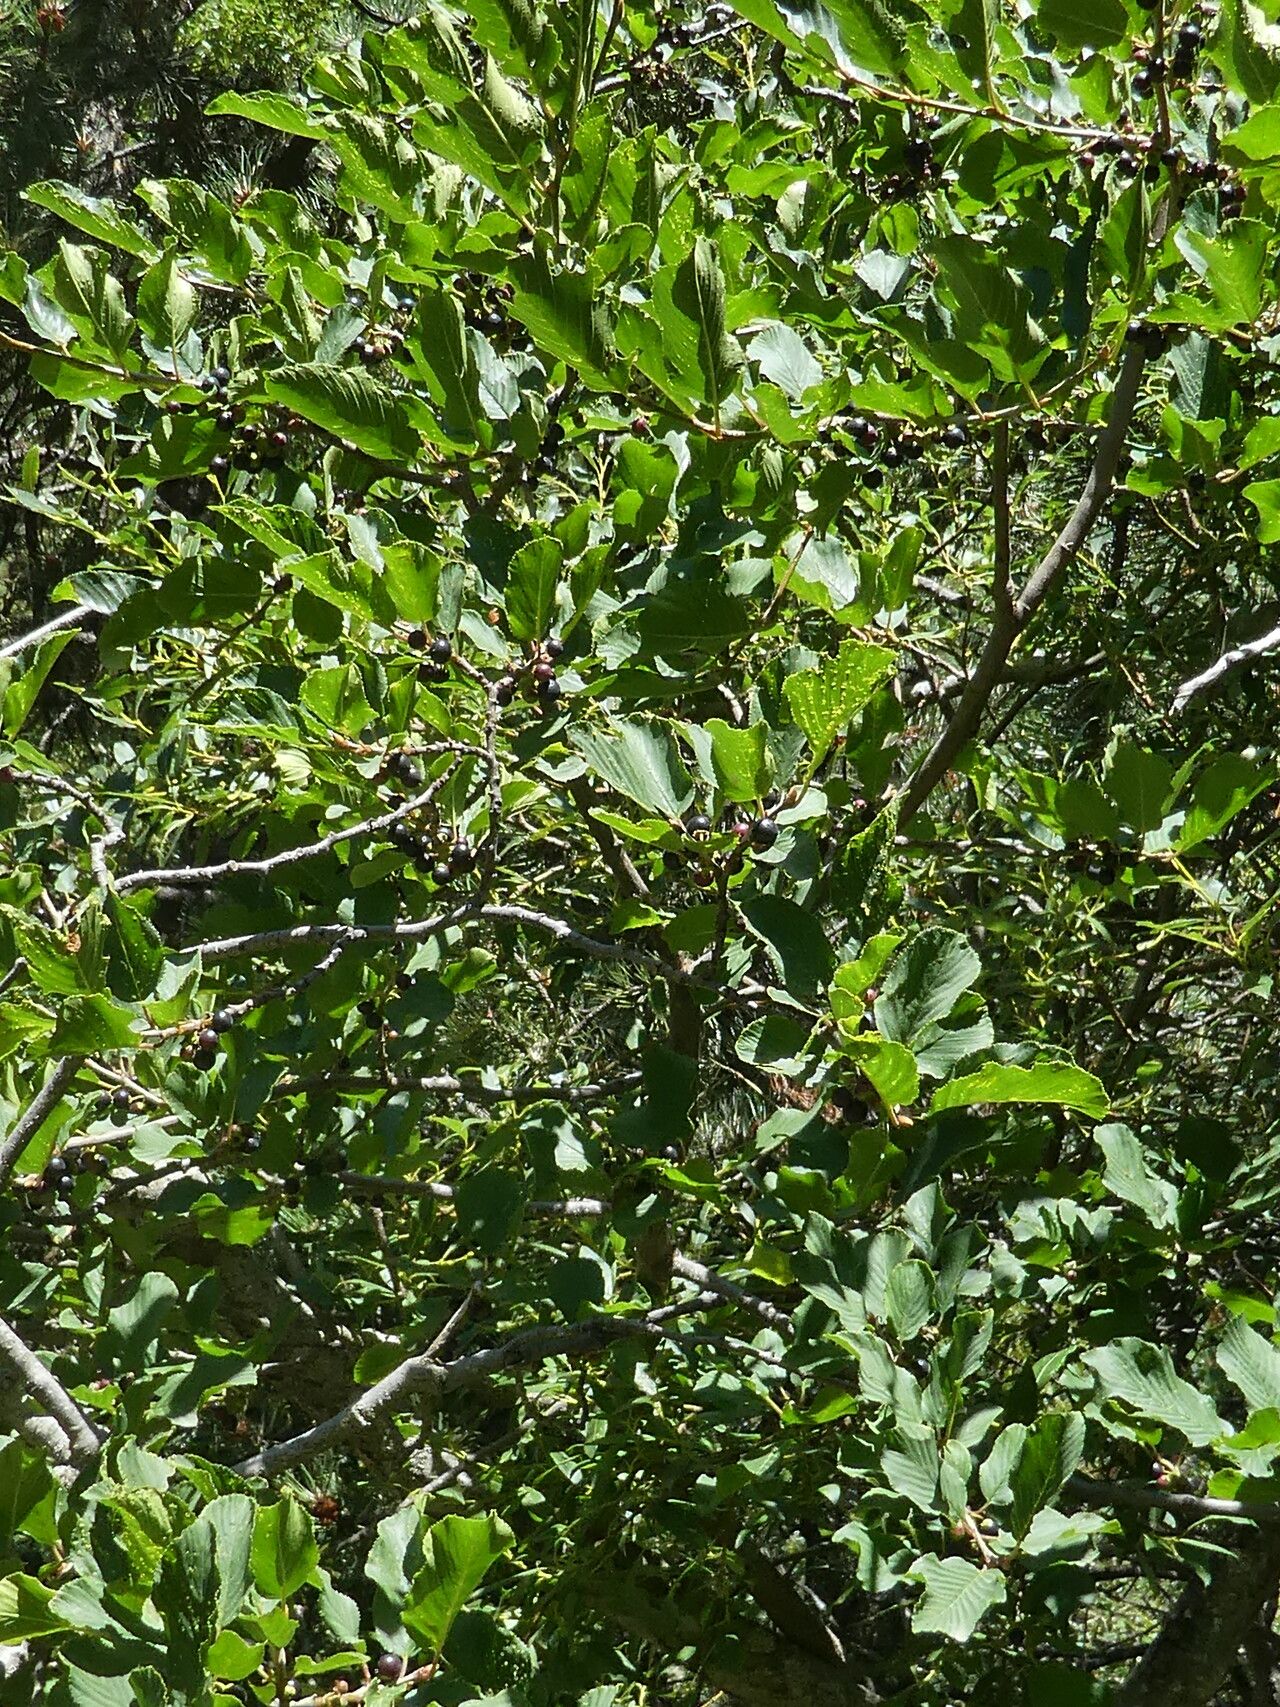
Oh, hello there! If you’ve got a Rhamnus alpina gracing your garden, you’re already one step ahead. These hardy beauties, often called Alpine Buckthorn, offer a lovely structure, sometimes with attractive berries, and a real sense of resilience. They’re not the flashiest plants, perhaps, but they have a quiet charm that I’ve grown to deeply appreciate over the years. And the best part? They’re surprisingly straightforward to propagate, making them a fantastic choice even if you’re just dipping your toes into the world of plant multiplication. I remember my first successful Rhamnus cutting felt like a true victory!
The Best Time to Start
For Rhamnus alpina, I find the sweet spot for propagation is late spring to early summer. This is when the plant is actively growing, producing those lovely softwood or semi-hardwood stems that are most receptive to rooting. Waiting until after the main flush of new growth has emerged, but before it tougles up too much, will give you the best chance of success.
Supplies You’ll Need
Here’s what I always have on hand when I’m ready to get propagating:
- Sharp pruning shears or a clean knife: For taking clean cuts.
- Rooting hormone powder or gel: This is a real game-changer for encouraging strong root development.
- Small pots or seed trays: With drainage holes, of course!
- A well-draining potting mix: I usually mix equal parts perlite and a good quality seed starting mix or even coarse sand. This is crucial to prevent waterlogged conditions.
- Plastic bags or a propagator lid: To create a humid environment.
- Labels and a marker: So you don’t forget what you planted where!
- A watering can with a fine rose attachment: To avoid disturbing your precious cuttings.
Propagation Methods: Let’s Get Our Hands Dirty!
While Rhamnus alpina can technically be grown from seed, my go-to and most reliable method is stem cuttings.
Stem Cuttings
- Select your cuttings: Look for healthy, non-flowering shoots that are about 4-6 inches long. You want stems that are flexible but not completely soft and floppy. These are often called “semi-hardwood” cuttings.
- Make the cut: Using your sharp shears, make a clean cut just below a leaf node. This is the point where a leaf attaches to the stem, and it’s where roots are most likely to form.
- Prepare the cutting: Remove the lower leaves. You only need to leave the top 2-3 leaves. If the remaining leaves are very large, I sometimes snip them in half to reduce water loss.
- Apply rooting hormone: Dip the cut end of the stem into your rooting hormone. Tap off any excess.
- Pot them up: Fill your small pots or trays with your prepared potting mix. Make a small hole in the center with your finger or a pencil.
- Insert the cuttings: Gently push the hormone-coated end of the cutting into the hole, ensuring the node where you removed the leaves is buried. Firm the soil gently around the stem to ensure good contact.
- Water gently: Water thoroughly until you see water draining from the bottom. This settles the soil around the cuttings.
- Create a humid environment: Cover the pots with a plastic bag (making sure it doesn’t touch the leaves) or place them under a propagator lid. This traps humidity, which is essential for cuttings to root.
- Find a good spot: Place your cuttings in a bright location, but out of direct sunlight. A warm spot is beneficial for root development.
The “Secret Sauce”
Here are a few little tricks I’ve learned over the years that really make a difference:
- Bottom heat is your friend: If you have a propagation mat or can place your pots on a warm surface (like a sunny windowsill, but be careful not to scorch them!), this really speeds up root formation. It encourages those roots to get going from below.
- Don’t overcrowd: Give your cuttings a bit of space in their pots or trays. Overcrowding can lead to poor air circulation and increase the risk of fungal issues. Aim for about an inch or two between each cutting.
- Freshness matters: Try to get your cuttings into the potting mix as soon as possible after taking them from the parent plant. The longer they sit out, the more they’ll dry out and the harder it will be for them to root.
Aftercare & Troubleshooting
With a bit of patience, you’ll start to see new growth on your cuttings – a sure sign they’re rooting! This usually takes anywhere from 4-6 weeks, and sometimes longer.
Once you see this new growth, it’s time to gradually acclimate them to drier air. Start by lifting the plastic bag for a few hours each day, slowly increasing the time until you can remove it completely.
The biggest challenge you might face is rot. This usually happens if the potting mix stays too wet or if there isn’t enough air circulation. If you see a stem turning black or mushy, it’s best to discard it to prevent it from spreading. Yellowing leaves can sometimes be a sign of stress or insufficient light, but don’t panic; observe the overall plant.
A Little Encouragement
Propagating plants is a journey of discovery, and sometimes it takes a few tries. Don’t be discouraged if not every cutting takes. Celebrate the successes, learn from the ones that don’t, and most importantly, enjoy the process of nurturing new life. Happy propagating!
Resource:
https://identify.plantnet.org/k-world-flora/species/Rhamnus%20alpina%20L./data