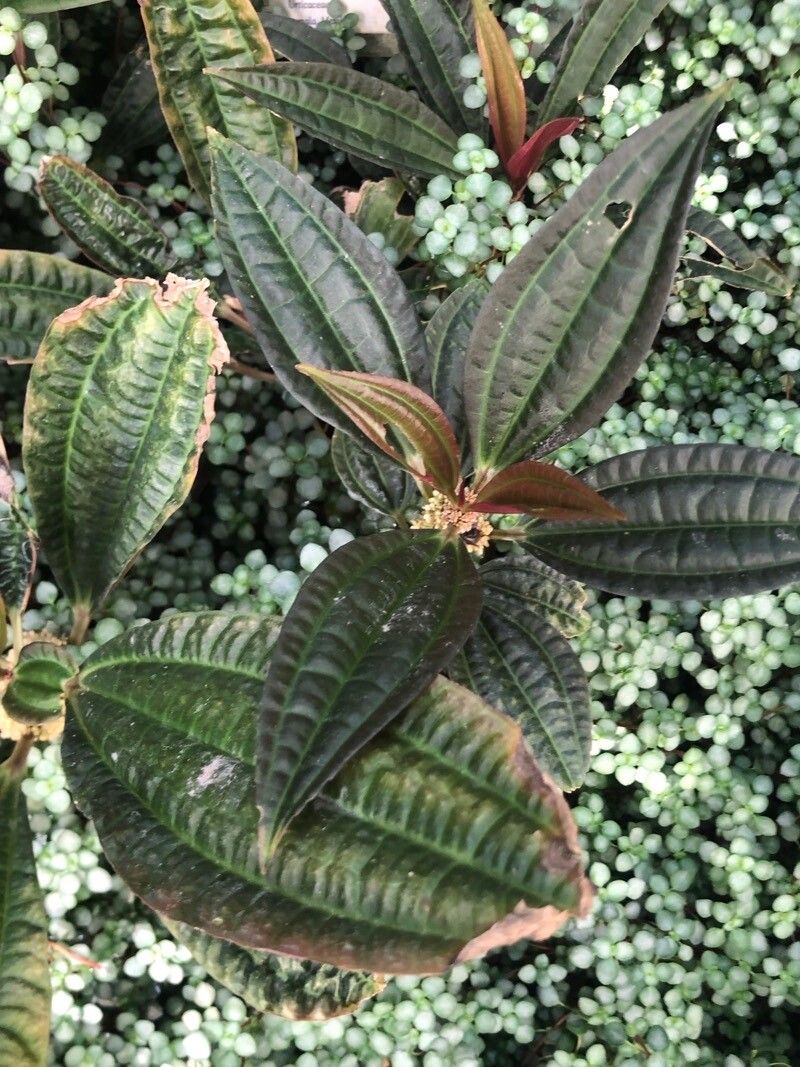
Hey there, fellow plant lovers! If you’ve ever been captivated by the subtle beauty of Pilea irrorata, with its intriguing textured leaves often dusted with a silvery sheen, you’re not alone. I’ve been growing all sorts of Pilea varieties for years, and the irrorata holds a special place in my heart. It’s just so… interesting. Propagating it is an absolute joy, and seeing those tiny new plants take hold is incredibly rewarding.
For those of you just starting your plant journey, you might be wondering if Pilea irrorata is a good starting point for propagation. Honestly, I’d say it’s moderately easy. It’s not quite as foolproof as a pothos, but with a little attention, you’ll be well on your way to success. It’s a plant that truly rewards your efforts.
The Best Time to Start
When it comes to giving your Pilea irrorata the best chance to thrive from cuttings, I always recommend working with actively growing plants. This typically means spring and summer. During these warmer months, the plant has a lot of energy to put into producing new roots and shoots. If you’re in a climate with very short summers, you might find success a bit later into late spring. Avoid propagating when the plant is dormant in the cooler, darker months.
Supplies You’ll Need
Gathering your supplies beforehand makes the whole process smoother. Here’s what I usually have on hand:
- Sharp pruning shears or a clean knife: For taking clean cuts.
- Rooting hormone (optional but recommended): A little boost can speed things up.
- Well-draining potting mix: I love a blend of peat moss, perlite, and a touch of orchid bark. A standard houseplant mix with a good amount of perlite added works too.
- Small pots or propagation trays: Enough for your cuttings.
- Clear plastic bag or humidity dome: To keep the humidity up while roots form.
- Water (filtered or distilled is best): For water propagation or moistening soil.
- Small pebbles or perlite (optional): To assist with drainage in pots or for water propagation.
Propagation Methods
Pilea irrorata is quite amenable to a couple of different propagation techniques. My personal favorite is often stem cuttings, but water propagation is also a great option.
Stem Cuttings
This is my go-to method for Pilea irrorata.
- Select Your Cutting: Look for a healthy stem that has at least two to three sets of leaves.
- Make the Cut: Using your sharp shears or knife, make a clean cut just below a leaf node (the little bump on the stem where leaves emerge). Nodes are where new roots usually sprout from.
- Prepare the Cutting: Gently remove the lower leaves from the cutting, leaving just the top two or three. If you’re using rooting hormone, dip the cut end into it now.
- Planting: Fill your small pot with your well-draining potting mix. Make a small hole with your finger or a pencil and gently insert the cut end of the stem into the soil. Firm the soil around it.
- Water and Cover: Water the pot thoroughly until water drains from the bottom. Then, cover the pot with a clear plastic bag or place it under a humidity dome to create a humid environment. You can use stakes to keep the bag from touching the leaves.
- Placement: Place the pot in a spot with bright, indirect light. Avoid direct sun, which can scorch the delicate cuttings.
Water Propagation
This method is visually satisfying and works well for Pilea irrorata.
- Take the Cutting: Follow steps 1 and 2 from the stem cutting method. You’ll want a cutting with at least one or two leaf nodes exposed.
- Remove Lower Leaves: Gently remove any leaves that would sit below the waterline.
- Place in Water: Put the cutting in a clean jar or glass filled with water. Ensure the leaf node(s) are submerged in the water, but that the leaves themselves are not touching the water.
- Light and Water Changes: Place the jar in a spot with bright, indirect light. Change the water every few days to keep it fresh and prevent bacterial growth.
The “Secret Sauce” (Pro Tips)
After years of tinkering, I’ve picked up a few tricks that seem to make all the difference for Pilea irrorata.
- When you’re taking cuttings, don’t be afraid to take a few! Not every single one will make it, and having extras increases your chances of success. It’s like buying a lottery ticket – the more you have, the better your odds!
- For stem cuttings, I’ve found that a little bottom heat can be a game-changer. Using a seedling heat mat placed under your propagation tray can really encourage root development. It mimics the warmth of spring soil.
- If you’re water propagating, and you see tiny white floaters in the water (sometimes called “root hairs” or just general gunk), don’t be alarmed. It’s usually a sign that roots are forming, not a sign of rot. Just keep changing that water.
Aftercare & Troubleshooting
Once you see those tiny white roots appearing (you can gently tug a cutting to check, or see them in the water), it’s time for a bit more TLC.
For potted cuttings, once roots are a good inch or so long, you can gradually remove the plastic bag or humidity dome over a few days to acclimate them to normal room humidity. Continue to water when the top inch of soil feels dry.
For water-propagated cuttings, let the roots grow to about an inch or two before planting them in your well-draining potting mix. Treat them just like you would a newly potted cutting.
The most common issue you might encounter is rot. This usually happens if the soil stays too wet or if the water in a propagation jar isn’t changed often enough. If you see a cutting turn mushy or black at the cut end, sadly, it’s likely beyond saving. Remove it immediately to prevent it from affecting other cuttings. Overwatering is the usual culprit, so err on the side of slightly drier rather than constantly soggy.
A Encouraging Closing
Propagating Pilea irrorata is such a satisfying way to multiply your plant collection and share the joy with friends. Be patient with the process, celebrate the small victories (like those first tiny roots!), and enjoy the journey of nurturing new life. Happy growing!
Resource:
https://identify.plantnet.org/k-world-flora/species/Pilea%20irrorata%20Donn.Sm./data