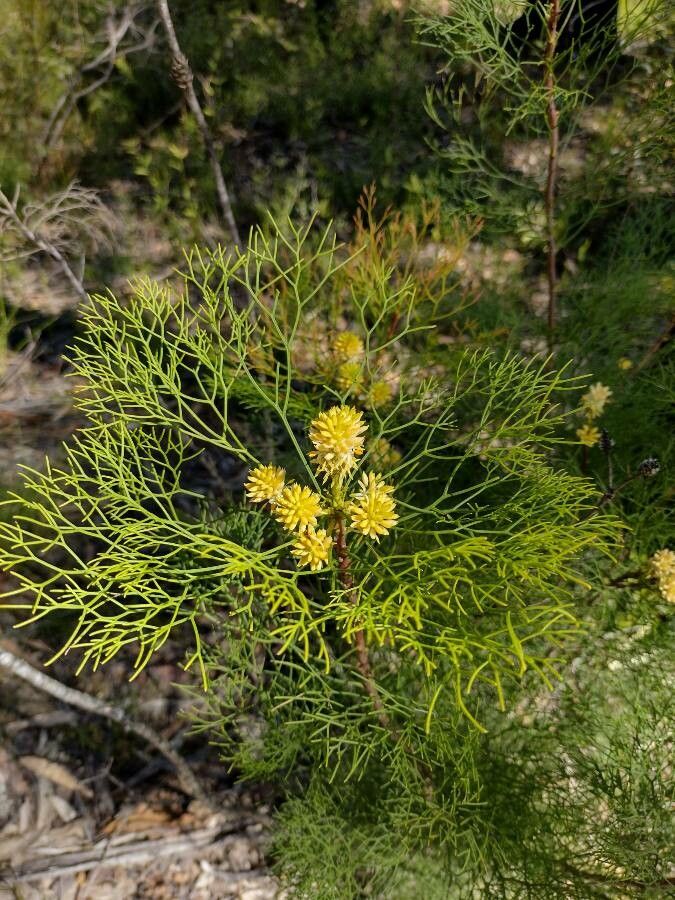
Ah, Petrophile pedunculata! What a delightful plant to get to know. If you’ve ever admired those delicate, spiky flowers, like miniature pinecones, that seem to glow in the dappled sunlight, you’re certainly not alone. Propagating these beauties is a wonderful way to share their charm or simply expand your own collection. While they might seem a bit particular at first glance, with a little love and understanding, you’ll find them quite rewarding. For absolute beginners, I’d say they lean towards the “moderately easy” side – a fun challenge that teaches you a lot.
The Best Time to Start
For Petrophile pedunculata, spring is your golden ticket. When the plant is actively putting on new growth, typically from late September through to December here in the Southern Hemisphere, it’s brimming with energy. This is when cuttings will have the best chance of developing robust roots. Avoid trying to propagate from a plant that looks stressed or has just finished flowering; it needs to be in a strong, vibrant phase.
Supplies You’ll Need
Here’s what I like to have on hand:
- Sharp pruning shears or a clean knife: For making swift, precise cuts.
- Rooting hormone: A fungicide-treated rooting hormone is a good idea for these guys.
- Well-draining potting mix: A blend of perlite, coarse sand, and a good quality potting soil works wonders. You want it to be airy, not waterlogged. A commercial native plant potting mix is also a good bet.
- Small pots or seed trays: With drainage holes, of course!
- Plastic bags or propagation domes: To create a humid environment.
- Labels and a marker: So you don’t forget what you’ve planted!
Propagation Methods
I’ve found the most successful method for Petrophile pedunculata is through stem cuttings.
- Select Your Cuttings: Look for healthy, semi-hardwood stems. These are stems that are no longer soft and green, but haven’t yet become tough and woody. Aim for cuttings about 10-15 cm long.
- Make the Cut: Using your clean shears, make a swift cut just below a leaf node. A node is where a leaf attaches to the stem. This is where the magic happens, encouraging root development.
- Prepare the Cutting: Gently strip away the lower leaves. Leave just a few at the very top. This reduces water loss and prevents leaves from rotting in the soil.
- Dip in Rooting Hormone: Dip the cut end of the stem into your rooting hormone. Give it a gentle tap to remove any excess.
- Potting Up: Fill your small pots with your well-draining mix. Make a small hole in the center of the soil with your finger or a pencil.
- Insert the Cutting: Place the treated end of the cutting into the hole and firm the soil gently around it. Ensure at least one leaf node is buried beneath the surface.
- Water and Cover: Water the pot gently but thoroughly. Then, cover the pot with a clear plastic bag or a propagation dome. This creates a humid microclimate, which is crucial for cuttings to root without drying out. Position it in a bright spot but out of direct, harsh sunlight.
The “Secret Sauce”
Here are a couple of little tricks I’ve picked up over the years:
- Bottom Heat is Your Friend: If you have a heated propagation mat, use it! Providing gentle warmth from below, around 20-22°C, can significantly speed up the rooting process for woody plants like Petrophile. It mimics the warmth of spring soil.
- Don’t Drown Your Dreams: While humidity is vital, you don’t want soggy soil. Water only when the top inch of the potting mix feels dry to the touch. Overwatering is by far the most common killer of cuttings. If you see condensation building up heavily inside the plastic, lift the bag or dome for a few hours to allow some ventilation.
Aftercare & Troubleshooting
Once your cuttings have rooted, you’ll start to see new growth appearing at the top. This is a good sign! You can usually tell by giving a gentle tug on the cutting. If there’s resistance, you likely have roots.
Slowly acclimatize your new plants to drier air by gradually opening the plastic bag or reducing the dome’s coverage over a week or two. Continue to water when the soil dries out. Once they are established, you can pot them into slightly larger containers.
The biggest issue you might encounter is rot. This usually happens due to overwatering and poor drainage. If you see your cuttings looking limp, discolored (often brown or black and mushy), or smelling sour, it’s usually a sign of rot. There’s not much you can do to save a rotting cutting, so it’s all about prevention with that good drainage and careful watering.
A Little Patience Goes a Long Way
Propagating plants is a journey, and each attempt is a learning experience. Don’t get discouraged if not every cutting makes it. Celebrate the successes, learn from the setbacks, and enjoy the satisfaction of nurturing a new life from a simple stem. Happy propagating!
Resource:
https://identify.plantnet.org/k-world-flora/species/Petrophile%20pedunculata%20R.Br./data