Oh, the trumpet vine! If you’ve ever seen a Beaumontia grandiflora in full bloom, you know what I mean. Those enormous, fragrant white trumpets cascading over a trellis or fence are just… breathtaking. It’s a plant that brings a touch of the exotic to any garden, and honestly, getting more of these beauties for yourself is a truly rewarding endeavor. Don’t let its grandeur fool you; propagating Beaumontia grandiflora is absolutely achievable, even if you’re relatively new to the green arts. Think of it as a delightful project that pays off in spades.
The Best Time to Start
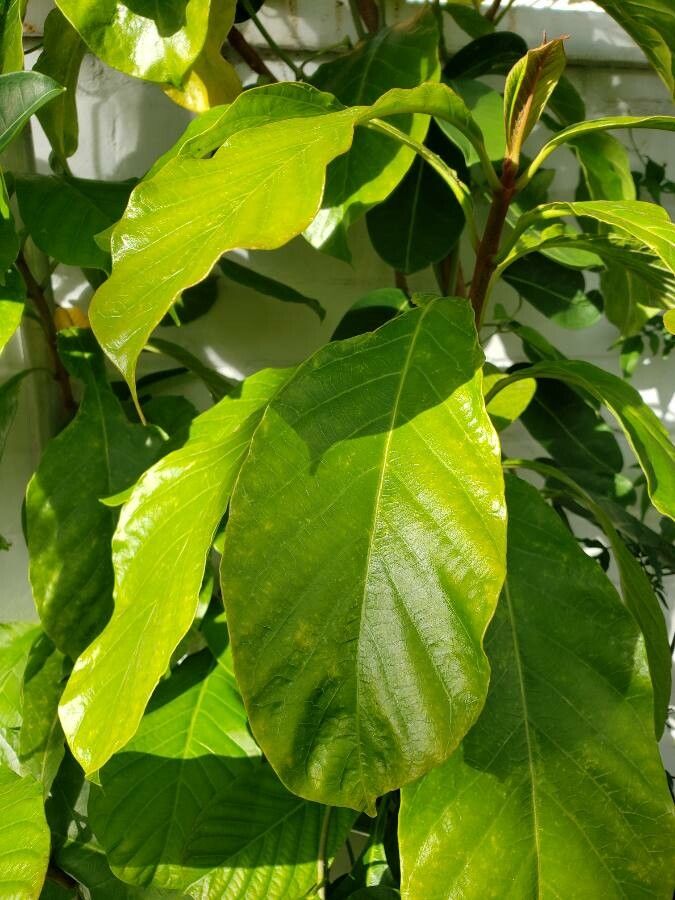
For the highest success rate with Beaumontia, I always recommend starting in late spring or early summer. This is when the plant is actively growing, which means it’s brimming with energy and ready to put out new roots. You’ll want to look for semi-hardwood cuttings, meaning stems that are no longer brand new and soft, but not yet old and woody. They should be somewhat flexible but firm.
Supplies You’ll Need
Gathering your supplies before you begin makes the whole process so much smoother. Here’s what I usually have on hand:
- Sharp Pruning Shears or a Knife: Clean cuts are crucial.
- Rooting Hormone: A powder or gel will significantly boost your chances.
- Potting Mix: A well-draining, sterile mix is key. I often use a blend of perlite and peat moss or coco coir.
- Small Pots or Trays: Clean ones, of course!
- Clear Plastic Bags or a Propagator Lid: To create a humid environment.
- Watering Can or Spray Bottle: For gentle watering.
- Labels and a Marker: For keeping track of your efforts.
Propagation Methods
I find that stem cuttings are my go-to method for Beaumontia. It’s straightforward and yields excellent results.
Stem Cuttings:
- Take Your Cuttings: In late spring or early summer, select healthy, vigorous stems that are around 6-10 inches long. Look for those semi-hardwood ones I mentioned earlier. With your sharp shears, make a clean cut just below a leaf node. A leaf node is where a leaf attaches to the stem; this is where roots are most likely to form.
- Prepare the Cuttings: Gently remove the lower leaves from your cuttings, leaving only the top 2-4 leaves. If the remaining leaves are very large, I like to cut them in half horizontally. This reduces water loss through transpiration while still allowing for some photosynthesis.
- Apply Rooting Hormone: Dip the cut end of each cutting into your rooting hormone, tapping off any excess. Make sure the cut end is well-coated.
- Pot Them Up: Fill your clean pots with your well-draining potting mix. Water the mix thoroughly so it’s evenly moist but not soggy. Make a small hole in the center of each pot with your finger or a pencil. Insert the cut end of the cutting into the hole, ensuring the rooting hormone stays on the submerged portion. Gently firm the soil around the stem.
- Create Humidity: Water the pots gently again. Then, cover each pot loosely with a clear plastic bag, securing it around the pot with a rubber band. Alternatively, you can use a propagator lid. This creates a mini-greenhouse effect, keeping the cuttings wonderfully humid.
The “Secret Sauce” (Pro Tips)
Here are a couple of tricks I’ve picked up over the years that make a real difference:
- Bottom Heat is Your Friend: Beaumontia cuttings love a little warmth from below. If you have a heat mat designed for propagation, place your pots on it. This encourages root development much faster than a cooler surface.
- Watch for “Wilt”: When you’re watering, if you notice the cuttings start to look a little droopy, it’s often a good sign they are trying to root. This isn’t a crisis, but a signal that things are happening! Don’t overwater; just ensure the soil stays consistently moist.
Aftercare & Troubleshooting
Once your cuttings are potted up, place them in a bright spot with indirect light. Avoid direct sunlight, which can scorch their delicate leaves.
Keep an eye on the moisture level. The soil should be kept consistently moist but never waterlogged. Mist the leaves occasionally if you notice them drying out.
You’ll know your cuttings have rooted when you see new leaf growth, or when you gently tug on the stem and feel some resistance. It can take anywhere from 4-8 weeks, sometimes longer, so patience is key!
The most common issue you might encounter is rot. This is usually a sign of overwatering or poor drainage. If you see a cutting turning black and mushy, it’s best to discard it to prevent it from spreading to others. Ensure your soil drains well and you’re not drowning your little charges.
A Encouraging Closing
Propagating Beaumontia grandiflora might seem like a big undertaking, but with a little patience and these tips, you’ll be rewarded with your very own trumpet vine clones. Enjoy the process of nurturing these new plants, and soon you’ll have more of those incredible blooms to share with friends or just to enjoy yourself. Happy gardening!
Resource:
https://identify.plantnet.org/k-world-flora/species/Beaumontia%20grandiflora%20Wall./data