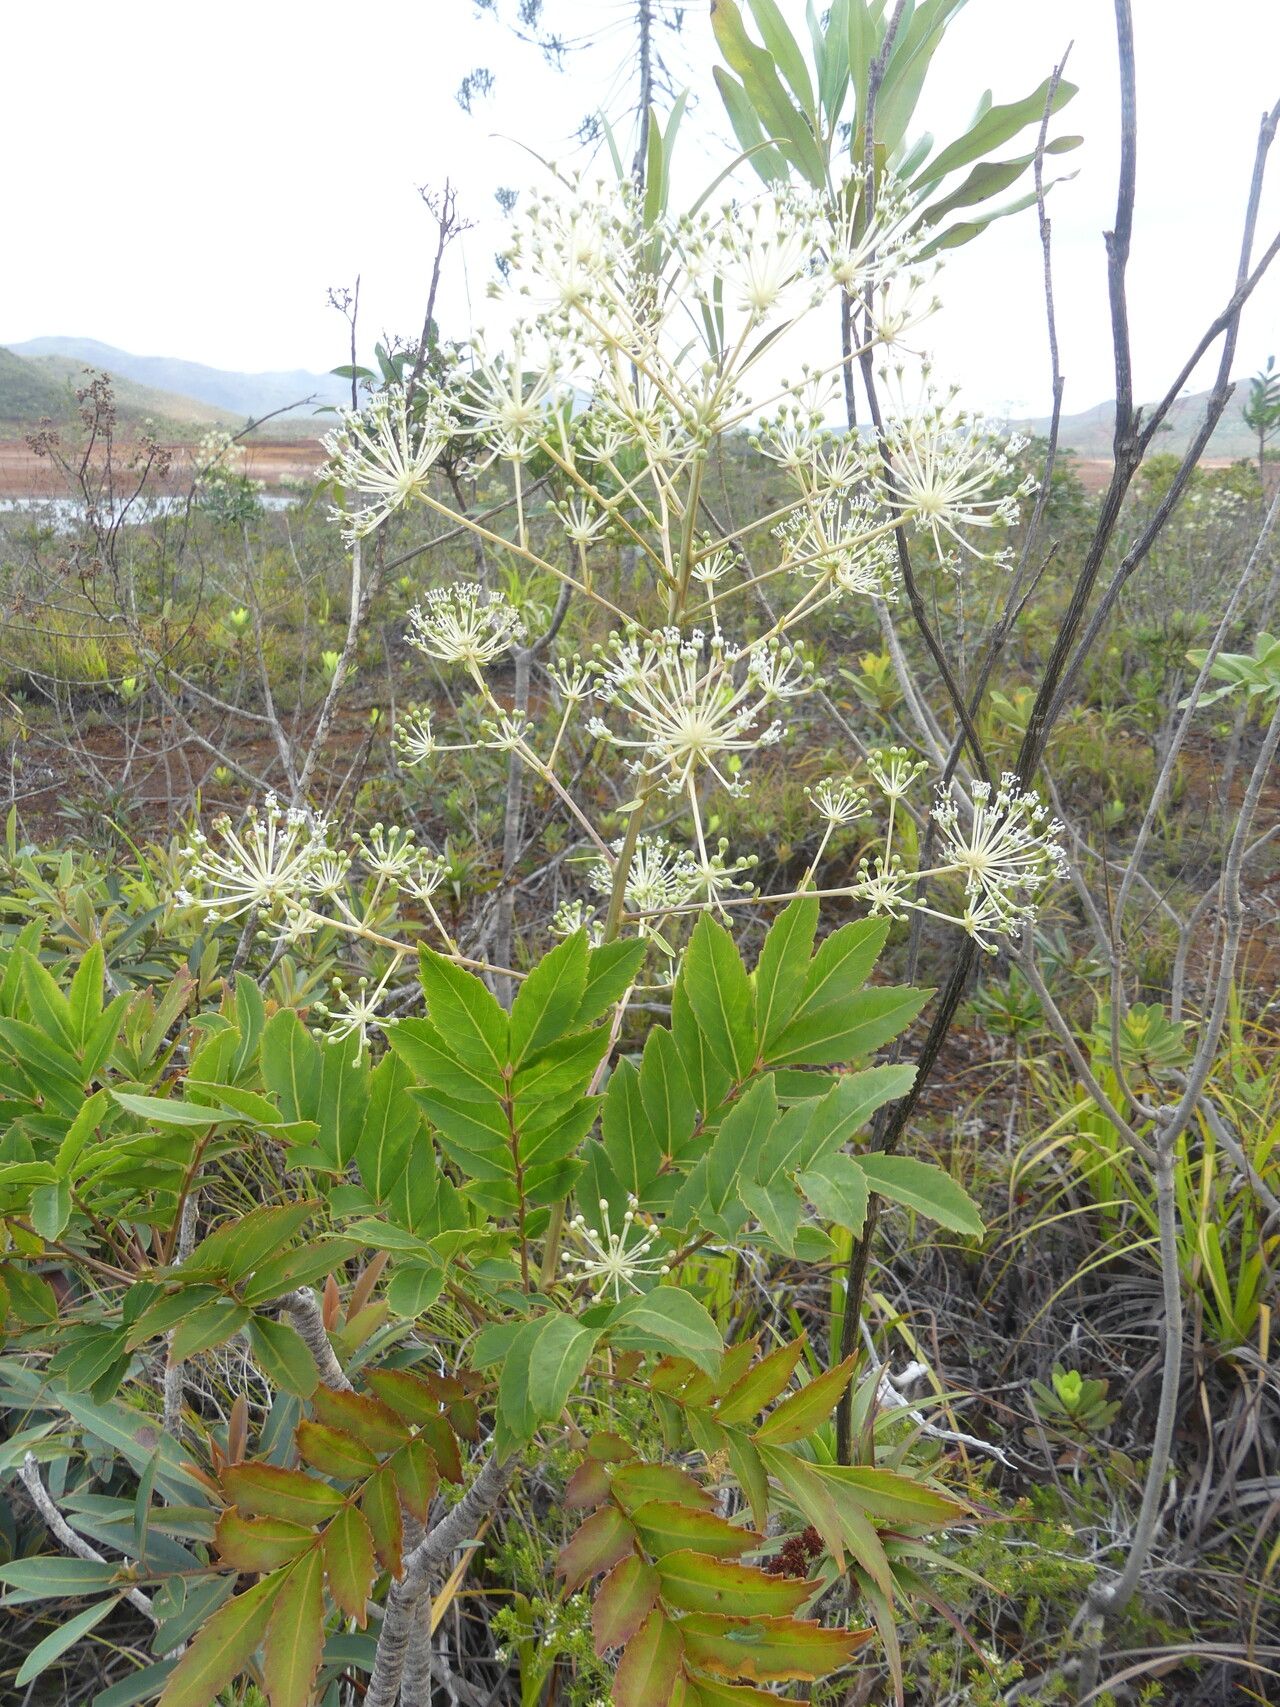
Hello fellow plant lovers! Today, we’re diving into the wonderful world of propagating Myodocarpus fraxinifolius, or as some of us affectionately call it, the “Forest Inkberry.” If you’ve ever admired its glossy, dark green leaves and graceful, almost architectural form, you’re in for a treat. Growing more of this beauty from what you already have is incredibly satisfying. I’ve found Myodocarpus fraxinifolius to be a moderately easy plant to propagate, which is great news for those of you just starting out on your propagation journey!
The Best Time to Start
When it comes to getting the best results, spring is your absolute best friend. As the days get longer and warmer, your Myodocarpus is gearing up for active growth. This is when it has the most energy to put into growing new roots. Look for young, healthy stems that are neither too woody nor too soft. They should be flexible but firm.
Supplies You’ll Need
To set yourself up for success, gather these items:
- Sharp pruning shears or a clean knife: For making precise cuts.
- Rooting hormone powder or gel: This is really helpful, especially for trickier cuttings.
- Potting mix: A well-draining mix is crucial. I like a blend of peat moss, perlite, and a little bit of potting soil. You can also use a dedicated propagation mix.
- Small pots or trays with drainage holes: For your cuttings.
- Clear plastic bags or a propagator: To create a humid environment.
- Water: For watering and potentially for water propagation.
Propagation Methods
Let’s get our hands dirty!
Stem Cuttings
This is my go-to method for Myodocarpus fraxinifolius.
- Take your cuttings: In spring, select healthy, non-flowering stems. Using your clean shears, cut a stem that’s about 4-6 inches long. Make the cut just below a leaf node (where a leaf attaches to the stem).
- Prepare the cuttings: Gently remove the lower leaves from your cutting, leaving just a few at the top. This prevents them from rotting when buried.
- Apply rooting hormone: Dip the cut end of the stem into your rooting hormone, tapping off any excess. This step isn’t always strictly necessary for Myodocarpus, but it can give your cuttings a real boost.
- Pot them up: Fill your small pots or trays with your prepared potting mix. Make a hole in the center of the soil with your finger or a pencil.
- Insert the cuttings: Gently place the cut end of the stem into the hole, ensuring several leaf nodes are buried in the soil. Firm the soil gently around the cutting.
- Water and cover: Water the soil thoroughly. Then, cover the pot with a clear plastic bag or place it inside a propagator to maintain high humidity. You can prop the bag up with sticks so it doesn’t touch the leaves.
Water Propagation
This is a lovely, visual way to see those roots develop!
- Select and cut a stem: Similar to stem cuttings, choose a healthy, 4-6 inch stem and cut it below a leaf node.
- Remove lower leaves: Take off any leaves that would sit below the water line.
- Place in water: Pop the cutting into a glass or jar filled with clean, room-temperature water.
- Positioning is key: Make sure that no leaves are submerged in the water. The leaves will rot quickly and can affect the whole cutting.
- Change the water: Refresh the water every few days to keep it clean and oxygenated.
- Wait for roots: You should start to see tiny white roots emerging from the nodes in a few weeks.
The “Secret Sauce” (Pro Tips)
Here are a few tricks I’ve learned over the years that can make all the difference.
- Bottom Heat is Your Friend: For stem cuttings, placing your pots on a gentle heated propagator mat can significantly speed up root development. It mimics the warmth of spring soil and really encourages those roots to form.
- Don’t Be Afraid to Experiment: Sometimes, a cutting from a slightly older, more mature stem will root better than a brand new, soft shoot. Don’t discount tougher stems – just be sure they still have flexibility.
- The “Scratch Test”: Before you despair about a cutting that looks a bit sad, gently scratch a tiny bit of the outer bark on the stem with your fingernail. If you see green underneath, it’s still alive! This can help you avoid discarding viable cuttings too soon.
Aftercare & Troubleshooting
Once you see good root development – usually after 4-8 weeks for stem cuttings (you’ll see new leafy growth, which is a good sign!) or significant root length in water – it’s time to move your new baby plants.
- For stem cuttings: Gently transplant them into their own small pots filled with the same well-draining potting mix. Keep them in a bright, but not direct, sunny spot and maintain humidity for another week or two. Water them as the top inch of soil begins to dry out.
- For water-propagated cuttings: Once the roots are about an inch long, carefully pot them up as described above. This transition from water to soil can be a bit of a shock, so be patient.
The most common sign of failure is rot. If your cutting turns black and mushy, it’s usually a sign of too much moisture and not enough air circulation, or the presence of bacteria. This is why good drainage and not overcrowding are so important. If a cutting wilts significantly and doesn’t perk up after watering, it might not have rooted. Don’t get discouraged; sometimes it just takes a few tries!
A Little Patience Goes a Long Way
Propagating plants like Myodocarpus fraxinifolius is a rewarding journey. It teaches you patience and observation. Don’t be disheartened if your first few attempts aren’t perfect. Every gardener has had their share of cuttings that just didn’t make it. The joy you feel when you see those first tiny roots emerge or watch a new plant unfurl its first tender leaves is truly special. Happy propagating!
Resource: