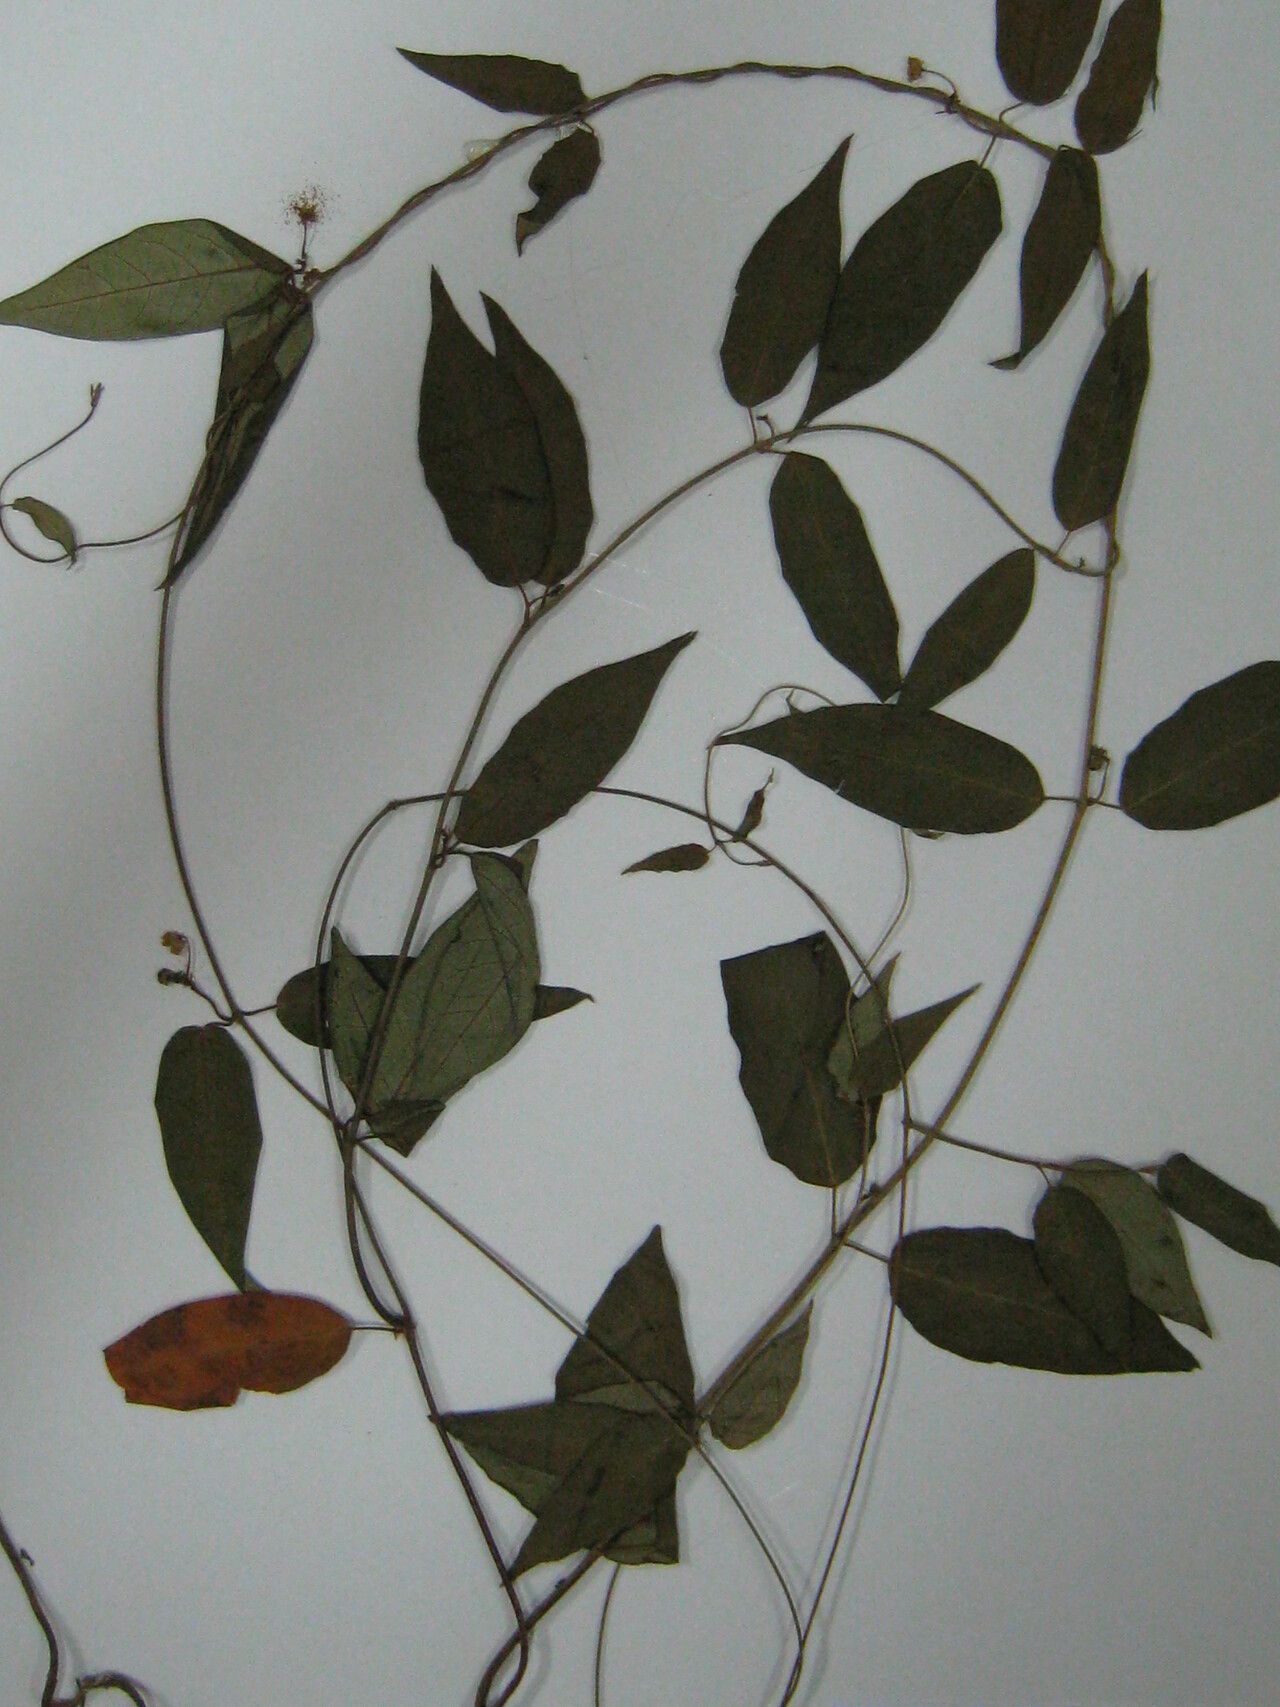
Hello there, fellow plant enthusiasts! Today, I want to talk about a plant that has truly captured my heart: Matelea sastrei. This vine is just gorgeous, with its deep, velvety foliage and delicate, star-shaped blooms that have a subtle, sweet fragrance. Watching it unfurl new tendrils and produce those ethereal flowers is such a joy. And the best part? You can easily share this beauty! Propagating Matelea sastrei is incredibly rewarding, though I’ll be honest, it leans towards intermediate for beginners. It’s not as grab-and-go as a pothos, but with a little patience and the right approach, you’ll be well on your way to multiplying your plant collection.
The Best Time to Start
For the highest chance of success with Matelea sastrei, I always aim for late spring or early summer. This is when the plant is actively growing, full of vigor, and ready to put its energy into developing new roots. You’ll want to select young, healthy stems that are neither brand new and floppy nor old and woody. Think of it as choosing the best, most vibrant shoots from your existing plant.
Supplies You’ll Need
Gathering your supplies beforehand makes the whole process smoother. Here’s what I like to have on hand:
- Sharp, sterile pruning shears or a clean knife: For making clean cuts.
- Rooting hormone (optional but recommended for cuttings): I find it gives them a little boost.
- Potting mix: A well-draining mix is crucial. I usually blend equal parts perlite, peat moss, and coco coir.
- Small pots or propagation trays: With drainage holes, of course!
- Clear plastic bags or a propagation dome: To create a humid environment.
- Watering can or spray bottle: For gentle watering.
Propagation Methods
I’ve had the most success with Matelea sastrei using stem cuttings. It’s a reliable method that yields strong multipliers.
Stem Cuttings:
- Select your stem: Choose a healthy, non-flowering stem that’s about 4-6 inches long. Look for a section with at least two to three sets of leaves.
- Make the cut: Using your sharp, sterile shears, make a clean cut just below a leaf node (the spot where a leaf attaches to the stem). This is where new roots are most likely to emerge.
- Prepare the cutting: Gently remove the lower leaves, leaving just a couple of sets at the top. If the remaining leaves are very large, you can even cut them in half horizontally to reduce water loss.
- Apply rooting hormone (optional): If you’re using rooting hormone, dip the cut end of the stem into the powder or gel, tapping off any excess.
- Pot it up: Fill your small pot with your pre-moistened rooting medium. Make a small hole with your finger or a pencil and carefully insert the cutting, ensuring the leaf nodes are buried in the soil. Gently firm the soil around the stem.
- Create humidity: Water gently and then cover the pot with a clear plastic bag or place it under a propagation dome. Make sure the plastic isn’t touching the leaves too much. Prop this up with a few small stakes if needed.
The “Secret Sauce” (Pro Tips)
Now, for a few things I’ve learned over the years that can make a real difference:
- Bottom heat is your friend! Matelea sastrei loves a bit of warmth to encourage root development. Placing your potted cuttings on a heated propagation mat can significantly speed up the rooting process. Aim for a consistent temperature of around 70-75°F (21-24°C).
- Don’t overwater, but don’t let it dry out. This is a delicate balance. Keep the soil consistently moist but never soggy. Soggy soil is a one-way ticket to rot. I like to check the moisture level by touching the soil about an inch down. If it feels dry, it’s time for a gentle watering.
- Air circulation matters less than consistent humidity initially. While we want humidity, once you see initial root growth, it’s wise to start opening the bag or dome for a few hours each day. This helps prevent fungal issues and starts to acclimatize the new plant to normal humidity levels.
Aftercare & Troubleshooting
Once you start seeing signs of new growth – tiny new leaves pushing out or a gentle tug on the stem revealing some resistance – congratulations! Your cutting is likely rooting.
You can gently transplant your rooted cutting into a slightly larger pot with your regular potting mix once it has a good root system and is showing consistent new growth. Continue to keep it in bright, indirect light and maintain consistent moisture.
The most common issue you might encounter is rot. If your cutting turns mushy, black, or simply falls apart, it’s a sign of too much moisture and not enough air circulation. If you see this, unfortunately, it’s best to discard the cutting and try again, paying closer attention to your watering and humidity levels. Wilting can sometimes be a sign of dehydration, but it can also happen if the cutting hasn’t rooted yet and is losing moisture faster than it can absorb it. Always check the soil moisture first!
A Little Patience Goes a Long Way
Propagating plants is a journey, and Matelea sastrei is no exception. There might be a few misses along the way, but don’t let that discourage you. Each attempt is a learning opportunity. Be patient, enjoy the process of watching new life emerge, and before you know it, you’ll have a small forest of these beautiful vines to enjoy and share. Happy propagating!
Resource:
https://identify.plantnet.org/k-world-flora/species/Matelea%20sastrei%20Morillo/data