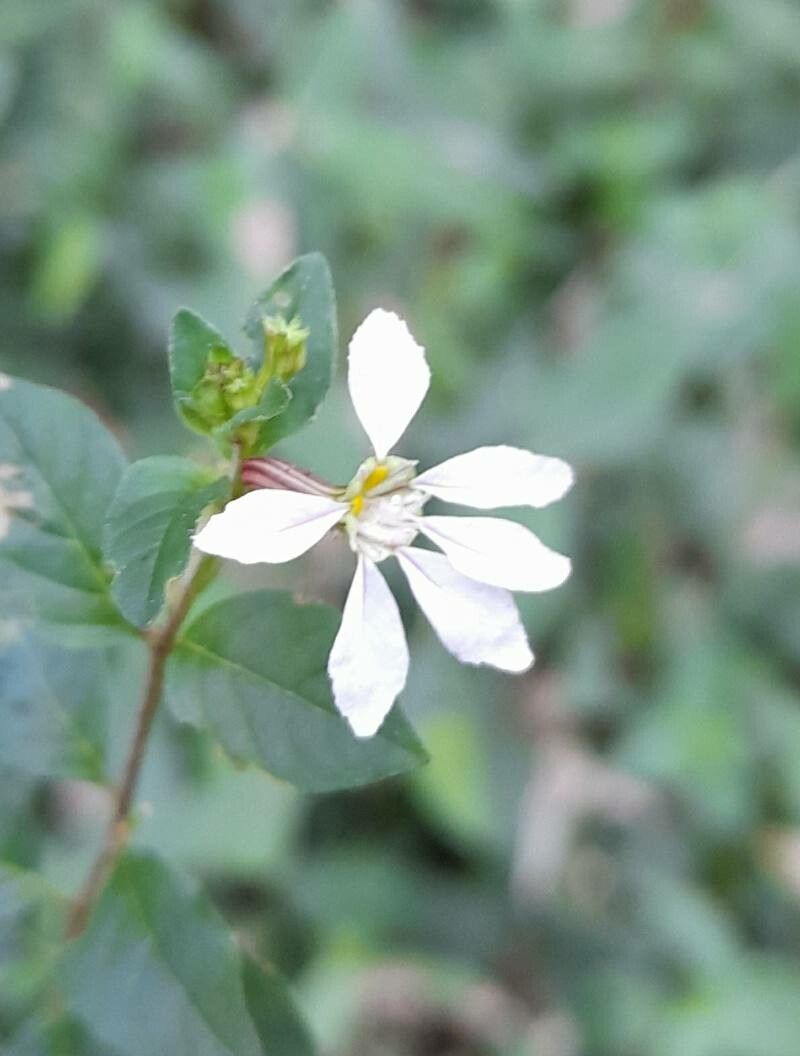
Hello, fellow plant lovers! If you’ve ever spotted a mass of tiny, jewel-toned flowers gracing a garden and found yourself wondering, “What is that delightful little shrub?”, chances are you’ve encountered a Cuphea. I’ve been tending to them for two decades now, and one of my absolute favorites is Cuphea campylocentra. Its delicate, tubular blooms are simply irresistible, attracting hummingbirds and bringing a whisper of the tropics to any setting. And the best part? Propagating these beauties is a wonderfully rewarding endeavor. While not overly complex, it does have its little nuances, making it a rewarding challenge for both the budding enthusiast and the seasoned green thumb.
The Best Time to Start
For the highest success rate with Cuphea campylocentra, your best bet is late spring to early summer. This is when the plant is actively growing, brimming with vitality, and has plenty of fresh, green stems readily available for cuttings. Starting during this growth spurt helps ensure your cuttings have the energy needed to root quickly.
Supplies You’ll Need
Gathering your tools beforehand makes the whole process smoother. Here’s what I always have on hand:
- Sharp Pruning Shears or a Clean Knife: For making clean cuts.
- Potting Mix: A well-draining mix is crucial. I often use a blend of equal parts perlite and peat moss or coconut coir.
- Small Pots or Seed Trays: Clean ones, of course!
- Rooting Hormone (Optional but Recommended): A powder or gel can give your cuttings a helpful boost.
- Clear Plastic Bag or Dome: To create a humid environment.
- Labeling Stakes: To keep track of your new babies!
- Watering Can or Spray Bottle: For gentle watering.
Propagation Methods
Let’s get our hands dirty and give these little ones a chance to grow into their own!
Stem Cuttings: My Go-To Method
This is by far the most reliable way to multiply Cuphea campylocentra.
- Take Your Cuttings: Gently select a healthy, non-flowering stem. Look for stems that are firm but still flexible – not woody and not too soft and floppy. Using your sharp pruning shears, cut a piece about 4-6 inches long. Make your cut just below a leaf node (where a leaf attaches to the stem).
- Prepare the Cuttings: Remove the lower leaves, leaving only a few at the very tip. This prevents them from rotting in the soil. If the remaining leaves are very large, you can even cut them in half to reduce water loss.
- Apply Rooting Hormone (Optional): Dip the cut end of the stem into your rooting hormone, tapping off any excess. This step isn’t strictly necessary for Cuphea, but it can speed up the process.
- Plant Your Cuttings: Fill your small pots with your prepared potting mix. Make a small hole with your finger or a pencil and insert the cut end of the stem. Gently firm the soil around the base to ensure good contact.
- Provide a Humid Environment: Water the soil lightly. Then, slip the pot into a clear plastic bag, creating a mini-greenhouse. You can also use a clear plastic dome. Ensure the leaves don’t touch the sides of the bag or condensation will encourage rot.
- Place and Wait: Position the pots in a bright location but out of direct, harsh sunlight. Keep the soil consistently moist, but not soggy.
The “Secret Sauce” (Pro Tips for Success)
Over the years, I’ve learned a few tricks that seem to make a difference. Think of these as my little whispers of wisdom!
- Bottom Heat is Your Friend: While not absolutely essential, placing your pots on a warm propagation mat can significantly speed up root development. It mimics the warmth of spring soil and gives those roots a real kickstart. You’ll find your cuttings rooting much faster!
- Don’t Be Afraid to Prune: Once your cuttings show signs of growth (new leaves!), it’s a good idea to pinch off the very tip. This encourages branching and results in a bushier, more robust plant later on, rather than a tall, leggy one.
- Check Those Cuttings Regularly: I like to gently tug on a cutting after a few weeks. If you feel resistance, it means roots have formed! If it pulls out easily, it hasn’t rooted yet.
Aftercare & Troubleshooting
Once you see those precious roots developing – hurray! It’s time to transition your little ones.
Signs of Rooting: You’ll notice new leaf growth, and the cuttings will feel secure when gently tugged.
Transitioning: When your cuttings have a good root system, it’s time to acclimatize them to open air. Gradually open the plastic bag or dome for increasing periods over a week or two. Then, you can remove it entirely. Water them as you would a mature plant, allowing the soil to dry slightly between waterings.
Common Problems:
- Rotting: This is usually a sign of overwatering or poor drainage. Make sure your soil is light and airy, and never let the pots sit in standing water. If you see a cutting turn black and mushy, unfortunately, it’s best to discard it to prevent further spread.
- Wilting: While some initial drooping is normal, persistent wilting could mean the cutting hasn’t rooted yet or that the soil is too dry. Ensure consistent moisture and humidity, especially in the early stages.
A Little Patience Goes a Long Way
Propagating plants is a journey, not a race. There will be times when some cuttings don’t make it, and that’s perfectly okay. The joy is in the process, in nurturing these tiny sparks of life, and in the satisfaction of creating more of what you love. So, gather your supplies, embrace a little trial and error, and enjoy the magic of watching your Cuphea campylocentra multiply. Happy growing!
Resource:
https://identify.plantnet.org/k-world-flora/species/Cuphea%20campylocentra%20Griseb./data