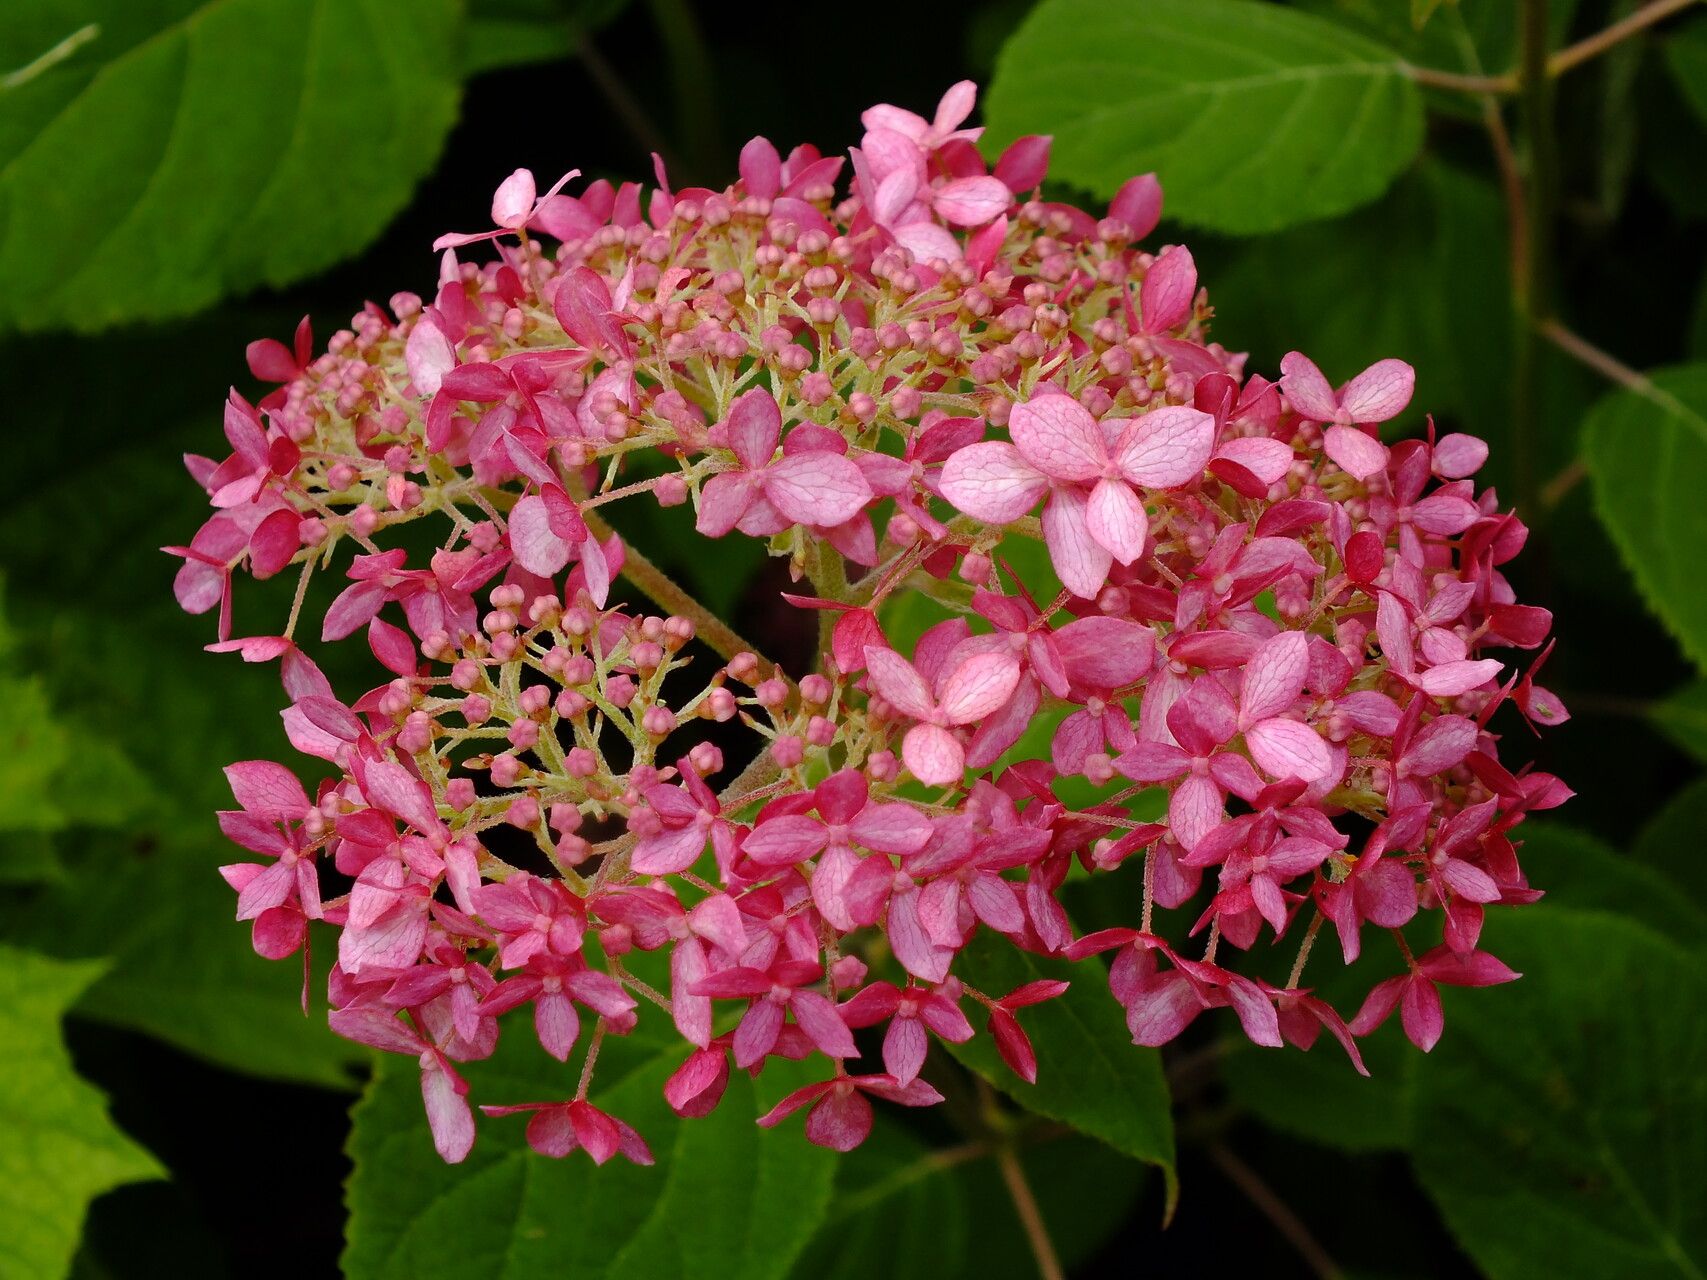
Hello fellow garden enthusiasts! Oh, how I adore Hydrangea cinerea. There’s something so wonderfully airy and elegant about their blooms, and they have a lovely, slightly more informal charm than some of their showier cousins. If you’ve ever admired a particularly magnificent Hydrangea cinerea and thought, “Wouldn’t it be grand to have more of those?”, I have wonderful news for you! Propagating these beauties is not only entirely possible but incredibly rewarding. For beginners, I’d say Hydrangea cinerea is moderately easy to propagate, especially with a bit of know-how. It’s a fantastic way to expand your collection or share the joy with friends.
The Best Time to Start
For the highest success rate with Hydrangea cinerea cuttings, I always turn to the late spring or early summer, just as the plant is actively growing but before the stems get too woody. Think tender new growth that snaps cleanly when bent. This active growth phase means the plant has plenty of energy to put into rooting.
Supplies You’ll Need
Gathering your supplies beforehand makes the whole process so much smoother. Here’s what I usually have on hand:
- Sharp pruning shears or a clean knife: For taking cuttings. Sterilize them to prevent disease!
- Rooting hormone (powder or gel): This really gives your cuttings a boost.
- Well-draining potting mix: A good choice is a 50/50 blend of peat moss and perlite or vermiculite. You can also buy specific propagation mixes.
- Small pots or trays with drainage holes: Clean ones are key!
- Plastic bags or a propagator lid: To create a humid environment.
- Labels: Trust me, you’ll thank yourself later for labeling your cuttings!
- Watering can with a fine rose: For gentle watering.
Propagation Methods
Stem cuttings are your best bet for Hydrangea cinerea. It’s generally the most straightforward and successful method for this shrub.
Method: Stem Cuttings
- Select Your Cuttings: Look for healthy, non-flowering stems. You want pieces about 4-6 inches long. Gently remove any lower leaves, leaving just a couple of pairs at the top.
- Prepare the Cuttings: Using your clean shears or knife, take a cutting just below a leaf node (where the leaves attach to the stem). This is where roots tend to form most readily. You can also gently scrape a sliver of bark from the bottom inch of the stem to expose more surface area for rooting.
- Apply Rooting Hormone: Dip the cut end of each cutting into your rooting hormone, tapping off any excess.
- Potting Up: Make small holes in your prepared potting mix and carefully insert the cuttings, ensuring the leaf nodes are buried. Gently firm the soil around them.
- Create Humidity: Water the soil gently until it’s evenly moist, but not waterlogged. Then, cover the pots with a clear plastic bag or a propagator lid. This traps moisture, and that humidity is crucial for preventing the cuttings from drying out.
- Placement: Place your pots in a warm spot with bright, indirect light. Avoid direct sun, which can scorch the delicate cuttings.
The “Secret Sauce” (Pro Tips)
Over the years, I’ve learned a few little tricks that really make a difference.
- Take soft cuttings when they’re just right: When you snap a stem and it breaks cleanly, that’s your sweet spot. If it bends without breaking, it’s probably too mature.
- Bottom heat is your friend: If you have a seedling mat, placing your pots on it provides gentle warmth from below, which significantly speeds up root formation. It’s like a little spa treatment for your cuttings!
- Don’t let the leaves touch the water: If you opt for water propagation for a few cuttings (though it’s less reliable for Hydrangea cinerea than soil), be absolutely certain that no leaves are submerged. Rot sets in quickly otherwise.
Aftercare & Troubleshooting
Once your cuttings are potted, treat them gently. Keep the soil consistently moist but never soggy. Check under the plastic regularly for signs of condensation – too much can encourage mold. If you see any wilting or yellowing, it might be a sign of overwatering or insufficient humidity.
You’ll know your cutting is rooting when you gently tug on it and feel resistance, or better yet, you might see tiny white root tips peeking out of the drainage holes. Once roots have established, you can carefully transplant them into individual pots. At this stage, you can gradually introduce them to more light and less humidity.
The most common issue you’ll face is rot. If you see a dark, mushy stem, unfortunately, that cutting is likely lost. This usually happens from too much moisture, poor drainage, or lack of air circulation. Don’t be discouraged, though – propagation is a process of trial and error!
A Encouraging Closing
So there you have it! Propagating Hydrangea cinerea is a wonderful journey into plant reproduction. Be patient with your little cuttings; they take their time. Enjoy the process, learn from each attempt, and soon you’ll have a whole garden full of these lovely blooms to enjoy. Happy propagating!
Resource:
https://identify.plantnet.org/k-world-flora/species/Hydrangea%20cinerea%20Small/data