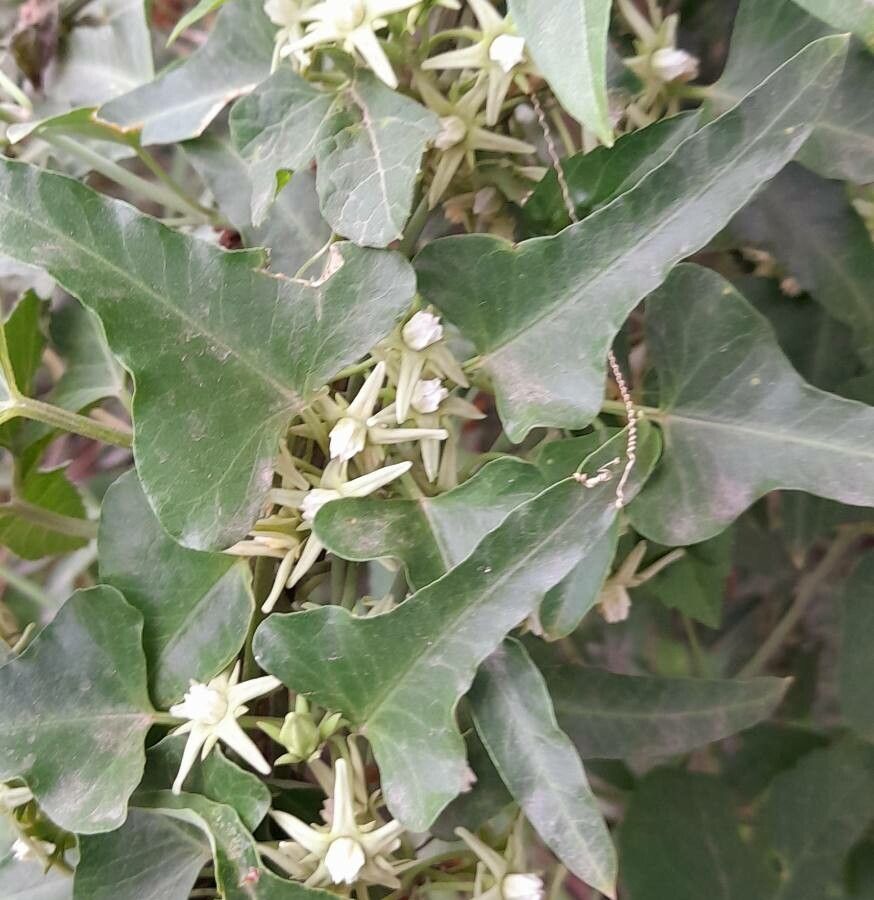
Hello, fellow plant lovers! Today, we’re embarking on a delightful journey with a rather unique and beautiful plant: Araujia brachystephana. If you’re drawn to those intricate, star-shaped white flowers and the intriguing way they scent the evening air, you’re in for a treat. Propagating this beauty can feel like a little bit of horticultural magic, and I’m here to walk you through it, cup of tea in hand.
Why Propagate Araujia brachystephana?
Honestly, the sheer joy of creating new life from something you already cherish is a reward in itself. Seeing a tiny cutting develop roots and grow into a strong, independent plant is incredibly satisfying. It means you can share this gorgeous vine with friends, fill more corners of your garden, or simply experience the wonder of it all over again. Now, for the big question: is it easy? I’d say Araujia brachystephana leans towards the moderately challenging side. It’s not a plant that throws off babies like a prolific spider plant, but with a little patience and the right approach, you’ll be successful.
The Best Time to Start
For the highest chance of success, aim to propagate in your late spring or early summer. This is when the plant is actively in its growing season, energized and ready to produce new shoots. You want to take cuttings from healthy, vigorous stems that aren’t flowering or producing seed pods just yet. Think of it as getting some good, strong “teenager” growth, not the very young or the very old.
Supplies You’ll Need
Gathering your tools beforehand makes the entire process smoother. Here’s what I always have on hand:
- Sharp, clean pruning shears or a sharp knife: Crucial for making clean cuts without crushing the stem.
- Rooting hormone (powder or gel): This is a big helper. It encourages root development and can significantly increase your success rate.
- Potting mix: A well-draining mix is essential. I often use a blend of perlite and peat moss or coco coir in roughly a 50/50 ratio. You can also buy specialized seedling or rooting mixes.
- Small pots or seed trays: Ensure they have drainage holes!
- Plastic bags or a propagator: To create a humid environment for your cuttings.
- Labels and a marker: So you don’t forget what you planted where!
- Watering can with a fine rose: For gentle watering.
Propagation Methods
Araujia brachystephana is best propagated from stem cuttings. It’s reliable and gives you a strong start.
Stem Cuttings:
- Select your cuttings: On a healthy, non-flowering stem, choose a section that is about 4-6 inches long. Look for one that has at least two sets of leaves. Cut just below a leaf node. A leaf node is that slightly swollen bump where a leaf attaches to the stem.
- Prepare the cuttings: Gently remove the leaves from the bottom half of the cutting. You want to expose the nodes because that’s where the roots will emerge. Leave just a couple of leaves at the very top to help with photosynthesis. If the remaining leaves are large, you can cut them in half horizontally to reduce water loss.
- Apply rooting hormone: Dip the cut end of the stem into your rooting hormone, tapping off any excess. Make sure the hormone coats the entire bottom inch or so of the cutting, especially the leaf nodes.
- Plant the cuttings: Fill your small pots with your pre-moistened potting mix. Make a small hole in the center of the soil with your finger or a pencil. Gently insert the cuttings into the holes, ensuring the leaf nodes are buried in the soil. Firm the soil around the base of the cutting to provide good contact.
- Create humidity: Water the soil gently until it’s evenly moist but not waterlogged. Then, loosely place a clear plastic bag over the pot, or put the pots inside a propagator. This will create a humid mini-greenhouse. Make sure the leaves don’t touch the plastic if possible, as this can encourage rot. You can use stakes or skewers to prop up the bag.
- Provide warmth and light: Place the pots in a bright location but out of direct sunlight. If you have a heat mat or can place them in a warm spot, that’s even better – bottom heat really spurs root development.
The “Secret Sauce” (Pro Tips)
Now, for a couple of little nuggets of wisdom I’ve picked up over the years.
- The “Bleeding Sap” Trick: Araujia species can sometimes “bleed” a milky sap when cut. For some plants, this can hinder rooting. While I haven’t found it to be a major issue with Araujia brachystephana, if you notice a lot of sap flow, you can “wash” the cut end under cool running water for a minute or two before applying the rooting hormone. This can help prevent the hormone from washing off and can sometimes speed up callous formation.
- Bottom Heat is Your Best Friend: I mentioned it before, but I can’t stress it enough. Consistent bottom heat, ideally between 70-75°F (21-24°C), is like a turbo boost for root development. A simple seedling heat mat can make a world of difference, especially if your home is a bit on the cooler side.
Aftercare & Troubleshooting
Once your cuttings are planted, don’t fuss over them too much, but do check them regularly.
- Watering: Keep the soil consistently moist but never soggy. Feel the top inch of the soil; if it feels dry, it’s time for a gentle watering. Remove any excess water that drains into saucers.
- Checking for roots: After about 4-6 weeks, you can gently tug on a cutting. If you feel resistance, it means roots have formed! You can also look for new leaf growth as a sign of success.
- Transplanting: Once you have a good root system and new growth, you can carefully transplant your new plants into slightly larger pots with your regular potting mix.
- Troubleshooting: The most common issue you’ll encounter is rot. This is almost always due to overwatering and poor drainage. If you see a cutting turning black or mushy, it’s usually a sign of rot. Remove it immediately to prevent it from spreading. Lack of humidity can also cause cuttings to dry out and fail, so ensure that plastic bag is doing its job!
Happy Propagating!
Growing plants from cuttings is such a rewarding part of gardening. It teaches you patience, observation, and the sheer resilience of nature. Don’t be discouraged if you have a few failures along the way – we all do! Each attempt is a learning experience. Enjoy the process, celebrate your successes, and soon you’ll have a beautiful collection of Araujia brachystephana to admire. Happy growing!
Resource: