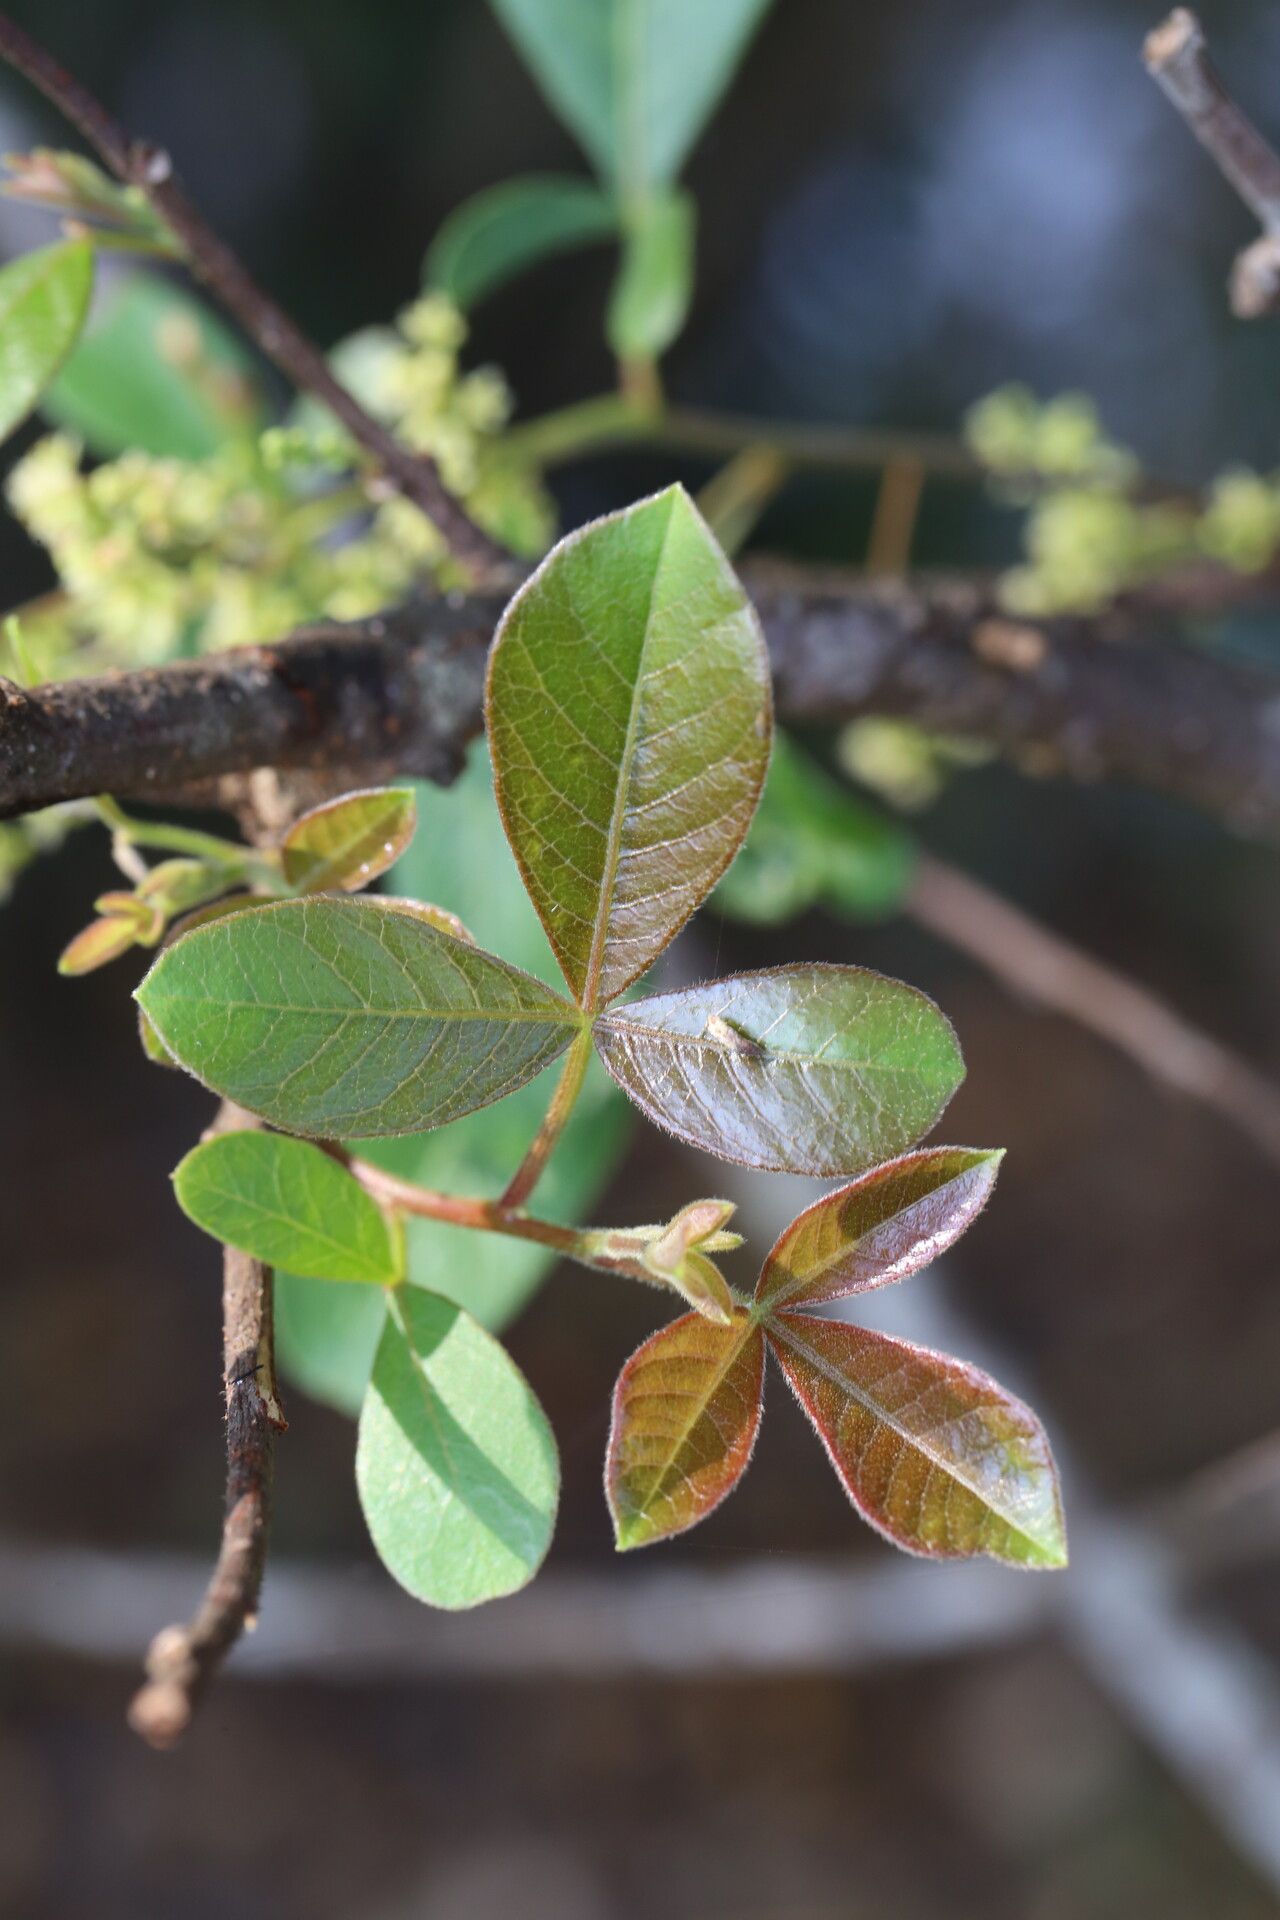
Oh, hello there! Grab your mug, let’s chat about Searsia longipes. Isn’t that South African sumac just a beauty? I’ve always loved its delicate, feathery foliage and how it brings such a lovely, airy feel to the garden. Plus, seeing a little cutting you started turn into a full-fledged plant is one of those simple joys that never gets old for me.
Now, if you’re wondering if this is a good plant for beginners to propagate, I’d say Searsia longipes is moderately easy. It’s not a complete beginner’s plant, but with a few key steps, you’ll likely have success. It’s a rewarding challenge, and I’m here to break it all down for you.
The Best Time to Start
For Searsia longipes, I find late spring to early summer is absolutely prime time to take cuttings. This is when the plant is actively growing, full of vigor, and has plenty of young, semi-hardwood shoots. You’re not looking for brand new, super soft growth, nor are you aiming for old, woody stems. Think of that perfect stage where a stem bends without snapping cleanly.
Supplies You’ll Need
Here’s what you’ll want to have on hand before you get started:
- Sharp Pruning Shears or a Knife: Clean cuts are essential to prevent disease.
- Rooting Hormone: A good quality powder or gel will significantly boost your success rate.
- Well-Draining Potting Mix: I like a blend of perlite, peat moss, and a little coarse sand for my cuttings. You can also buy specialized cutting mixes.
- Small Pots or Trays: Clean pots are a must! Terracotta pots are wonderful because they breathe.
- Watering Can with a Fine Rose: Gentle watering is key.
- Plastic Bags or a Propagator: To create a humid environment for your cuttings.
- Labeling Stakes: So you don’t forget what’s what!
Propagation Methods
Let’s get our hands dirty! The most reliable way to propagate Searsia longipes is through stem cuttings.
- Select Your Cuttings: Head out to your plant. Look for non-flowering shoots that are about 4-6 inches long. As I mentioned, you want that semi-hardwood stage. Use your clean shears to make a clean cut just below a leaf node (where a leaf attaches to the stem).
- Prepare the Cuttings: Gently remove the lower leaves from the cutting, leaving just a few at the top. If the remaining leaves are very large, you can snip them in half to reduce water loss.
- Apply Rooting Hormone: Dip the cut end of the stem into your rooting hormone, tapping off any excess. This stuff is like a little magic potion for encouraging root development.
- Potting Up: Fill your small pots with your prepared potting mix. Make a small hole in the center with your finger or a pencil.
- Insert the Cuttings: Gently place the cutting into the hole, ensuring the bottom leaf nodes are below the soil surface. Firm the soil gently around the stem.
- Water Gently: Water the soil thoroughly until you see water draining from the bottom of the pot.
- Create Humidity: Cover the pot loosely with a clear plastic bag, or place it inside a propagator. This creates a mini-greenhouse and keeps your cuttings from drying out. Make sure the leaves aren’t touching the plastic if possible.
- Find a Suitable Spot: Place your pots in a well-lit location but out of direct sunlight. A warm windowsill that gets bright, indirect light is perfect.
The “Secret Sauce” (Pro Tips)
Here are a couple of things I’ve learned over the years that can really make a difference:
- Bottom Heat is Your Friend: If you have a seedling heat mat, placing your pots on it can significantly speed up root formation. The warmth from below encourages root growth without stressing the cutting.
- Don’t Disturb Too Soon: Resist the urge to pull on your cuttings to check for roots! Patience is a virtue here. It can take anywhere from 4 to 8 weeks, sometimes longer, for roots to develop. You’ll know they’re ready when you see new leaf growth and feel a gentle resistance when you try to tug on the stem ever so slightly.
Aftercare & Troubleshooting
Once your cuttings have rooted, it’s time to give them a little more attention.
Gradually acclimatize your new plants to normal room conditions by opening up the plastic bag or propagator for a few hours each day. After a week or so, you can remove the cover entirely. Continue to keep them in bright, indirect light and water when the top inch of soil feels dry.
Now, what if things go wrong? The most common issue is rot. This usually happens when the cuttings are kept too wet and don’t have enough air circulation. If you see your cutting turning black or mushy, unfortunately, it’s likely a goner. The best defense is good drainage, proper watering, and that bit of air circulation once roots start to form.
A Little Encouragement
Propagating plants is a journey, and not every attempt will be a roaring success. But that’s part of the learning, isn’t it? Be patient with your Searsia longipes cuttings, offer them a good start, and enjoy the quiet magic of watching life begin anew. Happy gardening!
Resource:
https://identify.plantnet.org/k-world-flora/species/Searsia%20longipes%20(Engl.)%20Moffett/data